


2KN/2KP
1-5-71
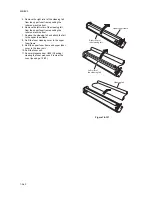
(9) Detaching and refitting the heat roller separation claws
Follow the procedure below to replace the heat roller separation claws.
Procedure
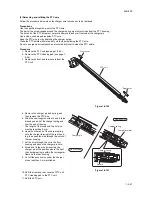
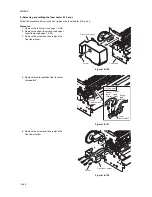
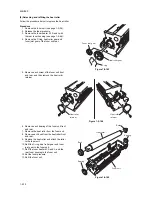
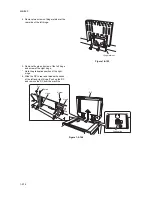
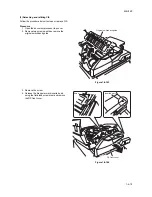
1. Open the eject section.
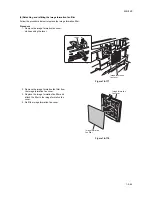
2. Remove the screw and then remove the
metal fitting from the eject section.
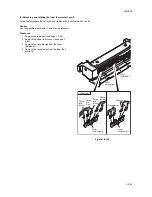
3. Remove two screws and then remove the
eject holder from the eject section.
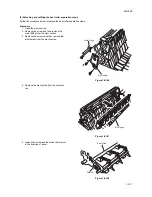
Figure 1-5-146
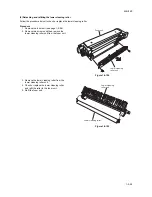
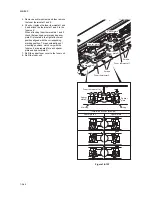
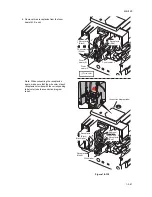
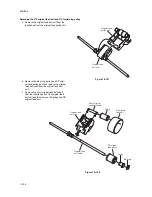
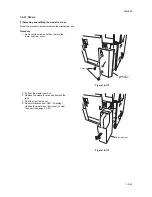
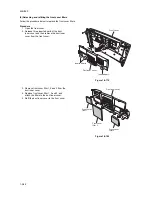
4. Remove the eject guide from the eject sec-
tion.
Figure 1-5-147
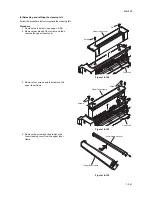
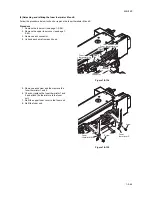
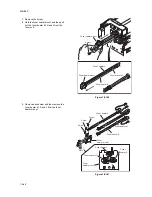
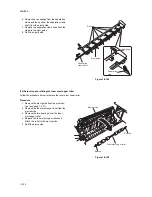
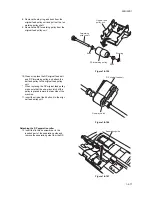
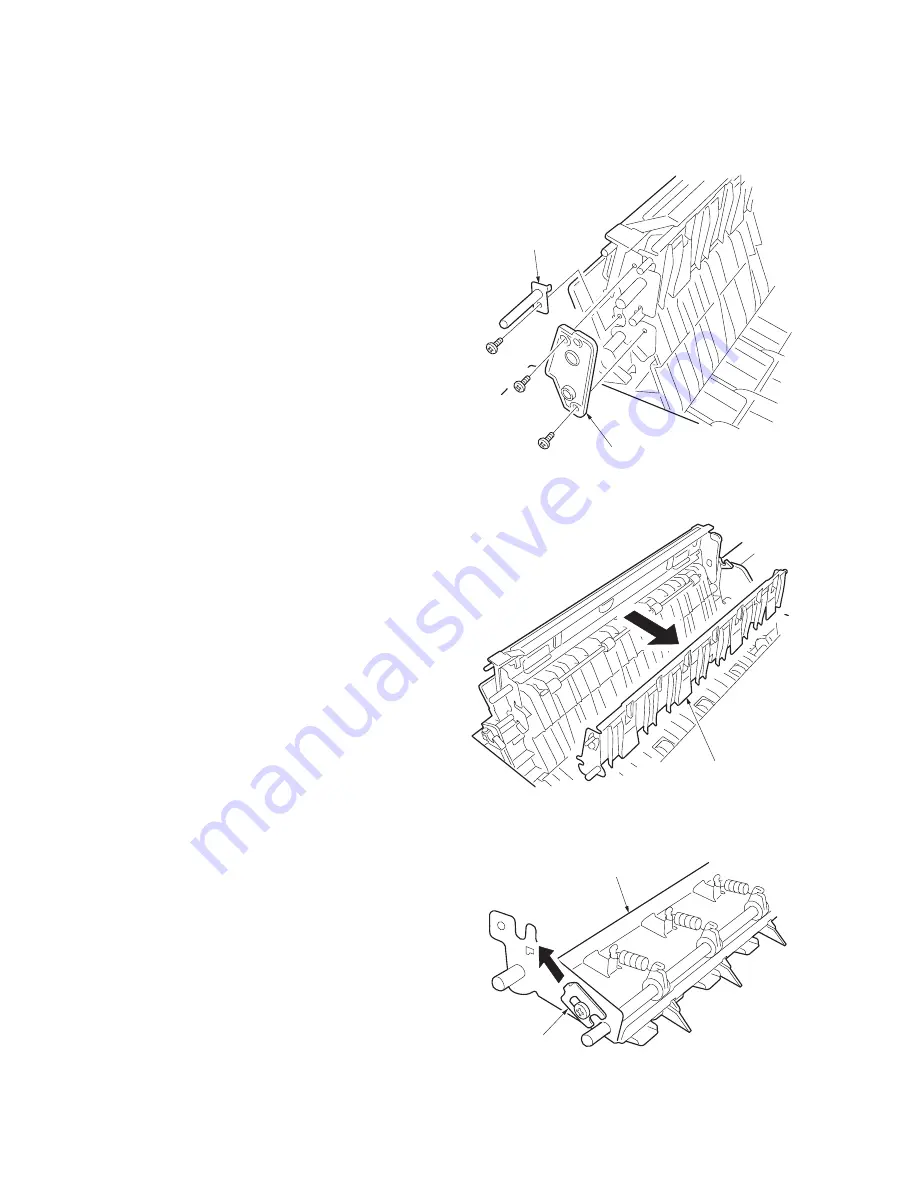
5. Loosen the screw and then slide the retainer
in the direction of arrow.
Figure 1-5-148
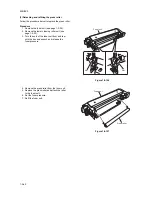
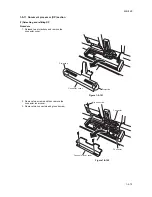
Eject holder
Metal fitting
Eject guide
Retainer
Eject guide
Содержание TASKalfa 620
Страница 1: ...SERVICE MANUAL Published in August 2009 842KP112 2KPSM062 Rev 2 TASKalfa 620 820 ...
Страница 4: ...This page is intentionally left blank ...
Страница 10: ...This page is intentionally left blank ...
Страница 144: ...2KN 2KP 1 3 106 This page is intentionally left blank ...
Страница 308: ...2KN 2KP 1 5 88 This page is intentionally left blank ...
Страница 412: ...2KN 2KP 2 3 60 This page is intentionally left blank ...
Страница 435: ...1 1 INSTALLATION GUIDE INSTALLATION GUIDE FOR SIDE FEEDER ...
Страница 442: ...INSTALLATION GUIDE FOR LARGE SIZE SIDE FEEDER ...
Страница 460: ...INSTALLATION GUIDE FOR DOCUMENT FINISHER ...
Страница 475: ...INSTALLATION GUIDE FOR CENTERFOLD UNIT ...
Страница 490: ...INSTALLATION GUIDE FOR MULTI JOB TRAY ...
Страница 501: ...INSTALLATION GUIDE FOR PUNCH UNIT ...
Страница 512: ...INSTALLATION GUIDE FOR STOPPER GUIDE ...
Страница 515: ...INSTALLATION GUIDE FOR PRINTING SYSTEM ...
Страница 518: ...INSTALLATION GUIDE FOR SCAN SYSTEM ...
Страница 520: ......
Страница 521: ......


