2RG/2RH
1-3-132
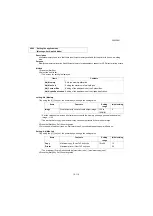
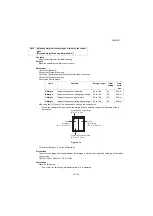
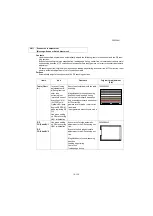
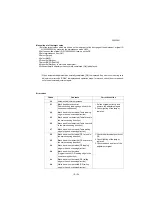
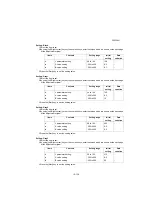
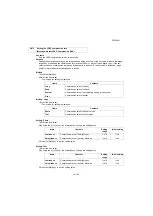
Method: Table (Chart A)
Automatic input of the target value
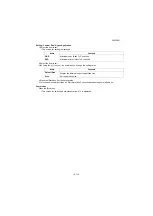
*: Usually, it adjusts here.
1.Set the specified original (P/N: 7505000005) on the table.
2.Enter maintenance item U411.
3.Select [Target].
4.Select [Auto].
5.Press the [Start] key.
6.Select [Table(ChartA)].
7.Press the [Start] key to read the barcode of the original chart and to start the automatic adjustment.
8.When automatic adjustment has normally completed, [OK] is displayed.
*: When the error code "1e" or "1f" is displayed during the automatic adjustment in the table scanning and the bar-
code is not read, adjust the following after manually inputting the target value.
Manual input of the target value
1.Enter the target values which are shown on the lower part of the front page of the adjustment original (P/
N: 7505000005) by executing the maintenance mode U425.
2.Set the specified original (P/N: 7505000005) on the table.
3.Enter maintenance item U411.
4.Select [Target].
5.Select [U425].
6.Press the [Start] key.
7.Select [Table(ChartA)].
8.Press the [Start] key to start Auto adjustment.
9.When automatic adjustment has normally completed, [OK] is displayed.
If the image position is shifted largely at the DP adjustment below, an error might occur when adjust-
ing it with ChartA. First, use ChartB (image position) to adjust it and then use ChartA (color).
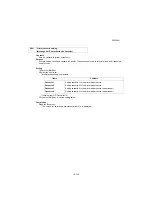
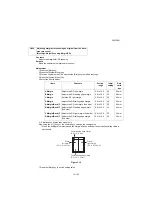
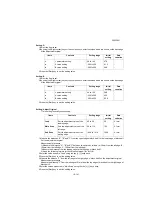
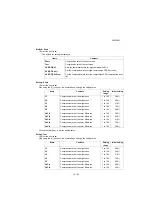
Method: DP FU (Chart B)
*: Adjusting the first side of the DP duplex scanning
1.Set the specified original (P/N: 302AC68243) face-up on the DP.
2.Enter maintenance item U411.
3.Select [DP FU(ChartB)].
4.Press the [Start] key to start Auto adjustment.
5.When automatic adjustment has normally completed, [OK] is displayed.
Method: DP FD (Chart B)
*: Adjusting the second side of the DP duplex scanning
1.Set the specified original (P/N: 302AC68243) face-up on the DP.
2.Enter maintenance item U411.
3.Select [DP FD(ChartB)].
4.Press the [Start] key to start Auto adjustment.
5.When automatic adjustment has normally completed, [OK] is displayed.
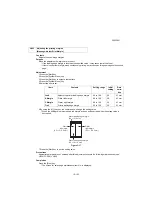
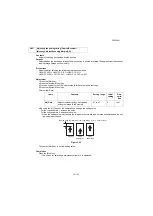
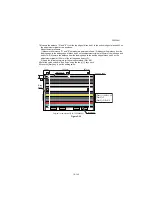
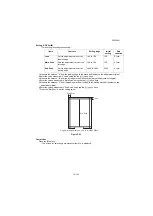
Method: DP Auto Adj
1.Set A4/Letter paper.
2.Press the [Start] key to print the adjustment original.
3.Set the adjustment original output on the table and press the [Start] key.
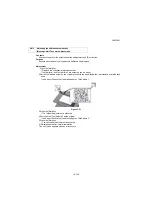
4.Set the output adjustment original with face-up on the DP.
5.Press the [Start] key and scan the original.
6.Press the [Start] key to start the 1st side automatic adjustment.
7.Set the output adjustment original with face-down on the DP.
8.Press the [Start] key and scan the original.
9.Press the [Start] key to start the 2nd side automatic adjustment.
Содержание Copystar CS 3011i
Страница 1: ...SERVICE MANUAL Published in September 2016 2RHSM 1 Rev 1 6 3011i 6 3511i ...
Страница 4: ...This page is intentionally left blank ...
Страница 10: ...This page is intentionally left blank ...
Страница 78: ...2RG 2RH 1 2 51 B B A A B B A A B B A A Tray lower cover Pin Pin ...
Страница 79: ...2RG 2RH 1 2 52 11 Attach the tray lower cover 12 Fix the tray lower cover by using two pins Figure 1 2 77 ...
Страница 83: ...2RG 2RH 1 2 56 This page is intentionally left blank ...
Страница 496: ...2RG 2RH 2 1 18 Figure 2 1 23 Duplex conveying section block diagram EPWB DU_SENS DU_CL_REM YC13 A5 YC15 1 DUCL DUS ...
Страница 504: ...2RG 2RH 2 2 8 This page is intentionally left blank ...
Страница 568: ...Installation Guide DP 7100 Document processor Installation Guide ...
Страница 572: ...2 1mm 0mm ն ո պ ջ չ շ A D C B B A ...
Страница 573: ...3 ռ ս վ ր ւ ց տ E A ...
Страница 574: ...4 ք द I M3x8 փ F G M4x10 K J H A ...
Страница 575: ...5 ON ध A ...
Страница 577: ...7 շ յ ն ո D E B ...
Страница 578: ...8 չ պ F G M4x10 H I M3x8 K J ջ B ...
Страница 579: ...9 ռ B ...
Страница 589: ...19 ո ն շ պ ջ չ 8 6 7 10 11 9 A B ...
Страница 599: ...DP 7110 Document processor Installation Guide ...
Страница 603: ...2 շ շ 2 շ 2 շ C M4x14 E ߑ ߒ ߓ ߔ ո շ 2 ߑ ն A ...
Страница 604: ...3 ߘ ո ߕ ߗ ո չ պ ջ ߖ F G H M3x8 BLACK A ...
Страница 605: ...4 ռ վ ր ւ ց ࠉտ ս I A ...
Страница 606: ...5 J L փ ք द K M3x8 K M3x8 K M3x8 ध A ...
Страница 607: ...6 ऩ प भ फ ब न म O N A ...
Страница 608: ...7 ON य A ...
Страница 610: ...9 շ ո շ 2 շ 2 շ 2 ߑ ն շ ߑ ߒ ߓ ߔ C M4x14 E B ...
Страница 611: ...10 ߖ ߕ ߘ ߎ չ պ ջ ߗ F G ո H M3x8 BLACK B ...
Страница 612: ...11 ռ ս տ ր ց վ I B ...
Страница 613: ...12 ւ ք द ध न փ J L P K M3x8 K M3x8 B ...
Страница 614: ...13 ऩ प फ O N B ...
Страница 634: ...DP 7120 Document processor Installation Guide ...
Страница 638: ...2 1mm 0mm ն շ ո չ ջ պ B B A D C A ...
Страница 639: ...3 ռ ս վ տ ց ր E A ...
Страница 640: ...4 G ւ F F ք փ H ON 10 mm 10 mm A ...
Страница 642: ...6 շ ո յ ն D B ...
Страница 643: ...7 չ E B ...
Страница 644: ...8 F ON G պ F ջ ռ H 10 mm 10 mm B ...
Страница 653: ...17 ղ ն շ ճ մ յ 2 6 7 3 4 5 A B ...
Страница 655: ...19 չ ջ պ ս վ ռ 9 11 10 13 14 12 10 mm A B ...
Страница 665: ...PF 791 500 x 2 Paper feeder Installation Guide ...
Страница 673: ...PF 810 3000 sheet deck Installation Guide ...
Страница 686: ...DF 791 3000 sheet finisher Installation Guide ...
Страница 701: ...DF 7120 1000 sheet finisher Installation Guide ...
Страница 705: ...2 մ յ ն 7 7 15 a b a a b b b a A ...
Страница 706: ...3 ո շ չ պ A ...
Страница 707: ...4 ջ ռ ս c d 14 c d c d 12 c d ջ ռ ս c d 14 c d c d 12 c d A ...
Страница 708: ...5 վ ր D ց ON տ A ...
Страница 710: ...7 L յ մ ն շ B ...
Страница 712: ...9 ս ռ վ տ G B ...
Страница 713: ...10 ր ց ւ b a 17 17 25 a b a a b b B ...
Страница 714: ...11 ք փ द c d 24 c d c d 22 c d B ...
Страница 715: ...12 न ध ऩ प B ...
Страница 716: ...13 ब फ ON D B ...
Страница 719: ...AK 740 Bridge unit Installation Guide ...
Страница 721: ...MT 730 Mailbox Installation Guide ...
Страница 736: ...PH 7A C D Punch unit Installation Guide ...
Страница 757: ...DT 730 B Document tray Installation Guide ...
Страница 759: ...5 2013 5 302LC56750 01 H F G D D 6 4 3 7 E C D D M4 8 M4 8 M4 8 M4 8 ...
Страница 760: ...FAX System 12 Installation Guide ...

