


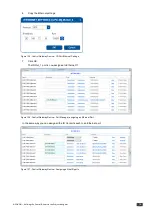


72
K-CONFIG - Defining the Control Room via the Project Navigator
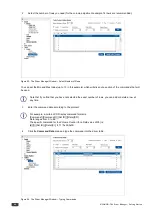
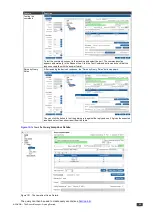
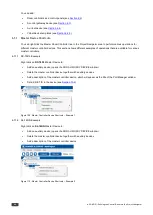
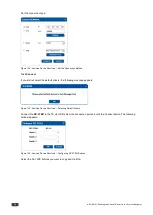
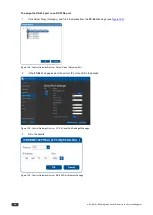
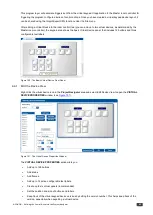
All four keypad devices that were added in this example appear in the in the Device view:
Figure 117: The Device View Area for RC-74DL and Four Auxiliary Devices
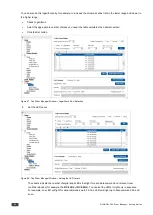
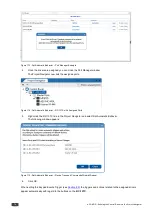
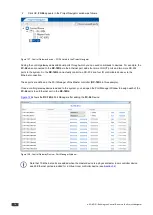
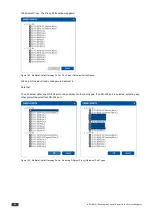
Be sure that your control room setup tree is correct before continuing with the configuration. If, at a later
stage, an auxiliary K-NET device or a Master RC will be deleted from the tree, all the port assignments,
triggers and action lists written for all the devices in the tree will also be deleted.
6.2.1
Auxiliary Device Shortcuts
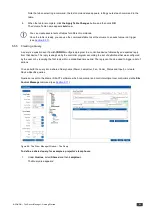
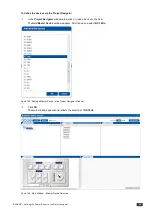
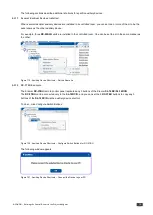
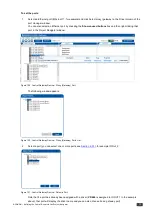
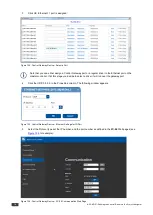
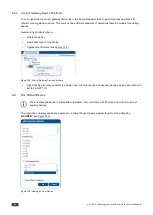
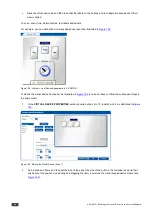
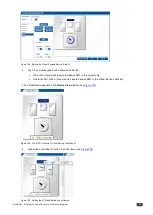
You can right-click the auxiliary device line in the Project Navigator area to carry out several operations which can vary
for different devices. This section shows different examples of operations that are available for auxiliary devices.
Generally the shortcuts let you:
•
Delete the auxiliary device
•
Add a description of the auxiliary device
•
Set a K-NET ID to the auxiliary device (see
Section 10.2
•
Upgrade the firmware (see
Section 10.3)
Figure 118: Auxiliary Master Device Shortcuts


