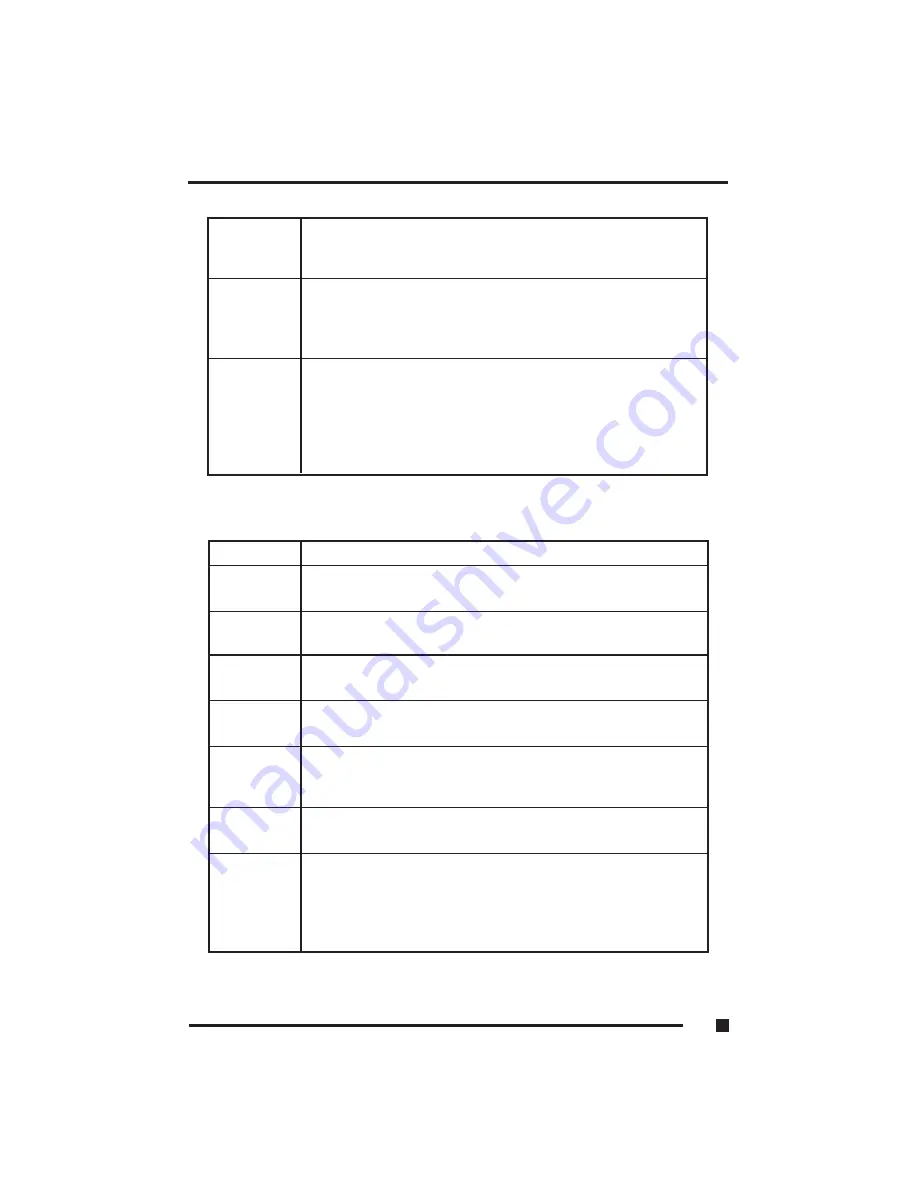
Pause Break
Temporarily halts a running program. To continue using the
program again, press any key. Pressing the “Pause” key, in
conjunction with the <Ctrl> key, breaks the program.
Ctrl
Works in combination with other keys to provide shortcuts or
to modify actions. Refer to the users manual for the application
program you are using. To use a <Ctrl > key combination, hold
down the <Ctrl> key and the other key simultaneously.
Alt
The keyboard provides two “Alt” keys. The “Alt” key works in
conjunction with other keys to perform various commands or
functions. Refer to the users manual for the application
program you are using. To use an <Alt> key combination,
simultaneously hold down the <Alt > key along with the
other key.
Cursor Control Keys
Key Function
Home
Moves the cursor to the first character position on the top line
of the screen.
End
Moves the cursor to the last character position on the bottom of
the screen.
PgUp
If this key is operable in the application program you are using,
it lets you scroll to the previous page.
PgDn
If this key is operable in the application program you are using,
it lets you scroll to the next page.
Arrows
The four direction arrow keys control the movement of the
cursor on the screen. They do not affect the displayed
character keys.
Delete
Deletes the character to the right of the cursor. All remaining
characters to the right move one space to the left.
Insert
Places the keyboard into the “insert mode.” While in the
“insert mode,” data entries are made at the current cursor
position and all data to the right of the cursor position moves
to the right. The keyboard stays in the insert mode until you
press the “Insert” key again.
1
■
Getting Started
1.14
Содержание FlexPAC
Страница 1: ...FlexPAC Portable Add In Computer Document Revision 1 0...
Страница 12: ......
Страница 13: ...1 Getting Started...
Страница 34: ...Figure 1 10 Power Switch Power Cord Receptacle 1 Getting Started 1 21 4 Slot FlexPAC 6 Slot FlexPAC...
Страница 37: ...Figure 1 12 External Audio Jacks 1 Getting Started 1 24...
Страница 38: ...2 System Description...
Страница 48: ...3 Configuration...
Страница 79: ...4 Display Drives...
Страница 83: ...Figure 4 1 Removable Hard Disk Drive Option 4 Display Drives 4 4...
Страница 87: ...Figure 4 4 Loading a CD 3 Inserted CD 4 Loading Tray 4 Display Drives 4 8...
Страница 90: ...5 Expanding the FlexPAC...
Страница 93: ...Figure 5 1 Rear Panel M4 Hex Screws 6 each Figure 5 2 Remove the Outer Casing 5 Expanding the FlexPAC 5 3...
Страница 98: ...Figure 5 7 Removing an Expansion Slot Cover Figure 5 8 Inserting an Add in Card 5 Expanding the FlexPAC 5 8...
Страница 99: ...Figure 5 9 Securing the Add in Card Figure 5 10 Fixed Card Retaining foam block 5 Expanding the FlexPAC 5 9...
Страница 101: ...6 Maintenance Troubleshooting...
Страница 107: ...Figure 6 1 Removable Fan Cover Grills 6 Maintenance Troubleshooting 6 6...
Страница 125: ...6 Maintenance Troubleshooting 6 24...
Страница 126: ...6 Maintenance Troubleshooting 6 25...
Страница 127: ...A Appendix...


