


Utility Functions
4-4
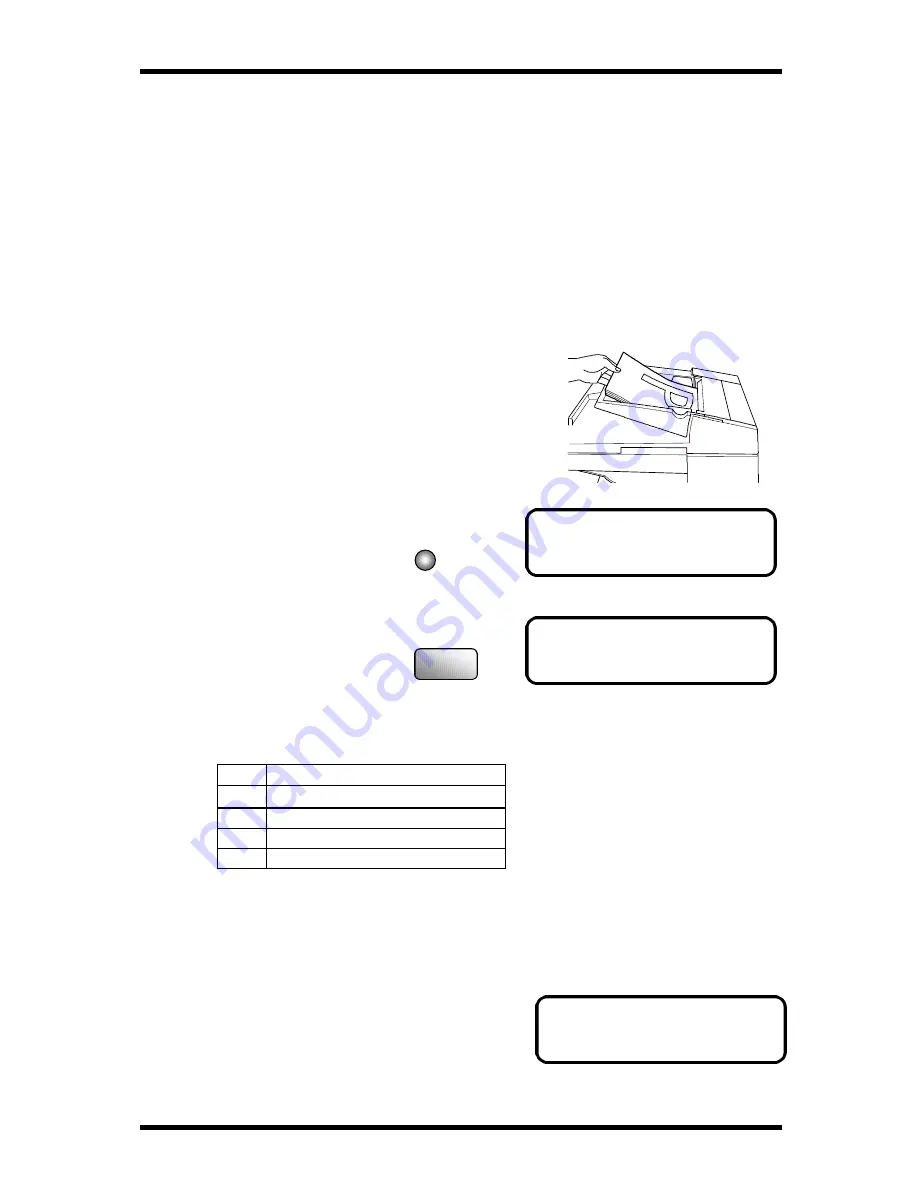
1 BROADCAST
NO.001= CHICAGO
OK=YES (Fin.= START)
FUNCTION
SEL. 1-8/or FUNCTION
Broadcast
Overview of the Broadcast function
Broadcast enables the machine to scan the documents into memory and transmit it to
two or more destinations. The same document can be transmitted sequentially to up to
143 different destinations. This feature is convenient for transmitting the same document
to many different destinations.
It eliminates the need to repeat procedures when performing a fax distribution,
increasing productivity and reducing the amount of time required performing this
activity. It also can reduce the wear made by feeding the document since the machine
needs to scan it once only.
How to use the Broadcast function
1.
Put the original document face up into the
document feeding tray.
2.
Press the Function key.
3.
Press ‘1’ from the Numeric keys to select
“BROADCAST”.
4.
Specify the receiving destinations as these methods shown.
(1)
One Touch Dial keys
(2)
Speed Dial
(3)
Combination Dial
(4)
Phone Book(Search & List)
(5)
Numeric keys
(1) Using the One Touch Keys to specify the destinations.
1.
Press the One Touch key in which the receiving destination has been programmed.
For example: To select One Touch key 04 (CHICAGO) for Broadcast 001:
Press One Touch key 04. The Message
Display shows the party programmed in One
Touch key 04, indicating that it has been
selected for Broadcast 001.
Function
1
Содержание FK-116
Страница 1: ...FK 116 F a x o p e r a t i o n User s Guide...
Страница 11: ...1 About Your Machine...
Страница 33: ...2 Basic FAX Operations...
Страница 74: ...3 Enhanced FAX Operations...
Страница 86: ...4 Utility Functions...
Страница 115: ...5 Enhanced Utility Functions...
Страница 138: ...Enhanced Utility Functions 5 23...
Страница 145: ...6 How To Make Copies...
Страница 169: ...7 Using The Confirm Utilities...
Страница 174: ...8 Printing Reports...
Страница 196: ...9 Troubleshooting...
Страница 214: ...10 Specifications...


