59
This function can be used to print measurement data. The instrument must be connected to the serial printer in
advance. For instructions on how to connect the instrument to a serial printer, refer to page 108 “Connecting to a
Printer”.
Notes
• If a proper connection is not established, printing will not be possible.
• Even if the connection has been correctly established, printing may fail for reasons such as the printer being
turned off when printing is attempted.
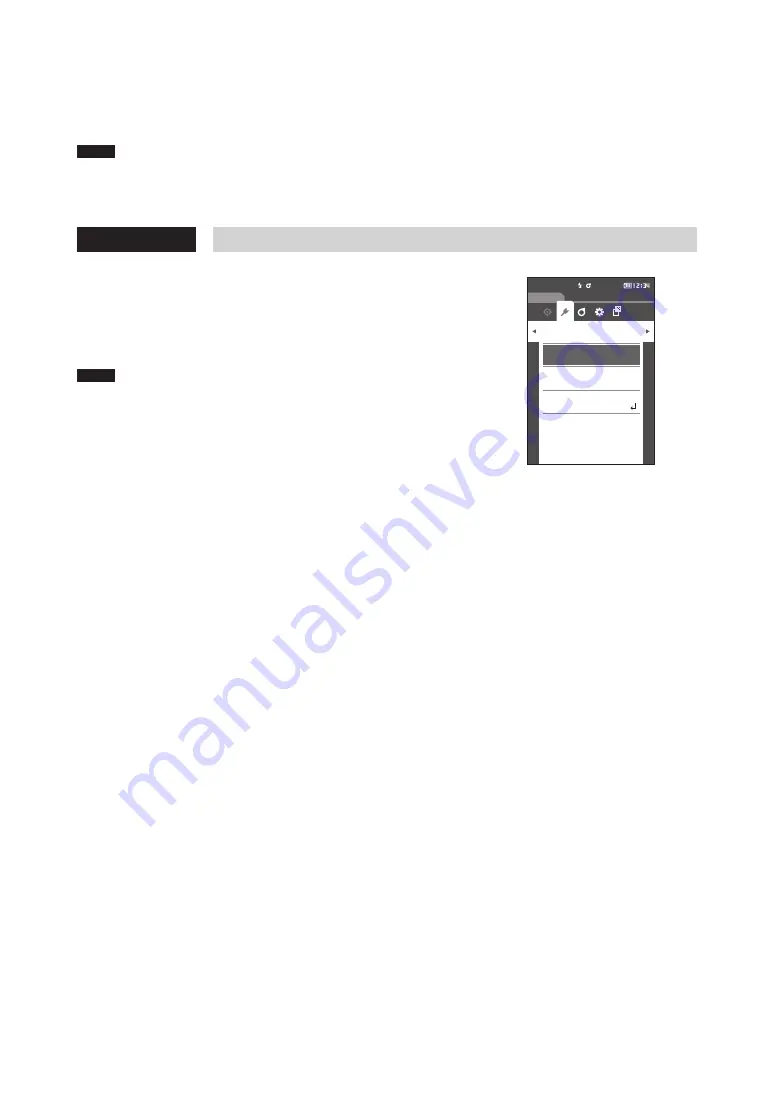
Display the sample to be printed on the <Sample> screen in advance.
Setting Procedure
Start the procedure from the <Sample menu> screen.
1
Use [
] or [
] to move the cursor to “Print data”,
and press the [Confirmation] key. Printing will begin
from the connected printer.
When printing is complete, the screen returns to the
<Sample> screen
.
Notes
The <Print> screen is displayed even when data will not
be printed properly due to an improper printer
connection or other problem.
Sample
Sample menu [0013]
Print data
Data management
Edit name
No Name
0002 TARGET-2
Содержание CM-M6
Страница 1: ...Instruction Manual Please read before using the instrument...
Страница 18: ...15 Names and Functions of Parts 1 8 9 4 6 5 2 3 10 11 12 14 13 7...
Страница 102: ...99...
Страница 119: ...116 5 Troubleshooting Chapter 5 Troubleshooting Message List 117 Troubleshooting 119...
Страница 123: ...120 6 Appendix Chapter 6 Appendix Main Specifications 121 Dimensions 122...
Страница 125: ...122 6 Appendix Dimensions Unit mm 50 M6 1 0 DEPTH 6 M6 1 0 DEPTH 6 55 33 152 3 49 5 81 239...
Страница 126: ...123...
Страница 128: ...En 9222 A9DT 13 2016 KONICA MINOLTA INC BIFCGK...


