About the Control Panel
30
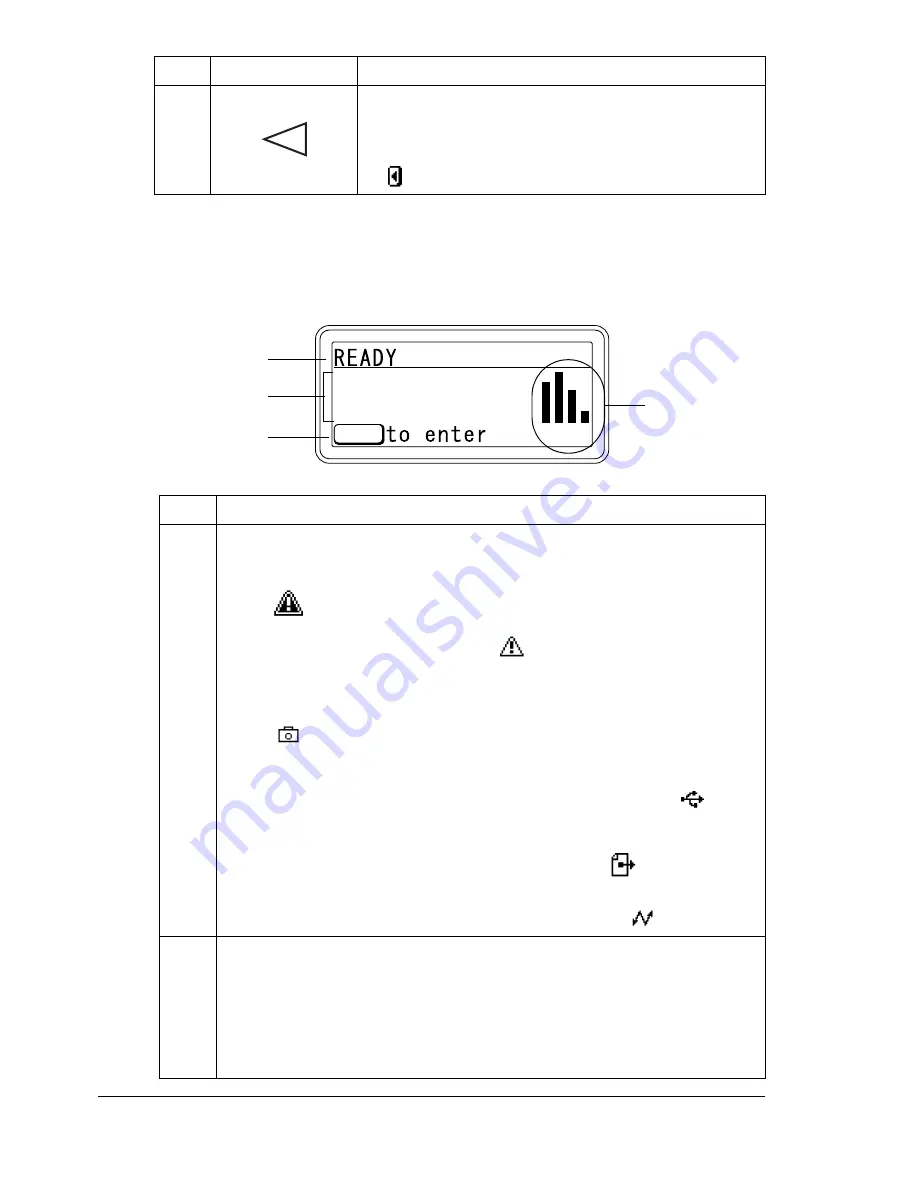
Message Window
The current status of the printer, the amount of toner remaining, and any error
messages can be viewed from the message window.
8
Moves the cursor to the left
Displays the previous help screen
appears in the message window
No.
Details
1
The current status of the printer is displayed.
If the operator or service representative must be called, the sym-
bol
and the error status are displayed.
If a warning occurs, the symbol
appears.
When a digital camera is connected to the KONICA MINOLTA
Digital Camera Direct Print Port with a USB cable, the sym-
bol
appears on the right side of the message window.
When a USB memory device is plugged into the KONICA
MINOLTA Digital Camera Direct Print Port, the symbol
ap-
pears on the right side of the message window.
While a print job is being received, the symbol
appears on the
right side of the message window. While a camera direct or mem-
ory direct print job is being received, the symbol
appears.
2
Error messages are displayed.
While a print job is being received, the user name and the print
progress are displayed.
While updating the firmware, the type of firmware being updated
and the update progress are displayed.
No.
Key
Function
YMCK
MENU
1
3
2
4
Содержание bizhub C31P
Страница 1: ...bizhub C31P User s Guide A0EA 9564 00A...
Страница 8: ......
Страница 14: ...Contents vi...
Страница 15: ...Introduction...
Страница 20: ...Getting Acquainted with Your Printer 6...
Страница 21: ...About the Software...
Страница 36: ...Using the Postscript and PCL Printer Driver 22...
Страница 37: ...Using the Status Monitor Windows Only...
Страница 40: ...Closing the Status Monitor 26...
Страница 41: ...Printer Control Panel and Configuration Menu...
Страница 113: ...Camera Direct...
Страница 115: ...Memory Direct...
Страница 117: ...Using Media...
Страница 151: ...Replacing Consumables...
Страница 181: ...Replacing Consumables 167 4 Remove the empty cartridge and then insert the new one 5 Install the stapler...
Страница 182: ...Replacing Consumables 168 6 Install the stapling unit 7 Close the stapler cover...
Страница 183: ...Maintaining the Printer...
Страница 188: ...Cleaning the Printer 174 3 Clean the media feed rollers by wiping them with a soft dry cloth 4 Close the tray...
Страница 193: ...10 Troubleshooting...
Страница 208: ...Clearing Media Misfeeds 194 4 Push down the levers 5 Close the right side cover...
Страница 244: ...Status Error and Service Messages 230...
Страница 245: ...11 Installing Accessories...
Страница 268: ...Staple Finisher 254 10 Install the relay unit on the machine 11 Open the relay unit cover...
Страница 275: ...Appendix...


