Camera Direct
100
Camera Direct
If a digital camera with PictBridge (1.0 or later) is connected to the printer
through the Camera Direct Print port, images stored on the digital camera can
be printed directly from the printer.
"
For details on using the digital camera, refer to your digital cameras
manual.
"
The following features are not supported with Camera Direct.
- DPOF AUTOPRINT image print
- Cropping print
- Borderless
- Print quality (printer setup)
- Paper type (printer setup)
- DPOF cable disconnect recovery
Printing Directly from a Digital Camera
1
From the printer’s
Camera Direct
Menu, specify settings for
Paper
Source
,
Layout
,
Paper Margin
and
Image Quality
.
"
The Media Type setting that is used is the default printer setting
that is selected.
The Media Type setting cannot be selected from the digital cam-
era.
"
If these settings can be specified from the digital camera, they do
not need to be specified from the control panel. These settings are
overridden by settings configured within the digital camera.
For details on control panel settings, refer to “CAMERA DIRECT”
on page 68.
2
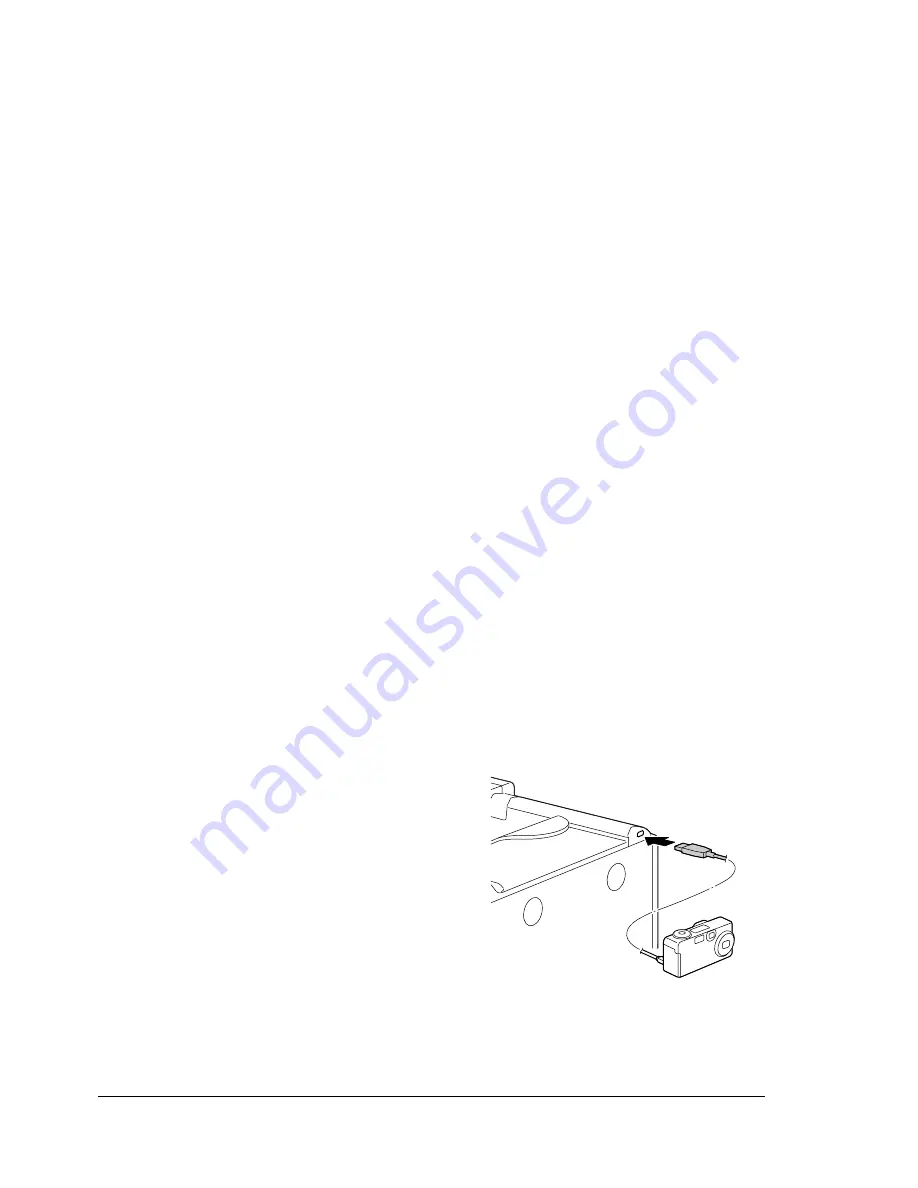
Connect the USB cable to the dig-
ital camera and to the KONICA
MINOLTA Digital Camera Direct
Print Port.
"
A USB cable is not
included with the printer
and must be purchased
separately, if not supplied
with your digital camera.
3
From the digital camera, specify
the image that you wish to print and the desired number of copies.
4
Start printing from the digital camera.
Содержание bizhub C31P
Страница 1: ...bizhub C31P User s Guide A0EA 9564 00A...
Страница 8: ......
Страница 14: ...Contents vi...
Страница 15: ...Introduction...
Страница 20: ...Getting Acquainted with Your Printer 6...
Страница 21: ...About the Software...
Страница 36: ...Using the Postscript and PCL Printer Driver 22...
Страница 37: ...Using the Status Monitor Windows Only...
Страница 40: ...Closing the Status Monitor 26...
Страница 41: ...Printer Control Panel and Configuration Menu...
Страница 113: ...Camera Direct...
Страница 115: ...Memory Direct...
Страница 117: ...Using Media...
Страница 151: ...Replacing Consumables...
Страница 181: ...Replacing Consumables 167 4 Remove the empty cartridge and then insert the new one 5 Install the stapler...
Страница 182: ...Replacing Consumables 168 6 Install the stapling unit 7 Close the stapler cover...
Страница 183: ...Maintaining the Printer...
Страница 188: ...Cleaning the Printer 174 3 Clean the media feed rollers by wiping them with a soft dry cloth 4 Close the tray...
Страница 193: ...10 Troubleshooting...
Страница 208: ...Clearing Media Misfeeds 194 4 Push down the levers 5 Close the right side cover...
Страница 244: ...Status Error and Service Messages 230...
Страница 245: ...11 Installing Accessories...
Страница 268: ...Staple Finisher 254 10 Install the relay unit on the machine 11 Open the relay unit cover...
Страница 275: ...Appendix...


