VRS Installation Guide
5
Chapter 2
Installation
Overview
This chapter explains the basic VRS installation sequence, which consists of five basic
steps. The sequence of steps may vary slightly, according to the throughput
supported by the scanner that you plan to use with VRS. Personal, Professional, and
Low-Volume scanners require one installation sequence, while Mid-Volume and
High-Volume production scanners require another sequence (both are outlined
below). If you have any question about which installation sequence is appropriate for
your scanner, refer to Table 1-1 on page 1.
Before you start the VRS installation process, gather the required materials:
• VRS installation CD
• VRS-certified scanner
• SCSI scanner controller and supporting documentation (if applicable)
• VRS hardware key (if applicable)
• An appropriate (preferably Kofax) scanner cable
Installation Sequence for Personal, Professional, and Low-Volume
Scanners
If your scanner is classified as a Personal, Professional, or Low-Volume scanner, you
should complete the VRS installation sequence in this order:
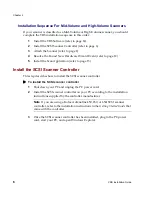
1
Install the SCSI Scanner Controller (refer to page 6)
2
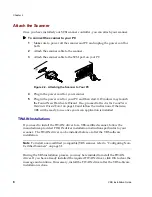
Attach the Scanner (refer to page 8)
3
Install the Scan Application (refer to page 13)
4
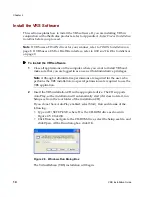
Install the VRS Software (refer to page 14)
5
Attach the VRS Hardware Key (refer to page 22)
Содержание VirtualReScan 3.5
Страница 1: ...VirtualReScan 3 5 Installation Guide 10300408 000 Revision A...
Страница 38: ...Appendix A 30 VRS Installation Guide...
Страница 50: ...Appendix D 42 VRS Installation Guide...
Страница 56: ...Index 48 VRS Installation Guide...


