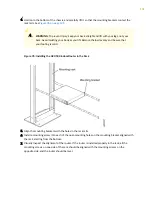
5.
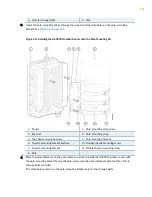
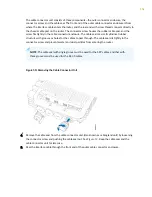
Wrap the pole-mounting straps across the pole, and secure the straps with the pole-mounting strap
screws.
NOTE: Apply 20 lb-in. (2.3 Nm) of torque on the screws to ensure that both the brackets are
held tightly.
6.
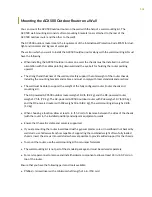
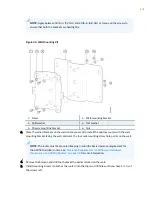
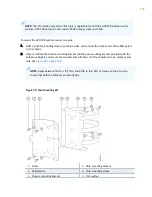
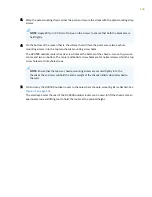
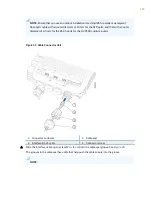
On the bottom of the router (that is, the surface that will face the pole), secure two keyhole
mounting screws in to the top two chassis-mounting screw holes.
The ACX500 outdoor routers has six screw holes at the bottom of the chassis—two on top, two on
center, and two on bottom. The center and bottom screw holes are for normal screws while the top
screw holes are for keyhole screws.
NOTE: Ensure that the top two chassis-mounting screws are secured tightly in to the
chassis as these screws will hold the entire weight of the chassis initially when attached to
the wall.
7.
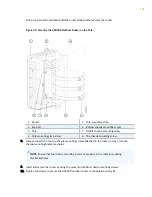
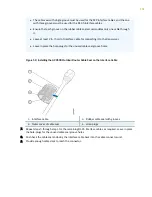
Lift and carry the ACX500 outdoor router to the pole where the pole-mounting kit is attached. See
.
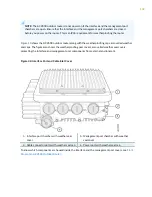
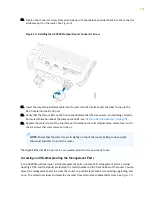
The small eye bolt at the rear of the ACX500 outdoor router can be used to lift the chassis. Use an
appropriate rope and lifting tool to hoist the router at the planned height.
140

