ACX500 Installation Overview
IN THIS SECTION
Installing and Connecting an ACX500 Indoor Router Overview | 123
Installing and Connecting an ACX500 Outdoor Router Overview | 123
Installing and Connecting an ACX500 Indoor Router Overview
To install and connect an ACX500 indoor router:
1. Unpack the router and verify the parts received. See
"Unpacking the ACX500" on page 125
2. Install the router. See
"Installing the ACX500 Indoor Router in a Rack" on page 129
.
3. Ground the router. See
"Connecting the ACX500 Router to Earth Ground" on page 156
.
4. Connect power to the router.
• AC-powered models—See
"Connecting an AC Power Cord to the ACX500 Indoor Router" on page
• DC-powered models—See
"Connecting DC Power Cables to the ACX500 Indoor Router" on page
5. Connect the router to external devices. See:
•
"Connecting ACX500 Routers to Management Devices" on page 175
•
"Connecting the ACX500 Router to an External Alarm-Reporting Device" on page 178
•
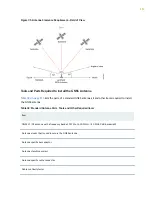
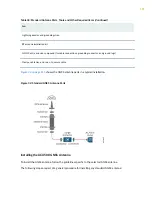
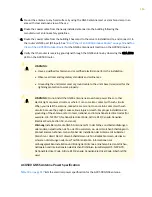
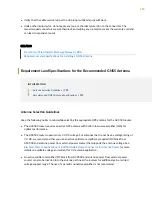
"Connecting the ACX500 Router to External Clocking Devices" on page 179
•
Requirements and Specifications for Installing a GNSS Antenna
6. Perform initial configuration of the router. See
"Configuring Junos OS on the ACX500 Router" on
Installing and Connecting an ACX500 Outdoor Router Overview
Based on your need, you can install the ACX500 outdoor router in one of the following ways:
123

