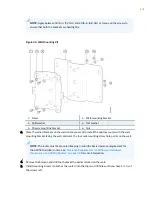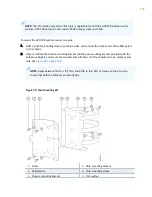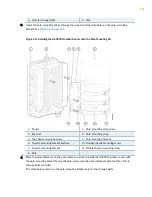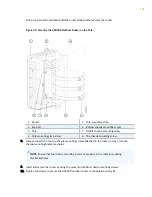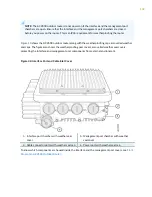
Mounting the ACX500 Outdoor Router on a Wall
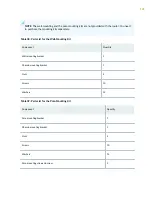
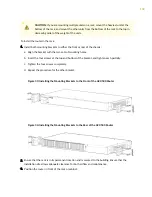
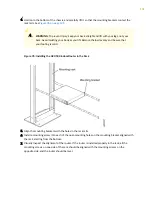
You can mount the ACX500 outdoor router on the wall with the help of a wall-mounting kit. The
ACX500 wall-mounting kit consists of two mounting brackets (one is attached to the rear of the
ACX500 outdoor router and the other to the wall).
The ACX500 outdoor router meets the requirement of the International Protection Code (IP65) for dust-
tight environments and ingress of water jets.
The wall on which you want to install the ACX500 outdoor router along with the wall-mounting kit must
have the following:
• When installing the ACX500 outdoor routers on a wall, the chassis must be installed in a vertical
orientation with the cables pointing downward and the eye bolt for hoisting the router pointing
upward.
• The strength and thickness of the wall must safely support the total weight of the router chassis,
including the mounting brackets and cables, and must comply with local standards and practices.
• The wall must be able to support the weight of the fully configured router (router chassis and
mounting kit).
The AC-powered ACX500 outdoor router weighs 18.2 lb (8.3 kg), and the DC-powered router
weighs 17.5 lb (7.9 kg). The AC-powered ACX500 outdoor router with PoE weighs 18.7 lb (8.5 kg),
and the DC-powered router with PoE weighs 18.6 lb (8.4 kg). The wall-mounting kit weighs 2.8 lb
(1.3 kg).
• When choosing a location, allow at least 6 in. (15.2 cm) of clearance between the sides of the chassis
(with the router in the installed position) and adjacent equipment or walls.
• Ensure that the wall is stable and securely supported.
• If you are mounting the router in wallboard with a gypsum plaster core or in wallboard not backed by
wall studs, use hollow wall anchors capable of supporting the combined weight of two fully loaded
chassis. Insert the screws into wall studs wherever possible to provide added support for the chassis.
• To mount the router, use the wall-mounting kit from Juniper Networks.
• The wall-mounting kit is not part of the standard package and must be ordered separately.
• For service personnel to remove and install hardware components, allow at least 24 in. (60.9 cm) on
top of the router.
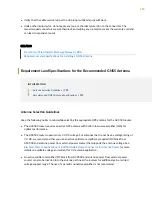
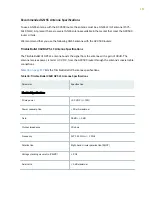
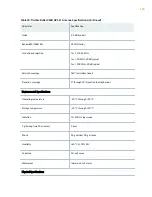
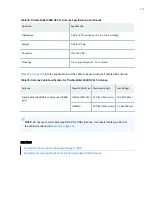
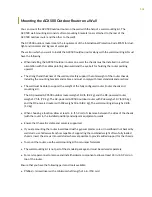
Ensure that you have the following parts and tools available:
• Phillips (+) screwdriver with a minimum shaft length of 6 in. (150 mm)
132

