Programming the ACT2 Controller Using the Maestro Software Interface
55
Unit #3 Condensing Units
Setpoints:
Status:
Circuit
Compr.
Alarms
Condenser Defrost
#1
Next
Prev
Undo
Off:
Unit
Sec
Delay
20
Val
Fan 1
Condenser:
100
On:
Sec
20
120
Board
#3
Energize
Point
Off
1
Min
0
Timed
Normal
Override:
On
Off
Off:
Unit
Sec
Delay
0
Val
Fan 2
0
On:
Sec
0
0
Board
None
Energize
Point
Off
0
Min
0
Timed
Normal
Override:
On
Off
Disc Temp:
Board
None
Pt.
0
Error
0
Disc. Pressure:
#3
2
0
Pressure
Control By:
Temperature
Fan 1:
Override:
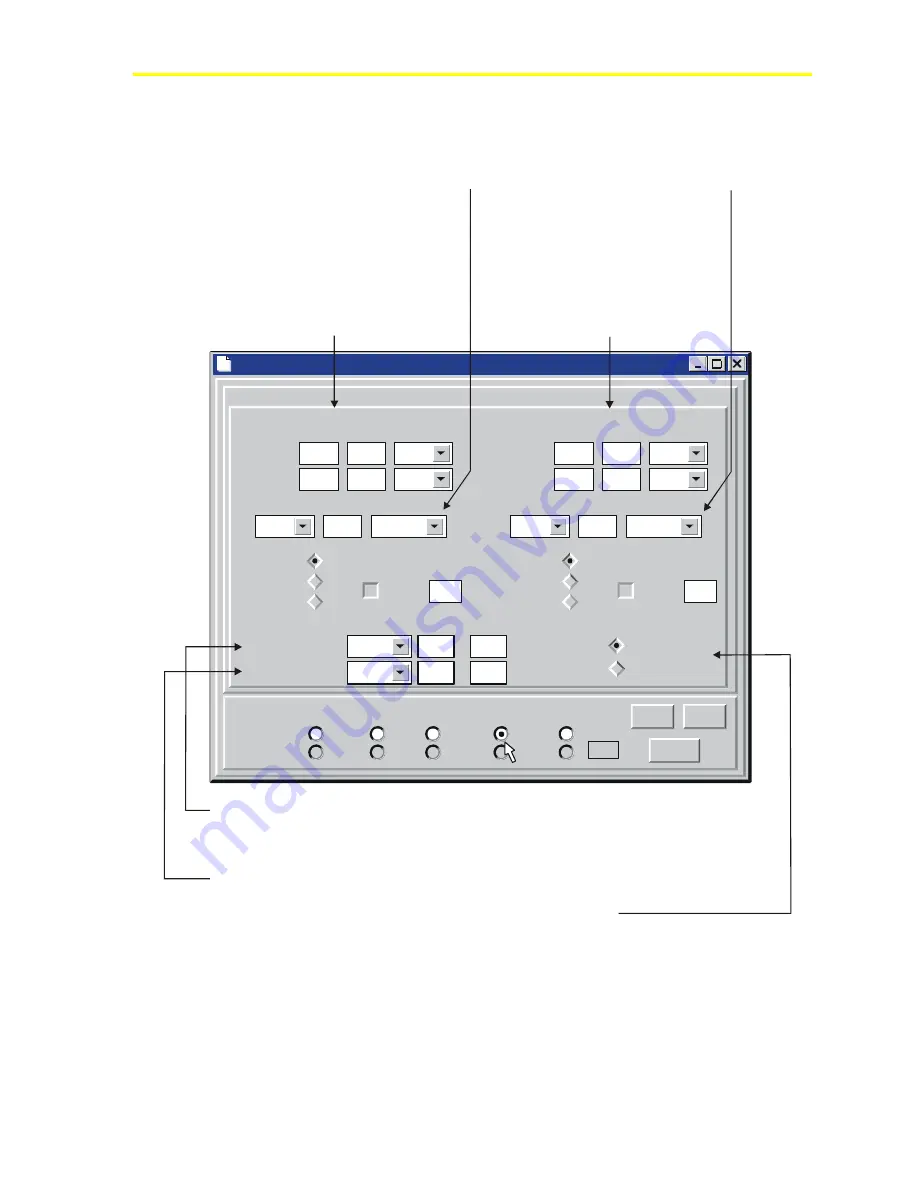
This section defines the
setpoints, action, and I/O board
location of the output for Condenser
Fan 1. In this example, the
condenser fan relay located on
Output Board 3, Point 1 will be
energized* when 100 psig has been
reached for longer than 20 seconds,
and will be de-energized when
120 psig has been reached for
longer than 20 seconds.
This parameter allows
Fan 1 to be overriden On or Off.
The override duration may also be
defined here.
Fan 2:
This section defines the
setpoints, action, and I/O board
location of the output for Condenser
Fan 2.
This section also defines the action
of the Condenser Fan 2 output
when the controller is in the override
mode.
*Energize:
This parameter defines whether the relay
will be energized at the On or Off fan setpoint. In this
example, the Off value (100) energize the relay. This
also defines the relay failure status, In this example, the
relay will fail On.
Disc. Pressure:
Disc. Temp:
Control By:
This defines the location of the discharge pressure sensor, and
any error (offset) associated with that sensor. In the example above, the
discharge pressure sensor is located on Input Board 3, Point 2, and does not have
any offset.
This defines the
location of the discharge temperature
sensor.
This defines whether the condenser fans are controlled by a
temperature or pressure sensor reading.
I/O board
*
*
Figure 51: Refrigeration System Condenser Parameters
Содержание PENN ACT2
Страница 16: ...Maestro Software 16 ...
Страница 30: ...Maestro Software 30 ...
Страница 38: ...Maestro Software 38 3 Click the unit you wish to view Figure 32 Select Unit Dialog 4 Click the OK button ...
Страница 90: ...Maestro Software 90 ...
Страница 102: ...Maestro Software 102 ...
Страница 104: ...Maestro Software 104 ...


