Maestro Software
52
Key Concepts
Refrigeration Setup Screens
Unit #3 Condensing Units
Circuit:
Name: Soda Cooler
Case Temp:
Board
#2
Point
1
Error
0
Liquid line: #3
1
Evap. Fan:
#3
2
Condensing Unit Log Interval:
Evap Fan Delay Input:
5
min
sec
Board
#2
Pt.
3
Delay
30
Digital
Cut on when
Open
Analog
Cut on when <
40
Min
0
Timed
Normal
On
Off
Liq. Line Override:
Overrides:
Min
0
Timed
Normal
On
Off
Evap. Fan Override:
Setpoints:
Status:
Circuit
Compr.
Alarms
Condenser Defrost
Next
Undo
Prev
#1
Name:
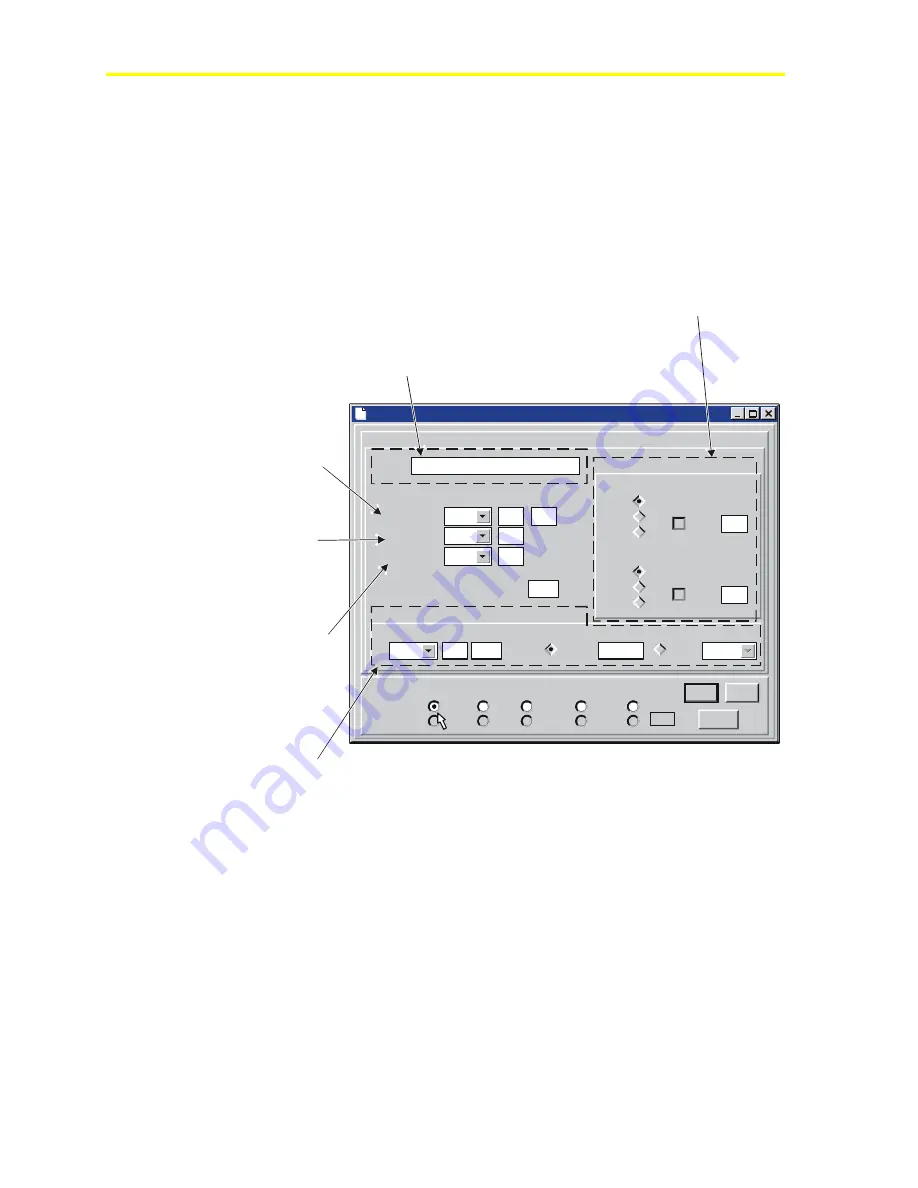
This is a unique identifier
for this refrigeration circuit. It can
be up to 15 characters long.
Case Temperature:
This defines the
I/O board location where the case
temperature sensor is connected. In
this example, the case temperature
sensor is connected on Input Board 2,
Point 1, and there is no error
compensation (offset) associated with
that sensor.
Liquid Line:
This defines the
location of the liquid line solenoid valve
output. In this example, the liquid line
solenoid output is located on Output
Board 3.
I/O board
Evaporator Fan:
This defines the
location of the evaporator fan
output. In this example, the evaporator
fan output is located on Output Board 3,
Point 2.
I/O
board
Overrides:
This section is used to override the liquid line solenoid
output and the evaporator fan output. In the example below, both
outputs are operating normally. Clicking on the On or Off
diamonds would force the output On or Off. Checking the Timed
box allows these outputs to revert to Normal mode after a given
amount of time has elapsed.
Evaporator Fan Delay Input:
This defines the
location of the evaporator fan delay input (sensor or switch),
and defines when the delay will be used. In the example
above, the evaporator fan will not come on until 30 seconds
after the analog sensor at that point falls below 40 degrees.
I/O board
Figure 48: Refrigeration Circuit Setup Parameters
Содержание PENN ACT2
Страница 16: ...Maestro Software 16 ...
Страница 30: ...Maestro Software 30 ...
Страница 38: ...Maestro Software 38 3 Click the unit you wish to view Figure 32 Select Unit Dialog 4 Click the OK button ...
Страница 90: ...Maestro Software 90 ...
Страница 102: ...Maestro Software 102 ...
Страница 104: ...Maestro Software 104 ...


