JA-14K(R) Security System Control Panel
66 / 72
MNX22101
12 Reset of the control panel
You can only restore the default settings of the control panel in the following way if in the N-Link SW
in the Parameters tab the Reset allowed item is checked. If Reset is not allowed and you do not know
the service code, you cannot reset the control panel and the control panel board must be sent to the distributor.
Procedure:
1. Switch the control panel to the Service mode (not obligatory)
2. Open the control panel cover: Reset requires that the tamper contact must be active. If the condition
of point 1 was not fulfilled, an alarm will be released.
3. Disconnect the USB cable from the control panel.
4. Turn off the power supply (most easily by releasing the power supply fuse) and disconnect the battery.
5. Connect the pins on the control panel board marked RESET (using the jumper included in the delivery).
6. First connect the battery and then the power supply of the control panel and wait. The green, yellow and
red signal lamp at the jumper will light up (if just the red signal lamp will remain on, the setting Parameters
/ Reset Allowed is not enabled).
7. Wait for approx. 5 s and then disconnect the jumper.
8. All signal lamps will flash as a confirmation of completion of the control panel reset. Then, a voltage
restart of the control panel and BUS devices will be performed.
9. This way, the control panel has been reset to the default settings, incl. language selection. However,
reset of the control panel does not cause deletion of the history of events saved on the memory SD card.
If Reset was not executed correctly, the control panel will keep the original settings without changes.
13 Firmware updates
The control panels and some other devices of the JA-10 system enable a firmware change. Firmware is usually
changed to extend the useful parameters of the equipment.
13.1 General firmware update rules (FW)
1. A change can only be performed with a computer with the installed N-Link SW
either with the use of local
access via a USB cable or remotely where the possibility to change firmware is limited to BUS devices
and also on bidirectional wireless devices.
2. Firmware (FW) can be changed by a user with the Service authorization.
3. Check whether you are using the up-to-date version of N-Link. The latest version is only accessible for
authorized technicians. Or with already installed N-Link software and Internet access N-Link offers SW
updates after the start automatically and at the same time it downloads the current FW package by itself.
4. Connect the computer to the control panel with a USB cable, the cable is included in the control panel
delivery.
5. Start the
N-Link
software with the control panel connected.
6. Switch the control panel over to the
Service
mode.
7. Start the
Control Panel / Firmware Update
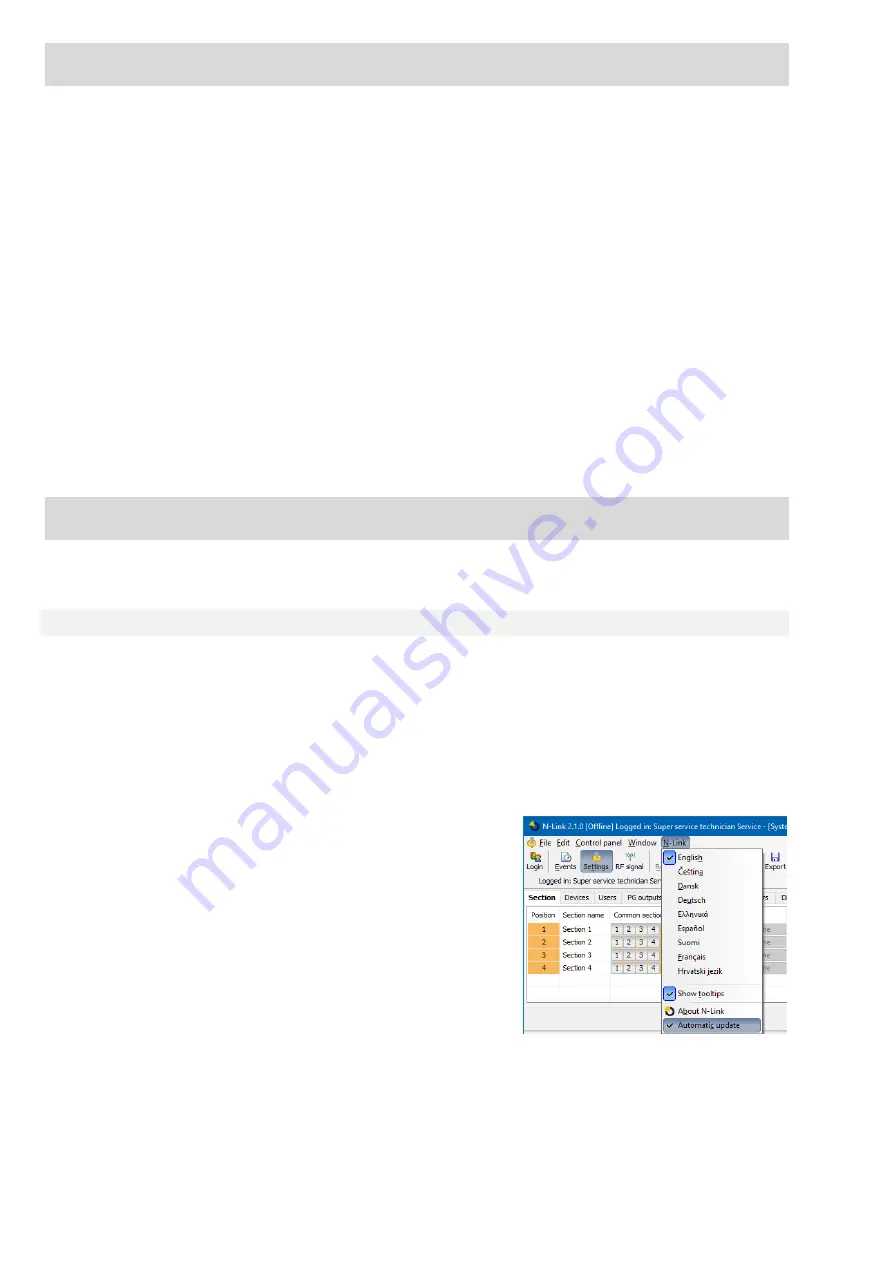
If
Automatic Update
is allowed in the
N-Link
menu (enabled
in the default setting), the list of updatable devices is
displayed. This file is part of N-Link in the
N-Link x.x.x /
Firmware
directory and its up-to-date status is only
guaranteed at the time of the N-Link download. It’s up-to date
status is automatically guaranteed at the time when N-Link is
downloaded.


