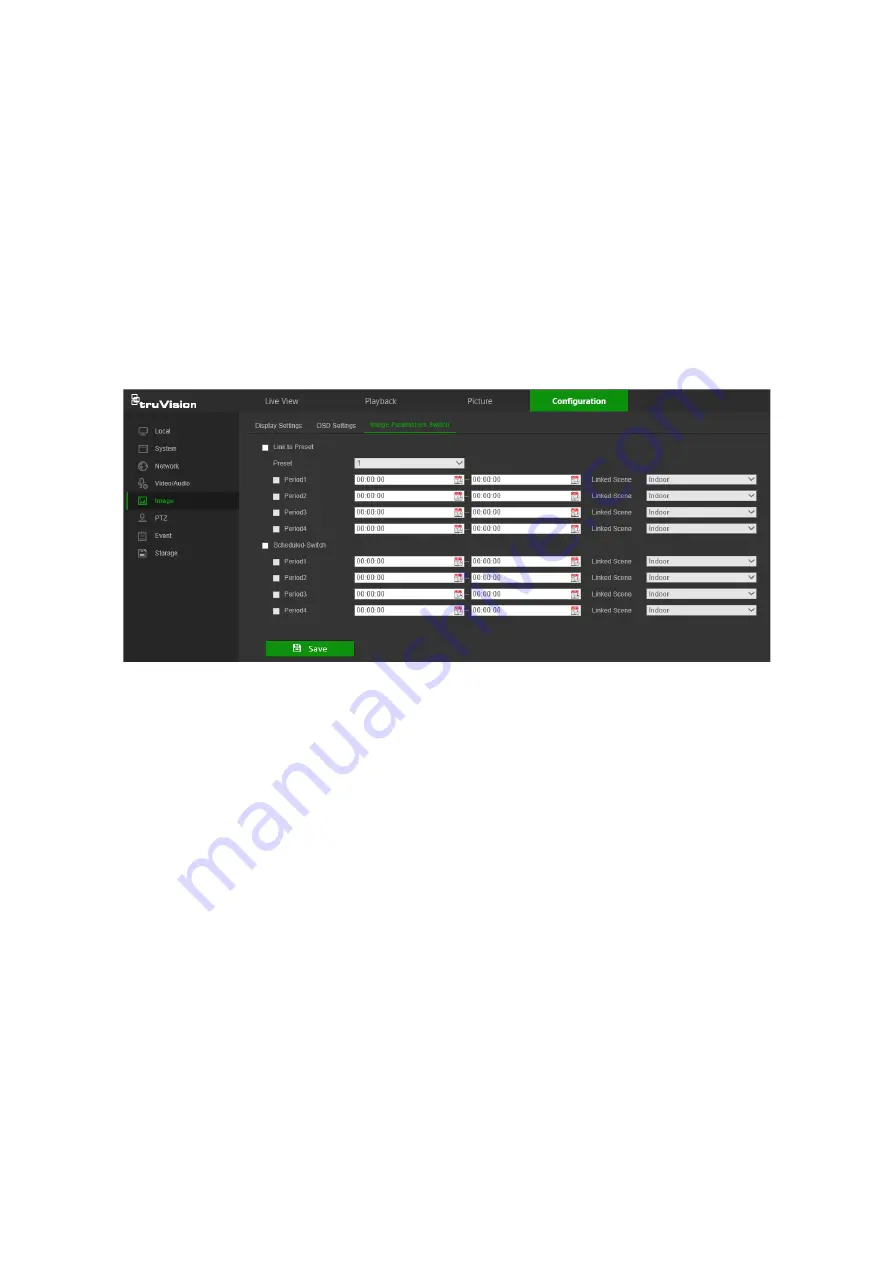
Scheduled-Switch
: Set the time period and linked scene and it will go to the linked
scene in the configured time period when the corresponding check box is selected.
To configure the image parameters switch:
1. From the menu toolbar, click
Configuration
>
Image
>
Image Parameters Switch
.
2. Select the
Link to Preset
or
Scheduled-Switch
check box. Only one of these
functions can be selected.
3. If selecting
Link to Preset
, select a number from the Preset drop-down list.
4. Select up to four time period check boxes, set the time period, and make a selection
from the
Linked Scene
drop-down list for each time period selected (
Indoor
,
Outdoor
,
Day
,
Night
,
Morning
,
Nightfall
,
Street
,
Low Illumination
,
Custom1
,
Custom2
).
5. Click
Save
to save changes.
PTZ parameters
The following sections explain how to configure the different PTZ parameters.
PTZ home position
The initial position is the PTZ home coordinates. It can be the factory default position or
you can customize the initial position to your own requirements.
To set the initial position:
1. From the menu toolbar, click
Configuration
>
PTZ
>
Initial Position
.
2. Click the PTZ control buttons to find a position as the initial position of the camera.
You can also call a defined preset and set it as the initial position.
3. Click
Set
to save the position.
To call and delete the initial position:
• Click
Call
to call the initial position.
• Click
Clear
to delete the initial position and restore the factory default initial position.
28
TruVision Stainless Steel PTZ Camera Configuration Manual


