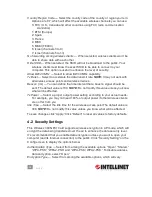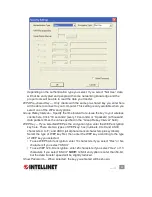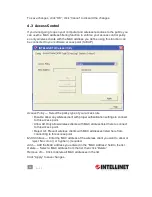
29
CONFIGURATION
You can also set “Config Mode” to “Registrar.” In this mode, this card will wait for
other WPS-enabled access points to send WPS pairing requests. Again, refer
to each device’s user manual to understand how to send WPS requests.
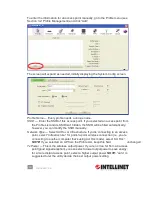
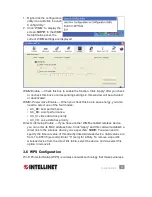
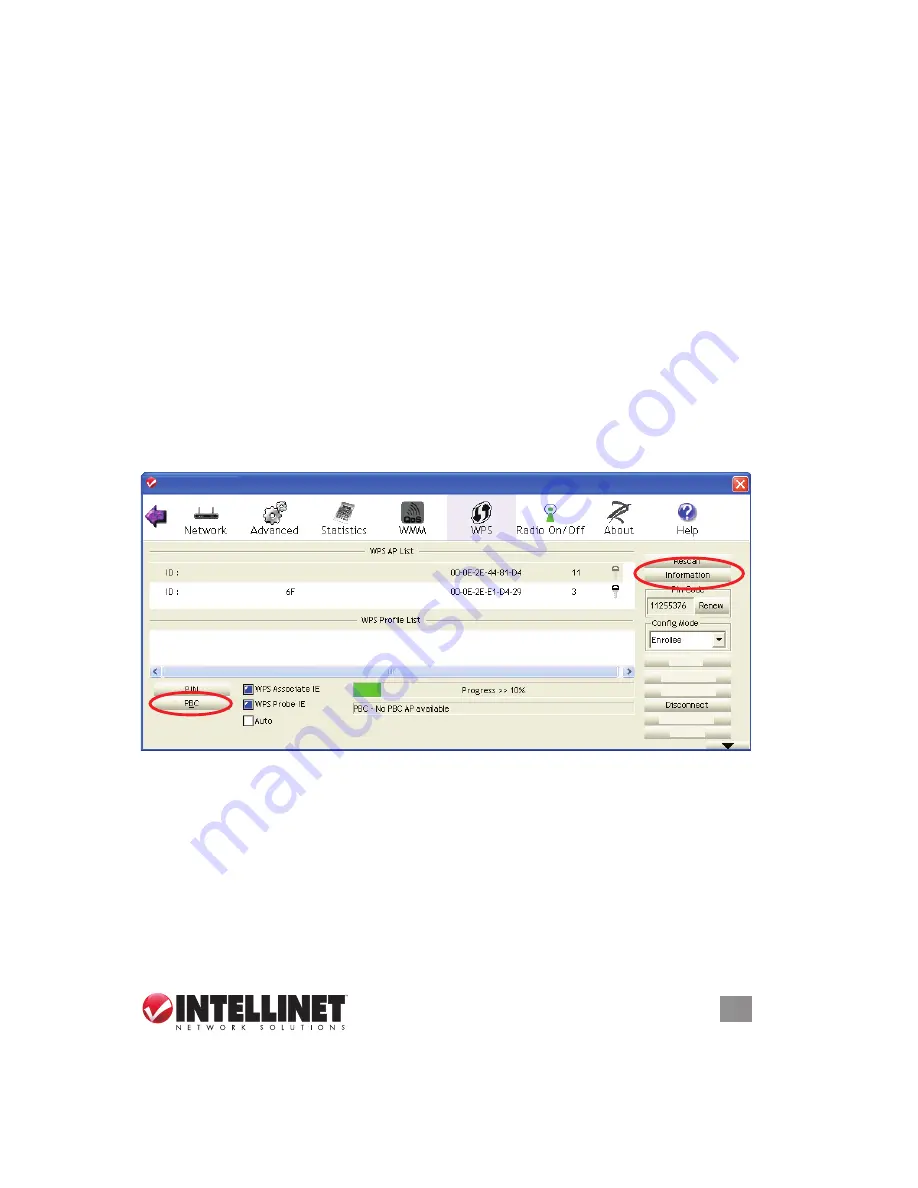
4. Before you begin to establish the wireless connection by using WPS, you can
click “Rescan” to search for WPS-enabled access points near you again in order
to ensure the WPS function of your access point is activated.
All access points with WPS function enabled will be displayed in the WPS AP
List window. Check that the access point you want to connect to is displayed. If
it isn’t, click “Rescan” few more times. You can also click “Information” to see
detailed information about the selected access point.
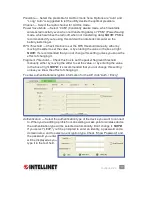
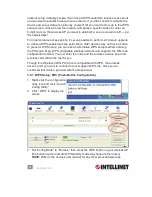
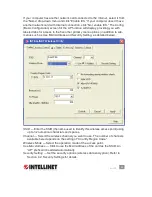
5. Start the PBC pairing procedure on the access point side (refering, as needed,
to the instructions provided by your access point’s manufacturer), then click “PBC”
on the utility screen (below) to begin establishing the wireless connection by
WPS.
NOTE:
This may require a minute or so to complete. When you see the
‘WPS status is connected successfully’ message beneath the Progress field,
the connection between this card and the access point is okay, and information
about access point you’ve connected to will be displayed.
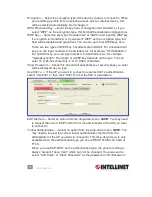
Detail
— Click to see details about the connected device.
Export Profile
— Click to save this connection as a profile.
PBC
— On occasions when WPS pairing fails (as shown on the screen above —
“No PBC AP available” — because no WPS-enabled access point is found)
you can click “PBC” a few more times to try again. When an access point is
connected, you can click “Disconnect” and continue establishing connections
to other WPS-enabled APs that may be found.
Rotate — Click to highlight the next access point on the list.
Delete — Click to remove a device from the WPS AP List.
29
CONFIGURATION
You can also set “Confi g Mode” to “Registrar.” In this mode, this card will wait for
other WPS-enabled access points to send WPS pairing requests. Again, refer
to each device’s user manual to understand how to send WPS requests.
4. Before you begin to establish the wireless connection by using WPS, you can
click “Rescan” to search for WPS-enabled access points near you again in order
to ensure the WPS function of your access point is activated.
All access points with WPS function enabled will be displayed in the WPS AP
List window. Check that the access point you want to connect to is displayed. If
it isn’t, click “Rescan” few more times. You can also click “Information” to see
detailed information about the selected access point.
5. Start the PBC pairing procedure on the access point side (refering, as needed,
to the instructions provided by your access point’s manufacturer), then click “PBC”
on the utility screen (below) to begin establishing the wireless connection by
WPS.
NOTE:
This may require a minute or so to complete. When you see the
‘WPS status is connected successfully’ message beneath the Progress fi eld,
the connection between this card and the access point is okay, and information
about access point you’ve connected to will be displayed.
Detail
— Click to see details about the connected device.
Export Profi le
— Click to save this connection as a profi le.
PBC
— On occasions when WPS pairing fails (as shown on the screen above —
“No PBC AP available” — because no WPS-enabled access point is found)
you can click “PBC” a few more times to try again. When an access point is
connected, you can click “Disconnect” and continue establishing connections
to other WPS-enabled APs that may be found.
Rotate — Click to highlight the next access point on the list.
Delete — Click to remove a device from the WPS AP List.
INTELLINET_UI
INTELLINET_UI
Detail
Export Profi le
Delete
Rotate
Connect


