14
CONFIGURATION
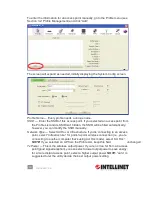
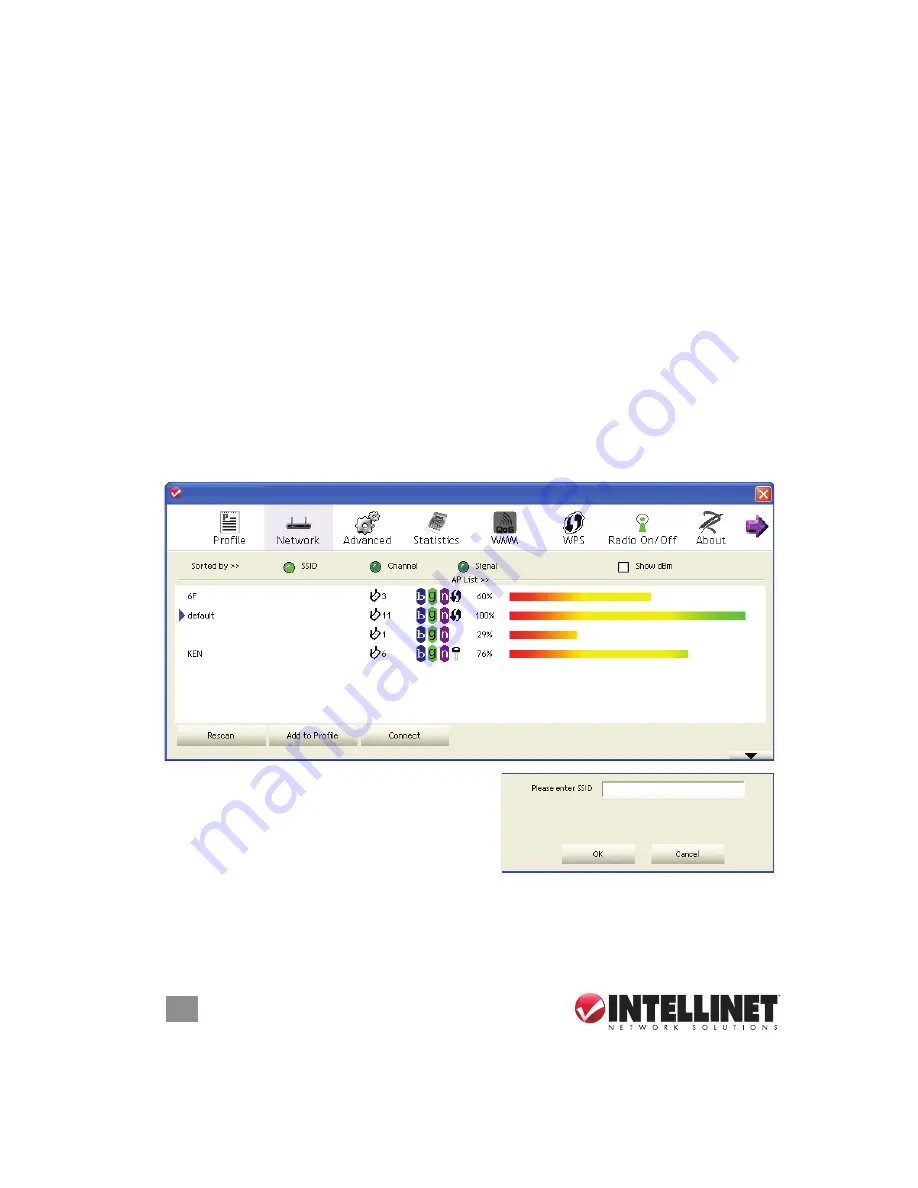
Rescan
— Click to rescan for access points.
Add to Profile
— To store a specific access point in the Profile List (see Section 3.1.3:
Add an Access Point to Profile) so that you can link to it directly without entering
the authentication key again, select the AP, then click “Add to Profile.”
Connect
— Click to connect to whichever access point is selected on the list.
General
—Displays basic information about the selected access point, such as
SSID, MAC address, authentication/encryption type, channel and such.
WPS
— If this access point supports WPS (Wi-Fi Protected Setup), related
information is displayed here.
CCX
—If this access point supports CCX (Cisco Compatible eXtension), related
information is displayed here.
802.11n
— If this access point complies with the 802.11n draft, related information
is displayed here.
3.1.1.2 Connecting to an Access Point
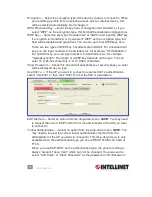
1. Select the wireless access point or network device you want to connect to and
click “Connect.” If the access point you selected doesn’t use encryption, you’ll
be connected to it within a minute. If it
does
use encryption, go to Step 3.
2. If the wireless access point doesn’t show
an SSID, you’ll be prompted to enter it.
NOTE:
If you need to obtain the SSID
from the owner of the wireless access
point you’re connecting to, make sure it’s
exact or the connection won’t work. Once you’ve entered the SSID, click “OK.”
3. If the wireless access point uses encryption, you will be prompted to enter its
WEP key or WPA preshared key.
NOTE:
If you need to obtain the key from the
owner of the device you’re connecting to, make sure it’s exact or the connection
14
CONFIGURATION
Rescan
— Click to rescan for access points.
Add to Profi le
— To store a specifi c access point in the Profi le List (see Section 3.1.3:
Add an Access Point to Profi le) so that you can link to it directly without entering
the authentication key again, select the AP, then click “Add to Profi le.”
Connect
— Click to connect to whichever access point is selected on the list.
General
—Displays basic information about the selected access point, such as
SSID, MAC address, authentication/encryption type, channel and such.
WPS
— If this access point supports WPS (Wi-Fi Protected Setup), related
information is displayed here.
CCX
—If this access point supports CCX (Cisco Compatible eXtension), related
information is displayed here.
802.11n
— If this access point complies with the 802.11n draft, related information
is displayed here.
3.1.1.2 Connecting to an Access Point
1. Select the wireless access point or network device you want to connect to and
click “Connect.” If the access point you selected doesn’t use encryption, you’ll
be connected to it within a minute. If it
does
use encryption, go to Step 3.
2. If the wireless access point doesn’t show
an SSID, you’ll be prompted to enter it.
NOTE:
If you need to obtain the SSID
from the owner of the wireless access
point you’re connecting to, make sure it’s
exact or the connection won’t work. Once you’ve entered the SSID, click “OK.”
3. If the wireless access point uses encryption, you will be prompted to enter its
WEP key or WPA preshared key.
NOTE:
If you need to obtain the key from the
owner of the device you’re connecting to, make sure it’s exact or the connection
INTELLINET_UI
INTELLINET_UI


