28
CONFIGURATION
network setup relatively simple. If you have a WPS-enabled wireless access point
and you want to establish a secure connection to it, you don’t need to configure the
device and set up data encryption by yourself: All you need to do is go to the WPS
setup screen, click an on-screen option, and press a specific button or enter an
8-digit code on the wireless AP you want to establish a secure connection with — just
three simple steps!
For older wireless access points, it’s even possible to perform a firmware upgrade
to create a WPS-enabled access point. Since older devices may not have a button
to press for WPS setup, you can use an alternative WPS setup method: entering
the PIN code. Every WPS-compatible wireless network card supports the PIN code
configuration method: You just enter the code and the wireless access point and
wireless card will do the rest for you.
Though this Wireless 300N PCI Card is compatible with WPS, the wireless
access point you want to connect to must support WPS, too. Once you’ve
confirmed that it does, proceed with the steps below.
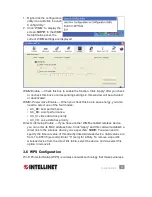
3.6.1 WPS Setup: PBC (Push-Button Configuration)
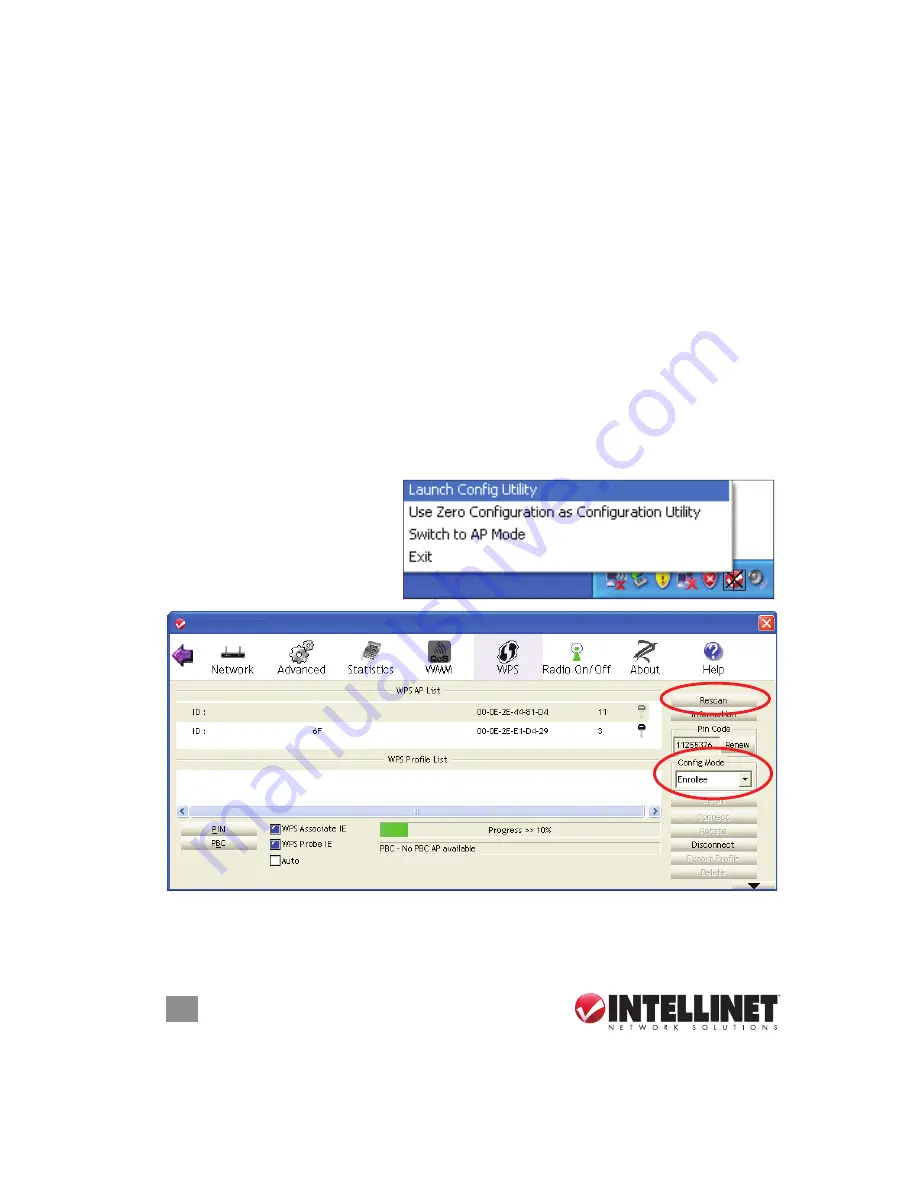
1. Right-click the configuration
utility icon and click “Launch
Config Utility.”
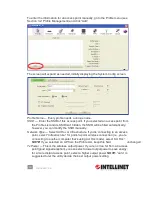
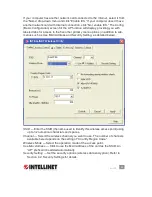
2. Click “WPS” to display the
screen.
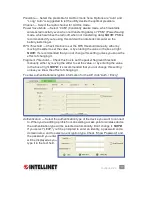
3. Set “Config Mode” to “Enrollee,” then press the WPS button on your wireless AP
(the button used to activate WPS standby mode may have another name).
NOTE:
Refer to the device’s user manual for any other procedure/process.
28
CONFIGURATION
network setup relatively simple. If you have a WPS-enabled wireless access point
and you want to establish a secure connection to it, you don’t need to confi gure the
device and set up data encryption by yourself: All you need to do is go to the WPS
setup screen, click an on-screen option, and press a specifi c button or enter an
8-digit code on the wireless AP you want to establish a secure connection with — just
three simple steps!
For older wireless access points, it’s even possible to perform a fi rmware upgrade
to create a WPS-enabled access point. Since older devices may not have a button
to press for WPS setup, you can use an alternative WPS setup method: entering
the PIN code. Every WPS-compatible wireless network card supports the PIN code
confi guration method: You just enter the code and the wireless access point and
wireless card will do the rest for you.
Though this Wireless 150N PCI Card is compatible with WPS, the wireless access
point you want to connect to must support WPS, too. Once you’ve confi rmed that
it does, proceed with the steps below.
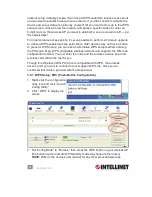
3.6.1 WPS Setup: PBC (Push-Button Confi guration)
1. Right-click the confi guration
utility icon and click “Launch
Confi g Utility.”
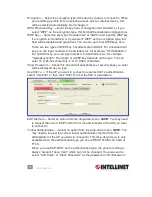
2. Click “WPS” to display the
screen.
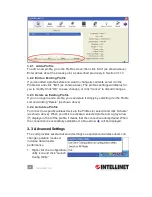
3. Set “Confi g Mode” to “Enrollee,” then press the WPS button on your wireless AP
(the button used to activate WPS standby mode may have another name).
NOTE:
Refer to the device’s user manual for any other procedure/process.
INTELLINET_UI
INTELLINET_UI
26
CONFIGURATION
• Non-Serving Channel Measurements Limit: When you’re connecting to a
CCX-compatible access point, check this box to enable measurements of
unused radio channels in order to improve wireless connectivity.
After you fi nish the settings, click “Apply” so they take effect.
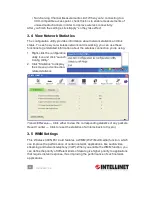
3.4 View Network Statistics
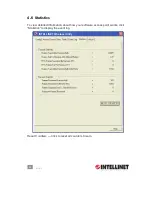
The confi guration utility provides information about network statistics and link
status. To see how your wireless network card is working, you can use these
functions to get detailed information about the wireless connection you’re using.
1. Right-click the confi guration
utility icon and click “Launch
Confi g Utility.”
2. Click “Statistics” to display
the screen and connection-
related statistics.
Transmit/Receive
— Click either to view the corresponding statistics of any packets.
Reset Counter
— Click to reset the statistics of all items back to 0 (zero).
3.5 WMM Settings
This Wireless 150N PCI Card features a WMM (Wi-Fi Multimedia) function, which
can improve the performance of certain network applications, like audio/video
streaming and network telephony (VoIP). When you enable the WMM function, you
can defi ne the priority of different kinds of data to give higher priority to applications
that require instant response, thus improving the performance of such network
applications.
INTELLINET_UI
INTELLINET_UI


