2-9
2
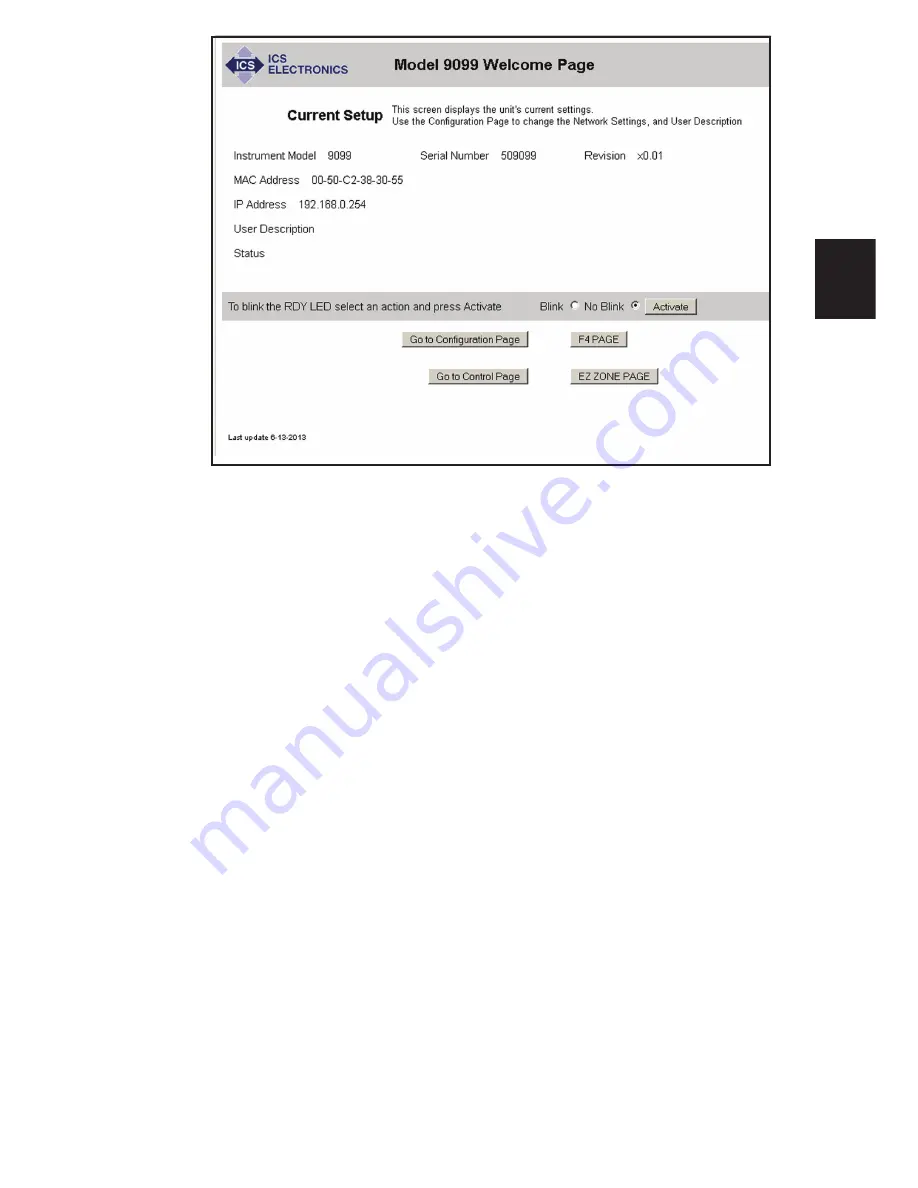
Figure 2-3 9099 Welcome Page
4. If you want to change any settings, press the ‘Go To Configuration
Page’ button. A Configuration Page similar to the one shown in Figure
2-4 should appear in your browser.
5. Enter the new settings as desired. If you select DHCP with AutoIP
Fallback for the TCP/IP Mode, the page blanks the IP, Net and Gate-
way addresses as they will be supplied by your DHCP server. Enter
the serial settings in the lower half of the page. Only enter the Slave
Device Address and enable the Substitute Slave Address if you are
doing Modbus TCP/IP operation and want the 9099 to substitute a
different slave device address for the one in the program you will be
running. Check the entered values carefully as the unit’s webserver
does minimal error checking. Press the ‘Update Flash’ button when
done. A Confirmation Page similar to the one shown in Figure 2-5
will appear in your browser.
6. The new settings have been saved in the unit’s flash memory. The
unit has to be rebooted or power cycled for the changes to take affect.
Press the ‘Reboot’ button to reboot the unit now. A Rebooting Page
will appear in your browser. If you changed the unit’s IP address, you
may have to reset your computer’s network setting in order to relink
with the 9009 or 9099.
Содержание 9099
Страница 20: ...1 16 1 Figure 1 1 9009 Outline Dimensions ...
Страница 24: ...1 20 1 Figure 1 3 9099 Certificate of Compliance ...
Страница 54: ...3 8 3 Figure 3 1 Status Reporting Structure Flash Configuration Reset ...
Страница 94: ...3 48 3 This page left intentionally blank ...
Страница 100: ...4 4 6 This page is left intentionally blank ...
Страница 161: ...A 49 A4 Refer to the ErrorLogger utility for the error value definitions Error Meaning 0 No error ...


