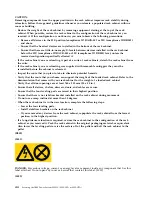


CAUTION:
A hot surface nearby. (L007)
6.
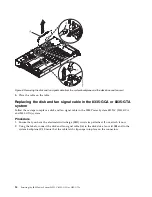
Find the package that contains the replacement drive.
Attention:
Drives are fragile. Handle with care.
7.
Remove the drive from the static-protective package and place it on an ESD mat.
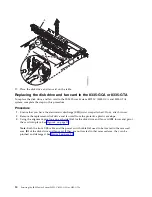
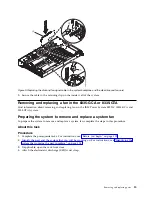
Removing and replacing a disk drive in the 8335-GCA or 8335-GTA
system
Follow these steps to remove a disk drive in the IBM Power System S822LC (8335-GCA and 8335-GTA)
system.
Procedure
1.
Ensure that you have the electrostatic discharge (ESD) wrist strap attached. If not, attach it now.
2.
Locate the faulty drive. The amber LED on the front of the disk drive unit indicates the faulty drive
by a steady light.
3.
Ensure that the media device is unmounted in the Linux system and if needed, remove the media
from the device.
a.
Logically remove the device from the Linux system.
b.
Identify which disk (such as sda or sdb) to remove. Assume sda for this example. Log in as the
root user. Run this command:
echo 1 > /sys/block/sda/device/delete
c.
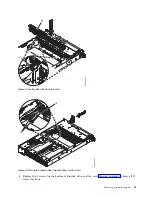
Physically remove the drive from the system.
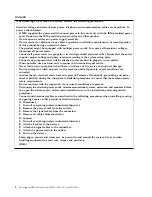
Remove
:
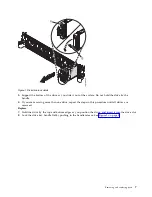
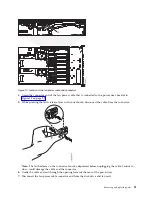
4.
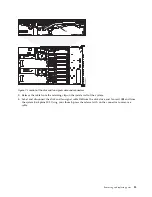
Unlock the drive bay handle (B) by pushing the handle release (A) up. The handle (B) snaps out
towards you. If the handle does not snap all the way out, the drive does not slide out of the system.
See Figure 1 on page 7.
6
Servicing the IBM Power System S822LC (8335-GCA or 8335-GTA)
Содержание S822LC
Страница 1: ...Power Systems Servicing the IBM Power System S822LC 8335 GCA or 8335 GTA IBM...
Страница 2: ......
Страница 3: ...Power Systems Servicing the IBM Power System S822LC 8335 GCA or 8335 GTA IBM...
Страница 16: ...xiv Servicing the IBM Power System S822LC 8335 GCA or 8335 GTA...
Страница 134: ...118 Servicing the IBM Power System S822LC 8335 GCA or 8335 GTA...
Страница 145: ...Notices 129...
Страница 146: ...IBM Printed in USA...


