86
Screen Snapshots and Recordings
Display a Saved Screen Snapshot from Snapshot and Recording View
1. Display the Screen Snapshot and Recording View on-screen.
2.
Select a Snapshot:
Press the UP or DOWN Cursor keys to scroll through the saved files.
3.
Display:
Press the RIGHT Cursor key.
4.
Close:
Press the LEFT Cursor key.
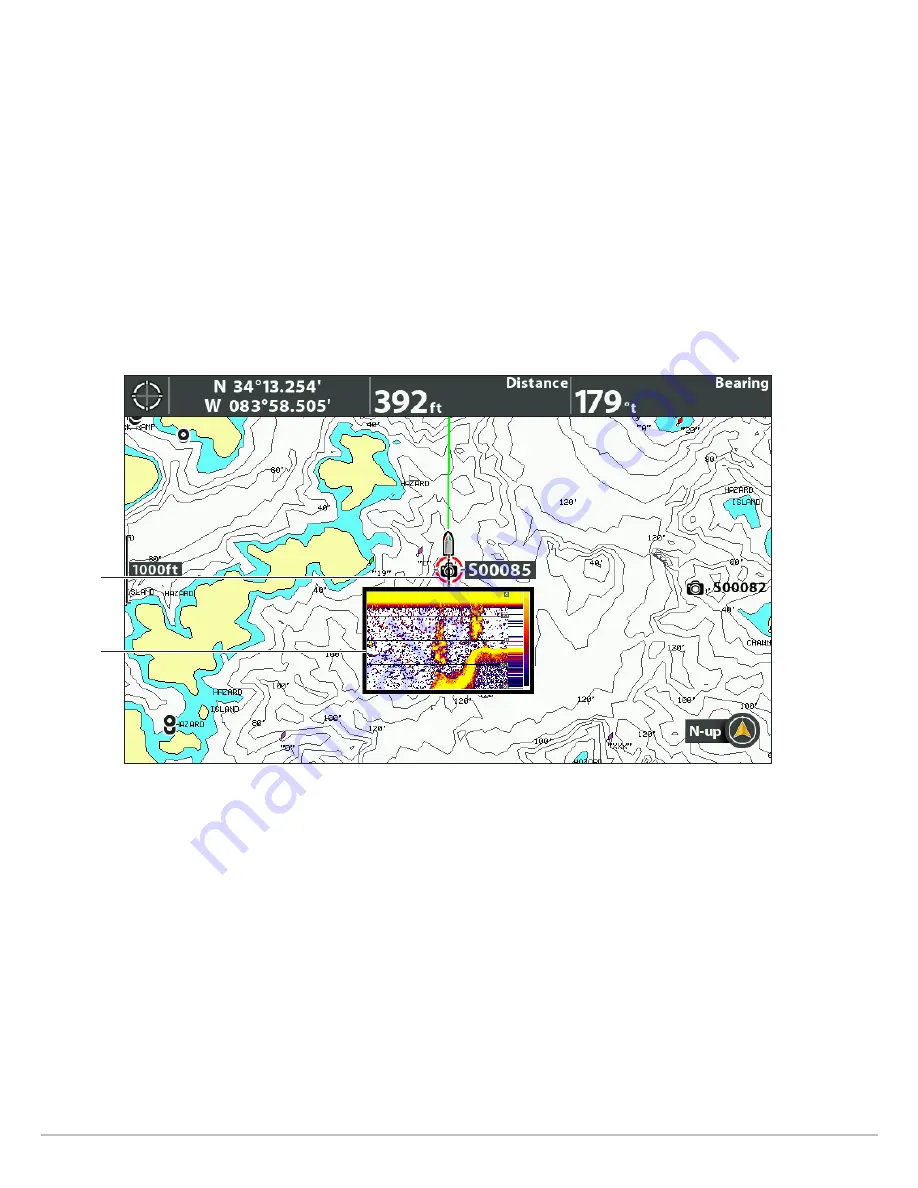
Display a Saved Screen Snapshot from Chart View
1. Display a Chart View on-screen.
2.
Select a Snapshot:
Use the Cursor key to select a screen snapshot icon.
3.
Display:
Press the CHECK/INFO key.
4.
Close:
Press the EXIT key.
Delete a Screen Snapshot
1. Display the Screen Snapshot and Recording View on-screen.
2.
Select a Snapshot:
Press the UP or DOWN Cursor keys to scroll through the saved files.
3. Press the MENU key.
4. Select Delete Image. Press the RIGHT Cursor key.
Delete all Screen Snapshots
1. Display the Screen Snapshot and Recording View on-screen.
2. Press the MENU key.
3. Select Delete All Images. Press the RIGHT Cursor key.
Selecting a Screen Snapshot in Chart View
screen
snapshot
icon
selected
thumbnail
preview
Содержание HELIX 10
Страница 1: ...HELIX 9 HELIX 10 and HELIX 12 Operations Guide 532400 2EN_A ...
Страница 4: ...4 ...
Страница 6: ...6 ...
Страница 179: ...179 Specifications HELIX 9 In Dash Mount 13 44 341 38 mm 7 114 180 7 mm 3 685 93 59 mm 3 991 101 37 mm 1 324 33 63 mm ...
Страница 184: ...184 Specifications HELIX 10 In Dash Mount 13 44 341 38 mm 7 114 180 7 mm 3 685 93 59 mm 3 991 101 37 mm 1 324 33 63 mm ...
Страница 189: ...189 Specifications 3 69 94 mm 3 99 101 mm 1 32 34mm HELIX 12 In Dash Mount 14 86 377 mm 8 52 216 mm ...


