


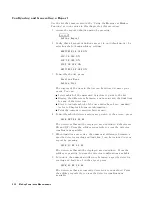

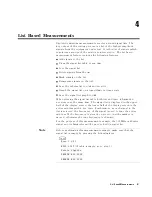

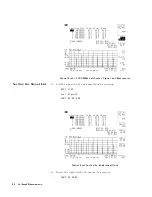


Figure
3-3.
Using
the
Measure
at
Marker
Function
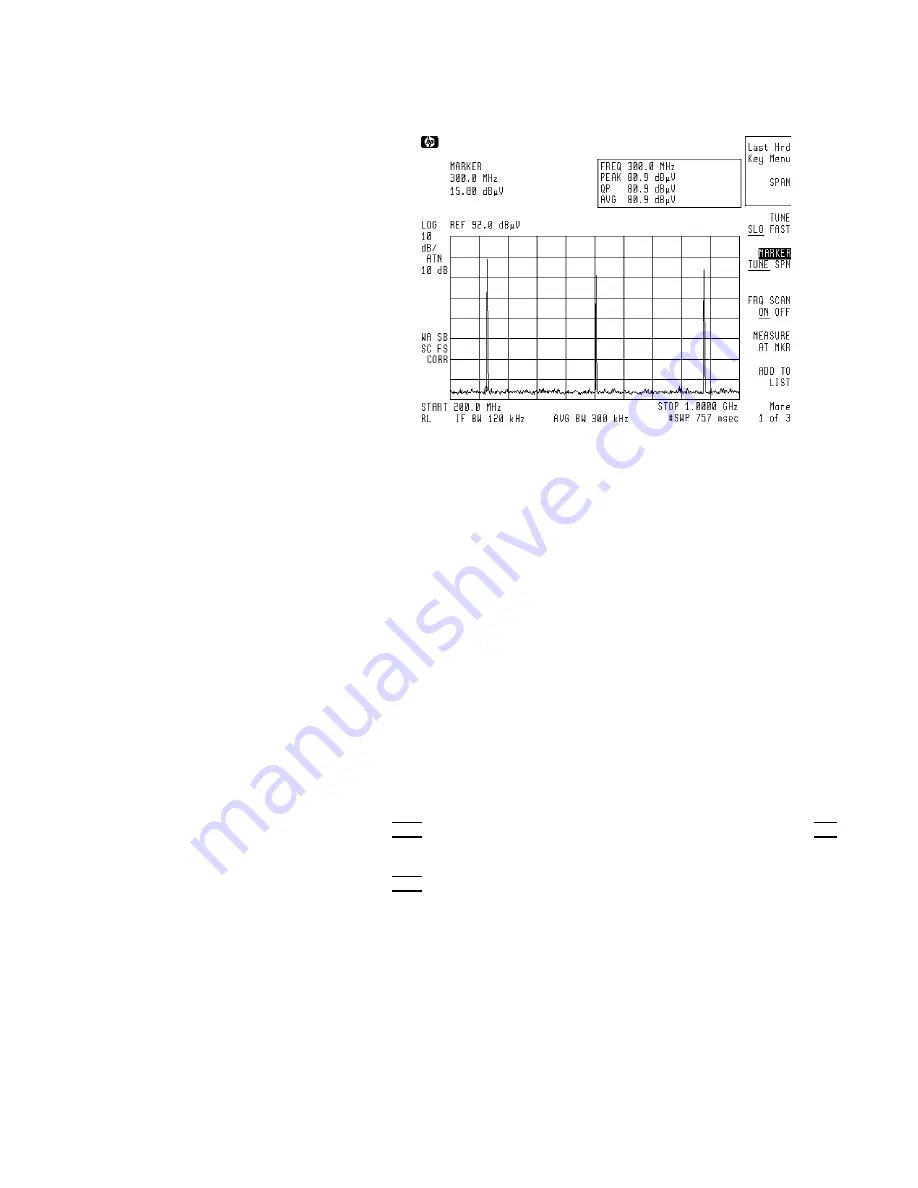
7.
Rotate
the
knob
until
the
marker
is
on
the
peak
of
the
600
MHz
calibrator
signal,
and
then
press:
NNNNNNNNNNNNNNNNNNNNNNNNNNNNNNNNNNNNNNNNNNNN
MEASURE
AT
MKR
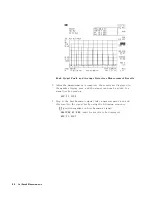
8.
When
the
receiver
displays
the
measured
values
,
press:
NNNNNNNNNNNNNNNNNNNNNNNNNNNNNNNNNNN
ADD
TO
LIST
9.
Rotate
the
knob
until
the
marker
is
on
the
peak
of
the
900
MHz
calibrator
signal,
and
then
press:
N
NNNNNNNNNNNNNNNNNNNNNNNNNNNNNNNNNNNNNNNNNNN
MEASURE
AT
MKR
10.
When
the
receiver
displays
the
measured
values
,
press:
N
NNNNNNNNNNNNNNNNNNNNNNNNNNNNNNNNNN
ADD
TO
LIST
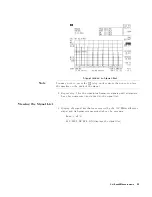
11.
Change
the
displayed
span
by
pressing:
4
SP
AN
5
:
:
:
:
:
:
:
:
:
:
:
:
:
:
:
:
:
:
:
:
:
:
:
:
:
:
:
:
:
:
:
:
:
:
:
:
:
:
:
:
:
:
:
:
:
:
:
:
:
:
:
:
:
10
4
MHz
5
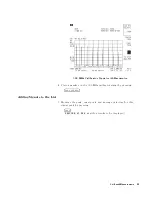
12.
View
the
signals
entered
into
the
list
by
pressing:
4
TEST
5
NNNNNNNNNNNNNNNNNNNNNNNNNNNNNNNNNNN
More
1
of
3
NNNNNNNNNNNNNNNNNNNNNNNNNNNNNNNNNNNNNNNNNNNNNNN
SIG
LIST
ON
OFF
ON
Use
the
step
keys
to
step
through
the
list.
The
receiver
highlights
the
selection
and
automatically
tunes
to
the
indicated
frequency
.
Refer
to
Chapter
5
for
more
information.
Making
Compliance
Measurements
3-17
Содержание 85422E
Страница 14: ...7 13 Using 3rd Ord Meas Function 7 19 12 1 External Keyboard Template 12 8 Contents 7 ...
Страница 61: ......
Страница 81: ......
Страница 116: ...Figure 6 25 Using Linearity Check to Identify Distortion Products Making EMI Diagnostic Measurements 6 35 ...
Страница 137: ......
Страница 161: ......
Страница 183: ......
Страница 195: ......
Страница 210: ...If nonrecoverable system errors occur regularly contact your HP representative Error Messages 13 15 ...
Страница 211: ......
Страница 218: ...Customer Support 14 7 ...
Страница 219: ......
Страница 229: ......