2.
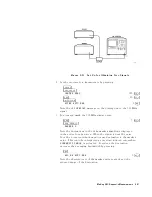
Set
the
receiver
to
a
known
state
by
pressing:
4
PRESET
5
4
FREQUENCY
5
NNNNNNNNNNNNNNNNNNNNNNNNNNNNNNNNNNN
CENTER
FREQ
:
:
:
:
:
:
:
:
:
:
:
:
:
:
:
:
:
:
:
:
:
:
:
:
:
:
:
:
:
:
:
:
:
:
:
:
:
:
:
:
:
:
300
4
MHz
5
4
SP
AN
5
:
:
:
:
:
:
:
:
:
:
:
:
:
:
:
:
:
:
:
:
:
:
:
:
:
:
:
:
:
:
:
:
:
:
:
:
:
:
:
:
:
:
:
:
:
:
:
:
:
:
:
:
:
:
20
4
MHz
5
4
AMPLITUDE
5
NNNNNNNNNNNNNNNNNNNNNNNNNNNNNNNNNNNNNNNNNNNN
ATTEN
AUTO
MAN
:
:
:
:
:
:
:
:
:
:
:
:
:
:
:
:
:
:
:
:
:
:
:
:
:
:
:
:
:
:
:
:
:
:
:
:
:
:
:
:
:
:
0
4
dB
5
4
PREAMP
5
ON
(T
oggles
on
and
o.)
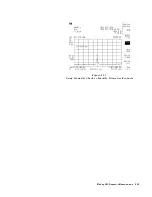
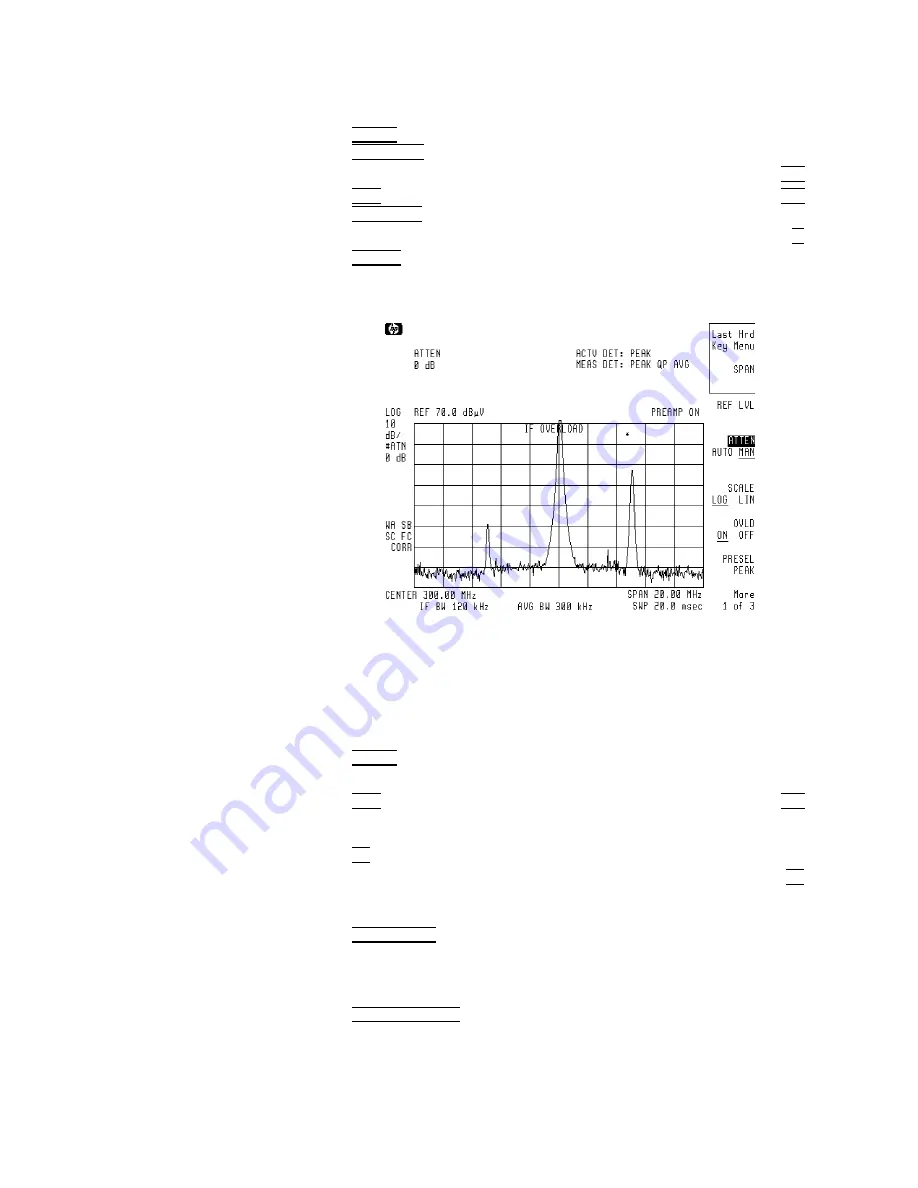
Figure
6-24.
Generating
Third
Order
Distortion
Products
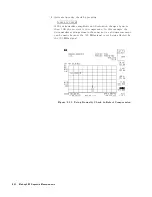
Note
the
IF
OVERLOAD
message
.
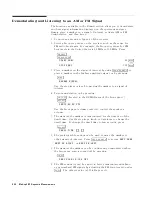
3.
Use
the
knob
to
place
the
marker
on
the
295
MHz
signal.
Center
the
signal
on
the
display
and
decrease
the
span
by
pressing:
4
MKR
!
5
N
NNNNNNNNNNNNNNNNNNNNNNNNNNN
MKR
!
CF
4
SP
AN
5
:
:
:
:
:
:
:
:
:
:
:
:
:
:
:
:
:
:
:
:
:
:
:
:
:
:
:
:
:
:
:
:
:
:
:
:
:
:
:
:
:
:
:
:
:
:
:
:
:
:
:
:
:
:
:
5
4
MHz
5
4.
Reduce
the
noise
induced
uctuations
by
pressing:
4
BW
5
NNNNNNNNNNNNNNNNNNNNNNNNNNNNNNNNNNNNNNNNNNNNNNNNNN
AVG
BW
AUTO
MAN
:
:
:
:
:
:
:
:
:
:
:
:
:
:
:
:
:
:
:
:
:
:
:
:
:
:
:
:
:
:
:
:
:
:
:
:
:
:
:
1
4
kHz
5
5.
Observe
the
marker
delta
amplitude
as
you
press:
4
PEAK
SEARCH
5
NNNNNNNNNNNNNNNNNNNNNNNNNN
MARKER
1
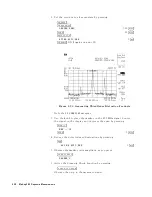
6.
A
ctive
the
Linearity
Check
function
by
pressing:
4
LINEARITY
CHECK
5
Observe
the
drop
in
the
measured
signal.
6-34
Making
EMI
Diagnostic
Measurements
Содержание 85422E
Страница 14: ...7 13 Using 3rd Ord Meas Function 7 19 12 1 External Keyboard Template 12 8 Contents 7 ...
Страница 61: ......
Страница 81: ......
Страница 116: ...Figure 6 25 Using Linearity Check to Identify Distortion Products Making EMI Diagnostic Measurements 6 35 ...
Страница 137: ......
Страница 161: ......
Страница 183: ......
Страница 195: ......
Страница 210: ...If nonrecoverable system errors occur regularly contact your HP representative Error Messages 13 15 ...
Страница 211: ......
Страница 218: ...Customer Support 14 7 ...
Страница 219: ......
Страница 229: ......


