123
3-8-1 Basic NAT Settings (Enable or disable NAT function)
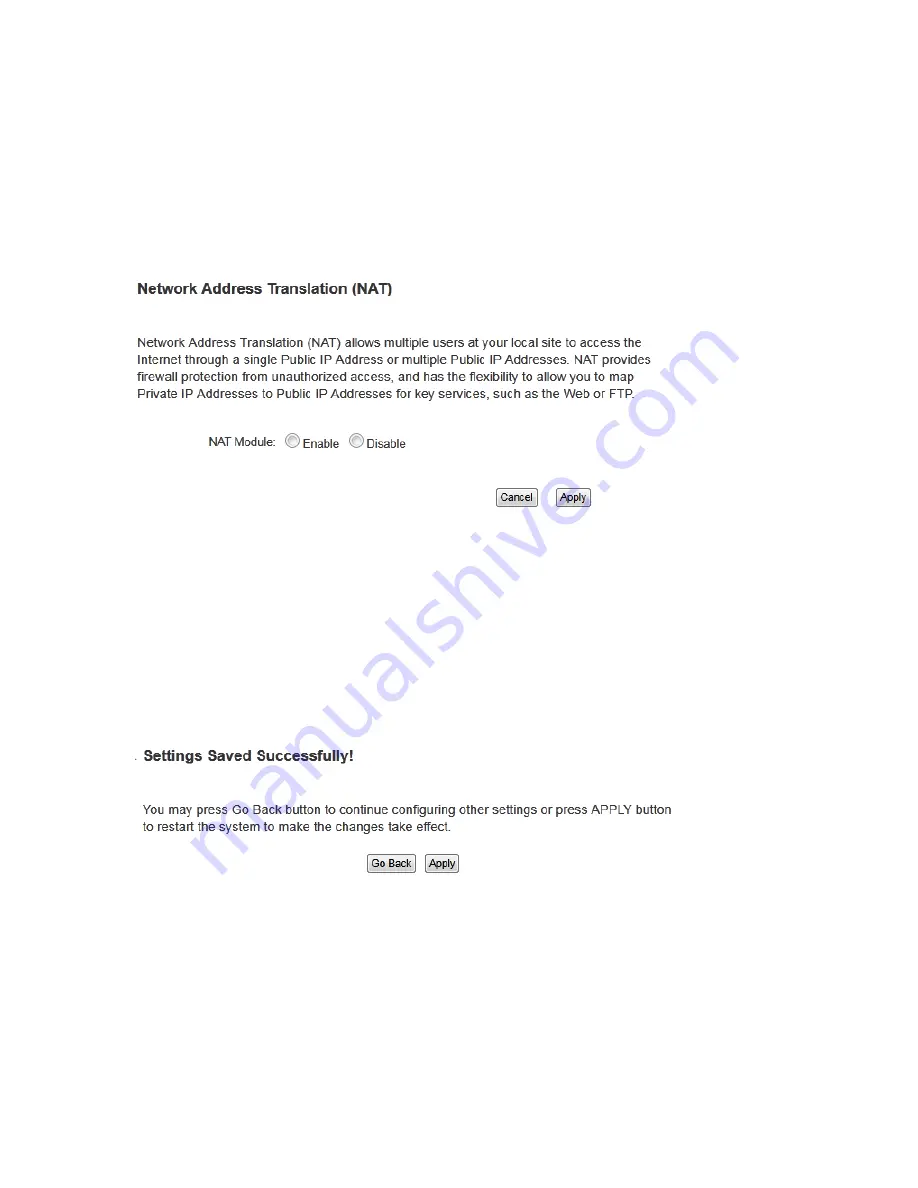
Please click ‘NAT’ menu on the left of web management interface, and the following
message will be displayed on your web browser:
To enable NAT function, please select ‘Enable’ for ‘Enable NAT module function’ (1); to
disable, please select ‘Disable’.
After you made the selection, please click ‘Apply’ button (2) and the following message
will be displayed on your web browser:
Press ‘Go Back’ to save the settings made and go back to web management interface;
press ‘Apply’ to save the settings made and restart the router so the settings will take
effect after it reboots.
1
2
Содержание HW9ACM
Страница 18: ...11...
Страница 20: ...13...
Страница 22: ...15...
Страница 24: ...17...
Страница 27: ...20 Look for Hawking_HW9ACM then select to connect...
Страница 32: ...25 2 3 1 Setup Procedure for Repeater Step 1 Choose Extender Mode...
Страница 35: ...28 Step 6 Congratulations You have completed the setup of the HW9ACM Click Finish for the device to reboot...
Страница 36: ...29 2 3 2 Setup Procedure for Router...
Страница 37: ...30 Step 1 Choose Router Mode Step 2 Choose your Time Zone This is used for system and security logs Click Next...
Страница 41: ...34 2 3 3 Setup Procedure for Access Point Step 1 Choose Access Point Mode Step 2 Choose your settings...
Страница 46: ...39 2 3 4 Setup Procedure Bridge Step 1 Choose Bridge Mode...
Страница 47: ...40 Step 2 Enter in your bridge settings 1 3 4 2...
Страница 50: ...43 2 3 5 Setup procedure for Bridge Point to Point Step 1 Choose Bridge Point to Point Mode...
Страница 51: ...44 Step 2 Enter your Bridge Point to Point settings...
Страница 55: ...48...
Страница 56: ...49 2 3 6 Setup procedure for Bridge Point to Multi Point Step 1 Choose Bridge Point to Multi Point Mode...
Страница 57: ...50...
Страница 62: ...55 2 3 7 Setup Procedure for Bridge WDS Step 1 Choose Bridge WDS Mode...
Страница 63: ...56...
Страница 116: ...109 point to reboot...
Страница 162: ...155 NOTE Information displayed here may vary...


