86
Communication Menu
10.3 USB-A port (host)
This option allows the export or import of data from an external mass storage device. The
device must first be connected to the instrument through the USB-A port.
Select one of the two import options (product list or access table) to import data from the
storage device. This is useful for transferring these files to additional instruments without the
need of having to re-enter the data individually on each instrument.
Note:
The imported data will override any current settings on the instrument.
Select the export option to export data from the instrument to the storage device. This will export
all stored data: measurements, calibrations, product list, access table, etc.
For both import and export options, the progress bar is updated to give an indication of the
progress of the selected option.
The USB-A port is also used to update the instrument software. If the software is present on the
USB storage device, the update process starts automatically.
10.4 HTTP/TCP-IP
10.4.1 Overview
When activated this option downloads data from the instrument directly to a web page that can
be accessed from a PC. To be able to use this option, the instrument must be connected to the
network (specifically
Connector P3
. Refer to
Main board connections on page 31
. The network
must have a DHCP server installed.
•
Check the Enable server box to enable the web server communication link.
•
Enter the Server name for the instrument. This is free format text and should typically be
used to identify the instrument.
•
Check the Enable security box if you require a password to be entered on the PC to access
the web page.
If any of the details on the previous screen have been changed, a warning message will be
displayed as illustrated left.
The changes must be confirmed, after which the instrument must be powered down and
powered up again for the changes to take effect.
Note:
The IP Diagnostics button at the bottom of the screen is for use by experienced IT personnel only to
help resolve any communications problems.
10.4.2 PC interface
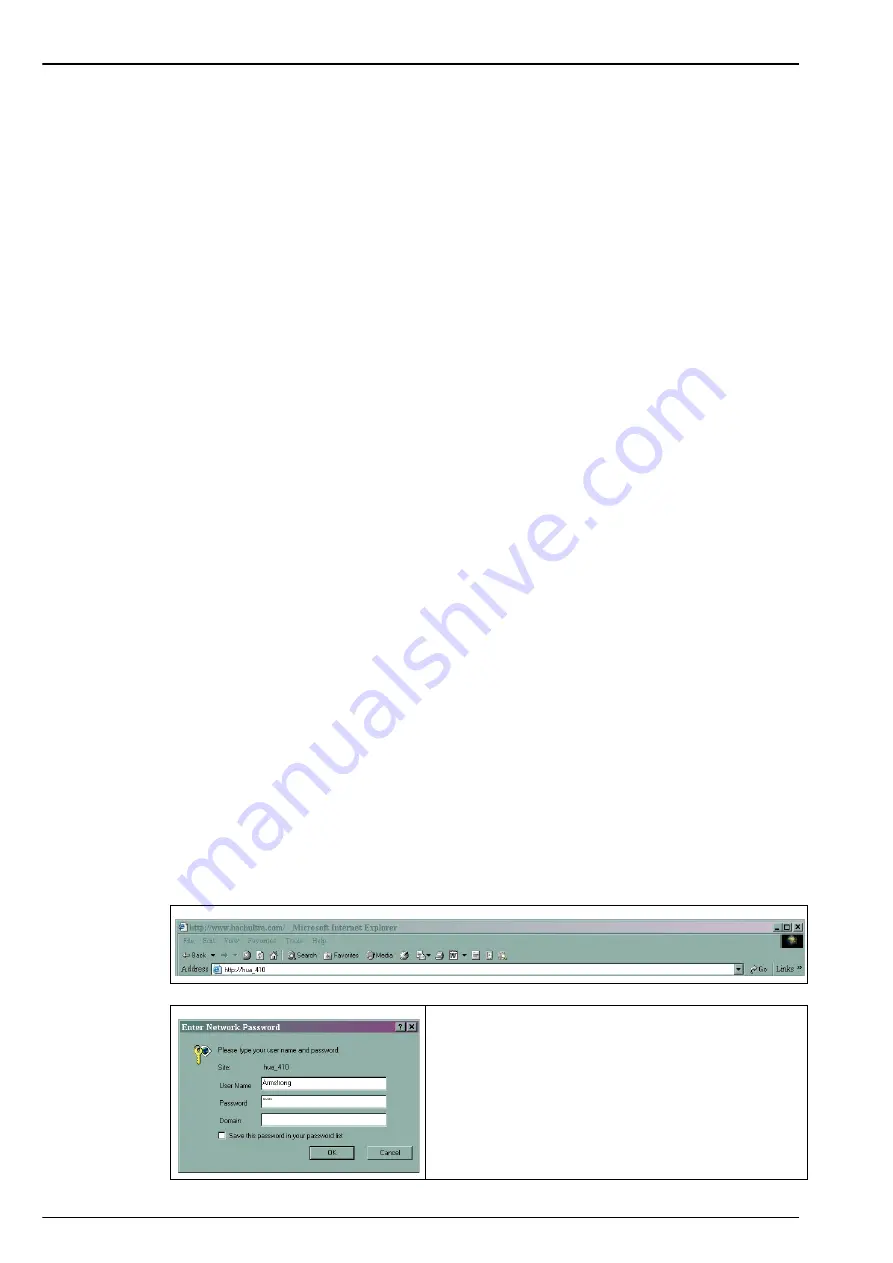
Once the server has been enabled and the interface information set up, access the information
by launching an internet browser and typing “
http://
” followed by the server name that has been
assigned to the instrument, in the address box as illustrated below:
If the enable security option has been checked on the
instrument, you will be required to enter a username
and password on your PC to gain access to the web
page.
The username and password must be a valid
username/password combination that has been set up
on the instrument. Refer to
for user set up information. Domain
information is not required.
Содержание ORBISPHERE K-M1100
Страница 1: ...DOC024 52 93023 ORBISPHERE Model K M1100 Sensor and Model 410 Analyzer USER MANUAL 01 2021 Edition 18 ...
Страница 5: ...4 Table of Contents ...
Страница 19: ...18 Specifications ...
Страница 39: ...38 Installation ...
Страница 45: ...44 User Interface ...
Страница 48: ...47 Section 6 View Menu Figure 33 View menu ...
Страница 51: ...50 View Menu ...
Страница 52: ...51 Section 7 Measurement Menu Figure 36 Measurement menu ...
Страница 59: ...58 Measurement Menu ...
Страница 65: ...64 Calibration Menu ...
Страница 66: ...65 Section 9 Inputs Outputs Menu Figure 39 Inputs Outputs menu ...
Страница 68: ...67 Inputs Outputs Menu 9 4 Analog outputs Figure 40 Analog outputs menu ...
Страница 75: ...74 Inputs Outputs Menu ...
Страница 91: ...90 Communication Menu ...
Страница 94: ...93 Section 12 Products Menu Figure 43 Products menu ...
Страница 97: ...96 Global Configuration Menu ...
Страница 98: ...97 Section 14 Services Menu Figure 45 Services menu part 1 ...
Страница 99: ...98 Services Menu Figure 46 Services menu part 2 ...
Страница 107: ...106 Maintenance and Troubleshooting ...
Страница 113: ...112 Accessories and Spare Parts ...


