Section 4 • Repair Procedures
Part No. 227656
GR-20J • GR-26J
4 - 39
September 2016
9-3
Battery Charger
How to Remove the Battery
Charger
Electrocution/burn hazard. Contact
with electrically charged circuits
could result in death or serious
injury. Remove all rings, watches
and other jewelry.
1 Turn the key switch to off position and push in
the red Emergency Stop button to the off
position at both the ground and platform
controls.
2 Open and remove the turntable cover at the
ground control side of the machine.
3 Tag and disconnect the cables connected to the
ground terminal of the battery.
4 Tag and disconnect the black and red battery
charger wires from the battery.
5 Tag and disconnect the power cable from the
battery charger.
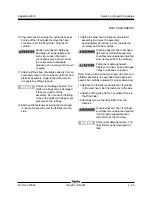
6 Locate the LED at the bottom of the bulkhead.
Tag and disconnect the LED wire harness
connector.
7 Tag and disconnect the charger cutout harness
connector.
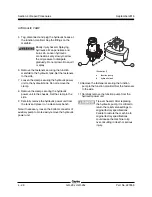
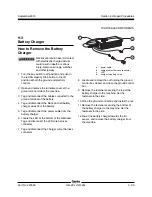
a
power cable
b
charger cutout harness connector
c
LED
d
charger-to-battery wires
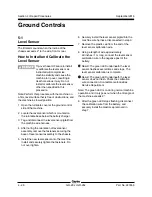
8 Locate and remove the nut holding the ground
control box closed, and open the ground control
box.
9 Remove the fasteners securing the top of the
battery charger to the machine. Set the
fasteners to the side.
10 Close the ground control box and install the nut.
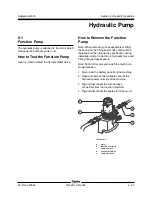
11 Remove the fasteners securing the bottom of
the battery charger to the machine. Set the
fasteners to the side.
12 Lower the battery charger towards the tilt
sensor, and remove the battery charger from
the machine.
TURNTABLE COMPONENTS
b
a
d
c
Содержание GR-26J
Страница 12: ...September2016 GR 20J GR 26J Part No 227656 This page intentionally left blank ...
Страница 75: ...Section 4 Repair Procedures Part No 227656 GR 20J GR 26J 4 29 September2016 This page intentionally left blank ...
Страница 109: ...Section 6 Schematics Part No 227656 GR 20J GR 26J 6 3 September2016 ECM Pin out Legend ...
Страница 118: ...Section 6 Schematics 6 12 GR 20J GR 26J Part No 227656 September2016 This page intentionally left blank ...

