86
10. Then, click
Apply
.
11. To check whether the coordinates set by the
Calculate from Visible
button has directed the
imager to the definite center point, go back to the ROCK IMAGER software interface and view
the selected drop in Well A1 with live imaging.
12. On the
Well Control
panel, select
Well
and change the Well position to A1.
13. Go back to the
Plate Type Editor
. On the
Drop Positions
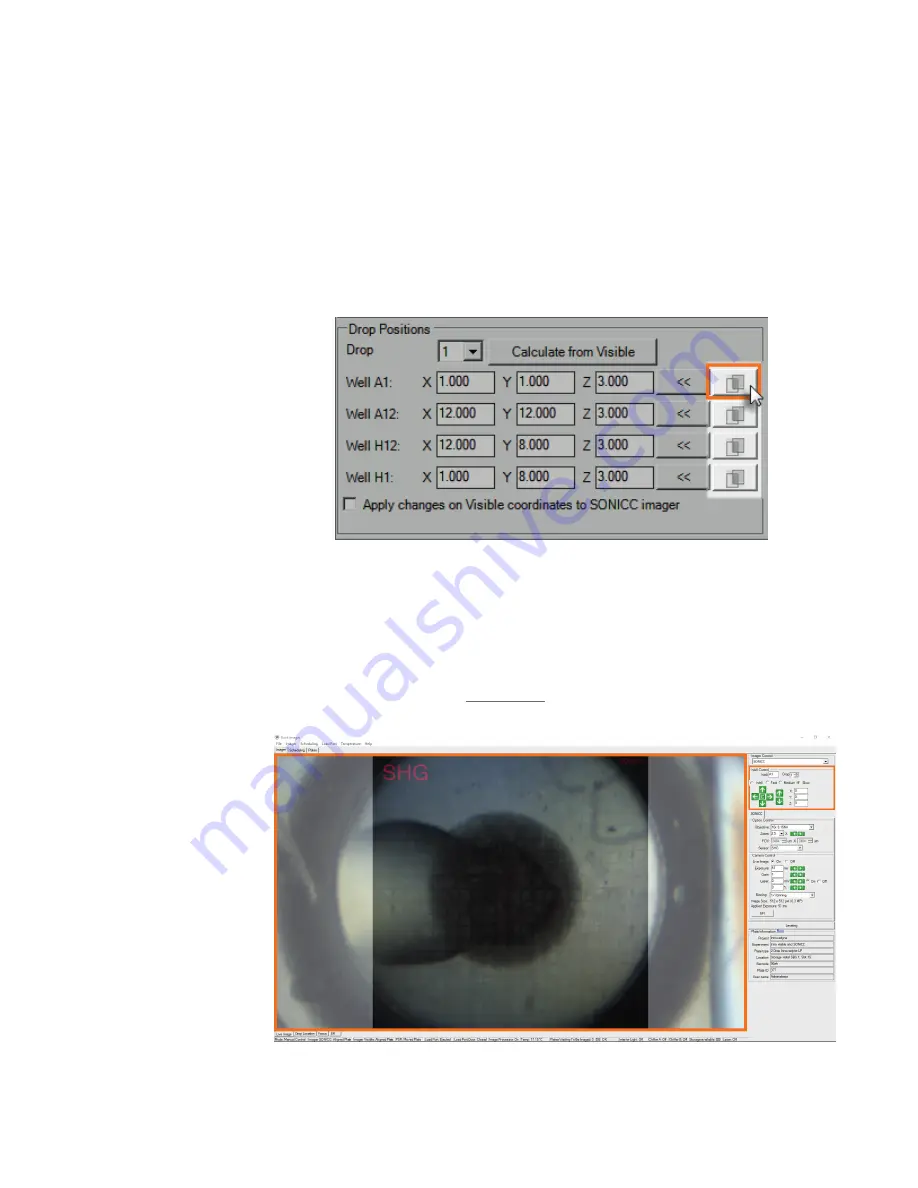
panel, click the
Overlay
button in
Well A1 (outlined in orange in the image below) to overlay the current live image with the
captured drop image for Well A1.
14. In the live imaging mode, use the interpolated image to check whether the drop position is
centered, based on the center point shown in the captured image which has been tuned in
Visible mode.
15. Use the green arrows on the
Well Control
panel to control the plate movement to adjust the
drop location. You can use
Medium
or
Slow
mode to slow down the plate movement to keep
your adjustments precise. (see
on page 63 for more information about how to
use the arrows).
The Overlay Button
Using Overlaid Images to Find the Center Point of a Drop
ROCK IMAGER User's Guide | Chapter 13: Improving Images


