65
ROCK IMAGER User's Guide | Chapter 11: Manual Inspections
Leveling
One of the buttons on the Camera Control
panel is the
Leveling
button. Clicking it
opens the
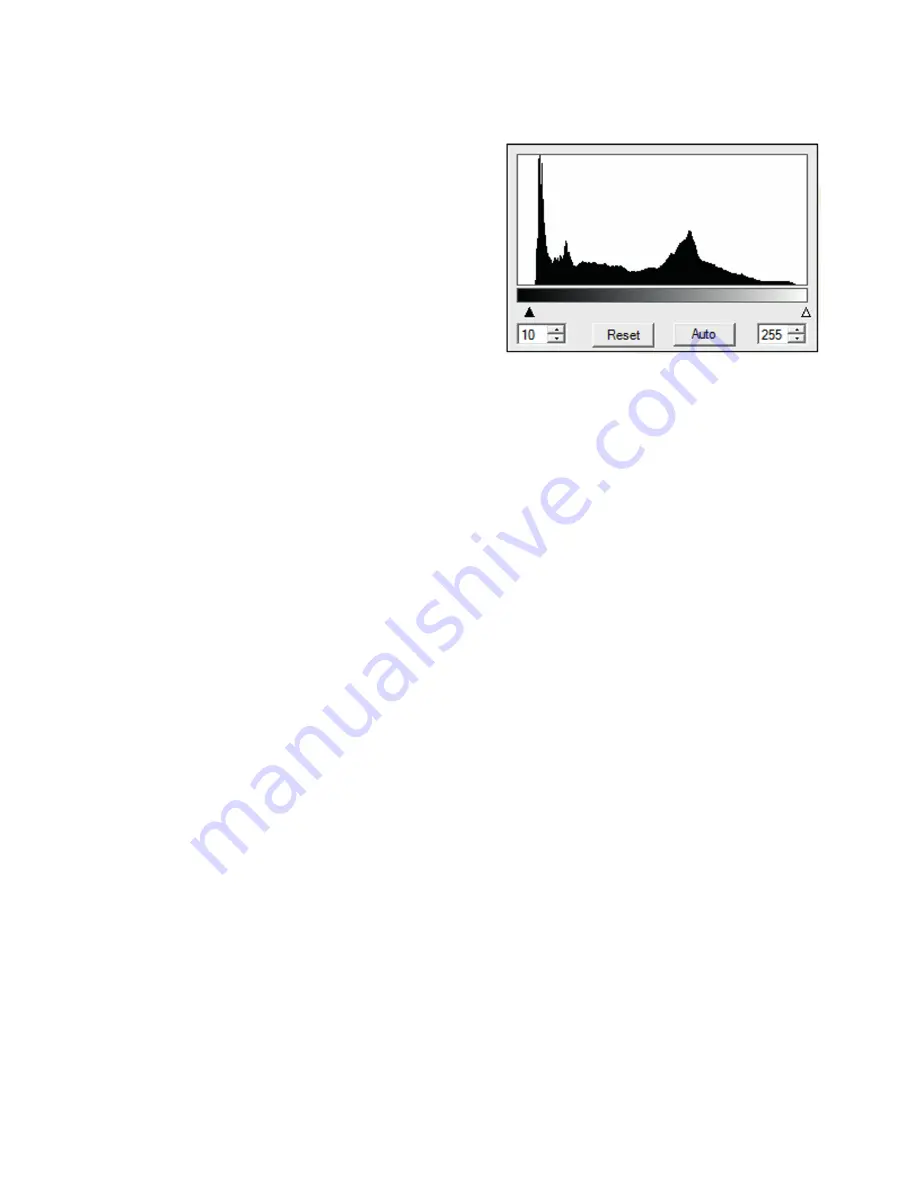
Leveling Histogram
, which you
use to adjust the brightness and contrast of
an image while you are viewing a drop in
either Manual Mode or Automatic Mode.
The changes you make with the leveling
histogram are display changes; they are not
saved to the original image. However, you
can adjust image brightness and contrast
with the leveling histogram in ROCK MAKER
after your images have been processed by
ROCK IMAGER Processor (RIP).
The histogram works through two parameters, the Lower Limit and the Upper Limit, which are
indicated by triangles below the histogram. You can drag each of these triangles to the left or right
to adjust the starting and ending histogram values.
Setting the Leveling Histogram Values
You can either adjust leveling for images on an individual basis, or adjust leveling for one image,
right-click and select
Save Current Threshold for Auto-Leveling
. Once you set the initial auto-
leveling values, ROCK IMAGER attempts to emulate the resulting brightness and contrast for every
image in that inspection when you click the
Auto
button.
To adjust limits:
●
Click and drag the triangles on the Leveling Histogram control to the right or left to increase
or decrease their settings.
OR
●
Type a new value into the related field and press
Enter
on your keyboard.
OR
●
Click the up and down arrows to increase or decrease the values.
Tips
●
Click the
Reset
button to reset any changes made to the image.
●
To reposition the
Leveling Histogram
control, hold down the
Shift
key on your keyboard
and click-and-drag the image to move it.
●
To reset the position of the
Leveling Histogram
, right-click on the histogram and select
Dock
..
●
As a starting point, try dragging the lower level up to point where your histogram begins
and the upper level down to the point where it ends.
Leveling Histogram


