49
Security, ESET NOD32 Antivirus > Kernel > Setup > Scheduler/Planner
or
NOD32 version 2 > General > Setup >
Scheduler/Planner
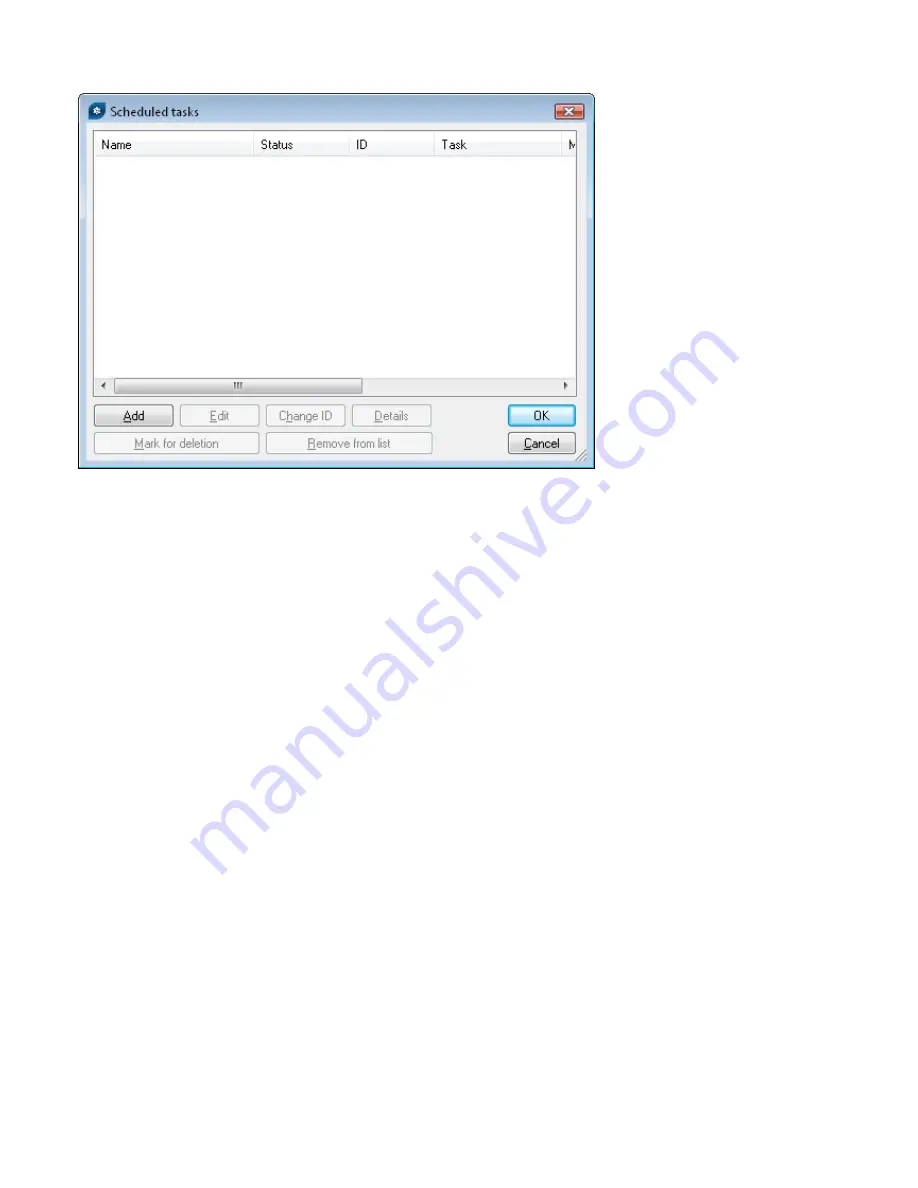
. Click the
Edit
button to display the
Scheduled tasks
window.
•
To create a new task, click
Add
. From the
Scheduled task
drop-down menu, select
Update
and click
Next
.
•
Enter the
Task name
(e.g., “combined update”), select
Repeatedly
and click
Next
.
•
Leave the
Interval between task execution
set to
60
. Click
Next
twice to accept the defaults and then click
Finish
.
•
Select a
Primary
and
Secondary
update profile (
LAN
,
INET
- or vice versa) for this task.
•
If the notebook workstations should contact the Mirror server first, the
Primary profile
should be set to
LAN
and
the
Secondary profile
should be set to
INET
. The profile
INET
would be applied only if the update from
LAN
fails.
Recommendation:
Export the current .xml configuration from a client (for more information, see section 8.1)
and perform the above-mentioned modifications on the exported .xml file. Thus any duplications between the
Scheduler and non-working profiles is avoided.
8.3 Removing existing profiles
If unused or duplicate profiles have been created on client workstations by mistake, these can be removed remotely.
To remove an unwanted profile, follow the steps below:
•
From the ERA Console, click the
Clients
tab and then double-click on a problematic client.
•
From the
Client Properties
window, click the
Configuration
tab.
•
Select the
Then Run ESET Configuration Editor to edit the file
and
Use the downloaded configuration in the
new configuration task
options and then click the
New Task
button.
•
In the task wizard, click
Edit
to open the Configuration Editor. Press CTRL + D to unmark (grey) all settings. This
helps to prevent accidental changes, as any new changes will stand out in blue.
•
Right-click on the profile you wish to remove and select
Delete selected profile
from the context menu.
•
Click
File > Save
and close the Configuration Editor.
•
Verify that the client you selected is in the
Selected items
column on the right. Click
Next
and then click
Finish
.
The unwanted profile will be removed from the selected workstation.


