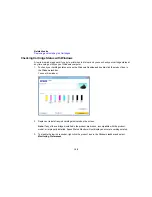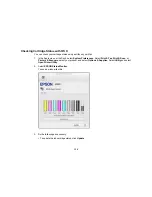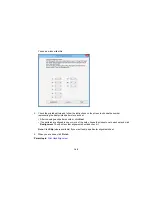
6.
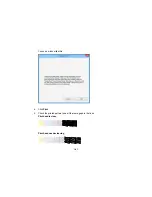
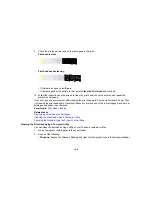
If there are no gaps, click
Finish
.
If there are gaps or the pattern is faint, clean the print head.
If you don’t see any improvement after cleaning the print head up to 4 times, wait at least 6 hours. Then
try cleaning the print head again. If quality still does not improve, one of the ink cartridges may be old or
damaged and needs to be replaced.
Parent topic:
Print Head Nozzle Check
Related tasks
Cleaning the Print Head Using the Product Control Panel
Cleaning the Print Head Using a Computer Utility
Print Head Cleaning
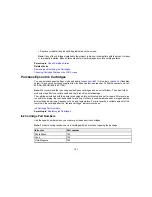
If print quality has declined and the nozzle check pattern indicates clogged nozzles, you can clean the
print head.
Note:
You cannot clean the print head if an ink cartridge is expended, and may not be able to clean it
when a cartridge is low. You must replace the cartridge first.
Cleaning the Print Head Using the Product Control Panel
Cleaning the Print Head Using a Computer Utility
Parent topic:
Print Head Maintenance
Related tasks
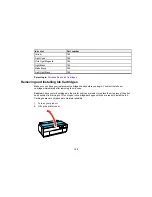
Removing and Installing Ink Cartridges
Cleaning the Print Head Using the Product Control Panel
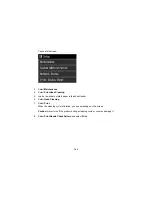
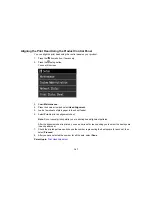
You can clean the print head using the control panel on your product.
1.
Press the
home button, if necessary.
2.
Press the
setup button.
142
Содержание SureColor P600 Series
Страница 1: ...Epson SureColor P600 User s Guide ...
Страница 2: ......
Страница 10: ......
Страница 42: ...3 Open the front cover 4 Extend the output tray 42 ...
Страница 82: ...You can also place the same print data multiple times as shown here 82 ...
Страница 83: ...You can place print data in different sizes and orientations to maximize media usage as shown here 83 ...
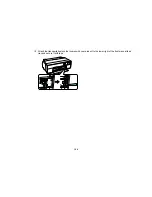
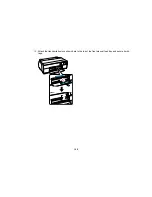
Страница 155: ...13 Attach the transportation lock shown here to the top of the front manual feed tray and secure it with tape 155 ...
Страница 211: ...Parent topic Copyright Notice 211 ...

