


EPSON Stylus COLOR 860/1160
Revision C
Adjustment
Adjustment
138
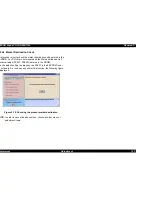
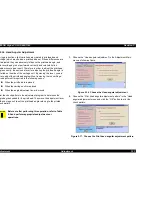
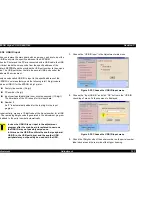
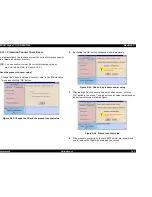
4.
Input the 10digits code of the serial number in the input menu and
click “OK” button.
NOTE:
Even though you input irresponsible another 10digits code
and click the “OK” button, the program allow to input the
code and write down it the specific address of the EEPROM.
But, there is a possibility that the code is not unique and the
code conflicts another USB ID in the USB port driver.
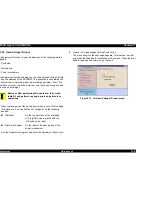
5.
After click the “OK” button, following message is shown in the
bottom of the USB ID Check/Input menu In this message, you can
check if the USB ID is written in the EEPROM correctly.
Figure 5-31. Write down the USB ID
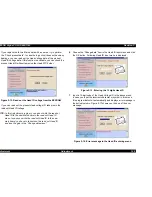
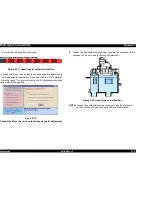
6.
Click the “Previous” button and go back to the “USB ID Check/Input”
menu.
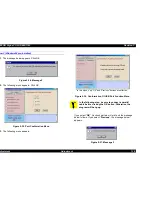
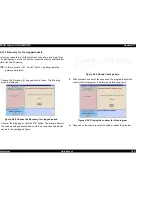
7.
Select the “Confirmation of USB port function” and click the “OK”
button in the “USB ID Check/Input” menu.
Figure 5-32. Choose the Confirmation of USB port function
NOTE:
Above “Confirmation of USB port function” is available only
the USB port and driver are installed in the Windows 98
environment.
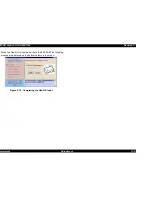
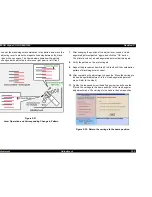
8.
The following message appears.
Figure 5-33. Message 1
The action to take hereafter varies depending on your PC’s
condition. If you select “Yes”, go to
Flow Y
. If you select “No”, go to
Flow N
.
Содержание Stylus COLOR 1160
Страница 8: ...C H A P T E R PRODUCTDESCRIPTION ...
Страница 28: ...C H A P T E R OPERATINGPRINCIPLES ...
Страница 53: ...C H A P T E R TROUBLESHOOTING ...
Страница 74: ...C H A P T E R DISASSEMBLYANDASSEMBLY ...
Страница 116: ...C H A P T E R ADJUSTMENT ...
Страница 150: ...C H A P T E R MAINTENANCE ...
Страница 160: ...APPENDIX C H A P T E R ...
Страница 171: ...PSON Stylus COLOR 860 1160 Revision C ppendix Circuit Board Component Layout 171 Figure 7 5 C298PNL Component Layout ...