EPSON Stylus COLOR 860/1160
Revision C
Adjustment
Adjustment
133
6.
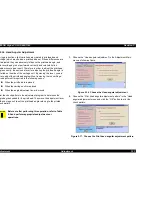
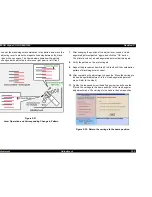
Look at the black/magenta combination in the pattern and move the
adjusting lever to make the magenta lines stay between the black
lines with even space. The figure below shows how the pattern
changes as the adjusting lever moves right (rear) or left (front).
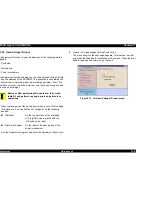
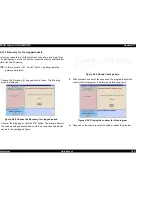
Figure 5-21.
Lever Operation and Corresponding Change in Pattern
7.
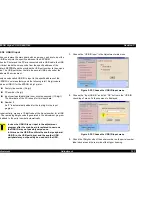
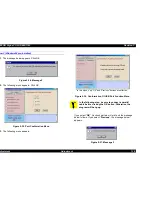
After changing the position of the adjust lever, choose “Head
angular adjustment pattern” again and click the “OK” button.
The printer prints out a head angular adjustment pattern again.
8.
Verify the pattern on the printout again.
9.
Repeat the procedures from Step 2 to Step8 until the combination
pattern of black/magenta is correct.
10.
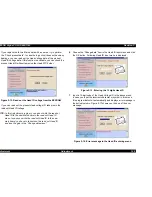
After completing the adjustment, choose the “Move the carriage to
the head angular adjustment” in the “Head angular adjustment”
menu. Refer to the step4).
11.
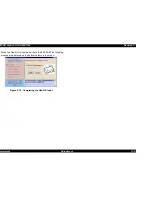
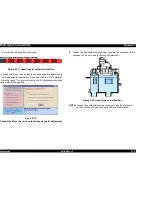
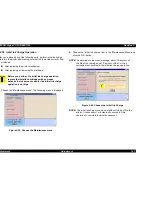
Tighten the loosened screw (head fixing screw) and choose the
“Return the carriage to the home position “in the Head angular
adjustment menu. The carriage turns back to the home position.
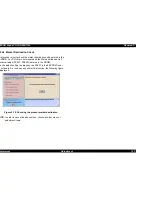
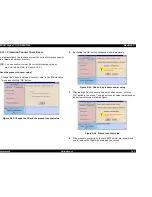
Figure 5-22. Return the carriage to the home position
L
Содержание Stylus COLOR 1160
Страница 8: ...C H A P T E R PRODUCTDESCRIPTION ...
Страница 28: ...C H A P T E R OPERATINGPRINCIPLES ...
Страница 53: ...C H A P T E R TROUBLESHOOTING ...
Страница 74: ...C H A P T E R DISASSEMBLYANDASSEMBLY ...
Страница 116: ...C H A P T E R ADJUSTMENT ...
Страница 150: ...C H A P T E R MAINTENANCE ...
Страница 160: ...APPENDIX C H A P T E R ...
Страница 171: ...PSON Stylus COLOR 860 1160 Revision C ppendix Circuit Board Component Layout 171 Figure 7 5 C298PNL Component Layout ...


