95
Publishing Discs
7
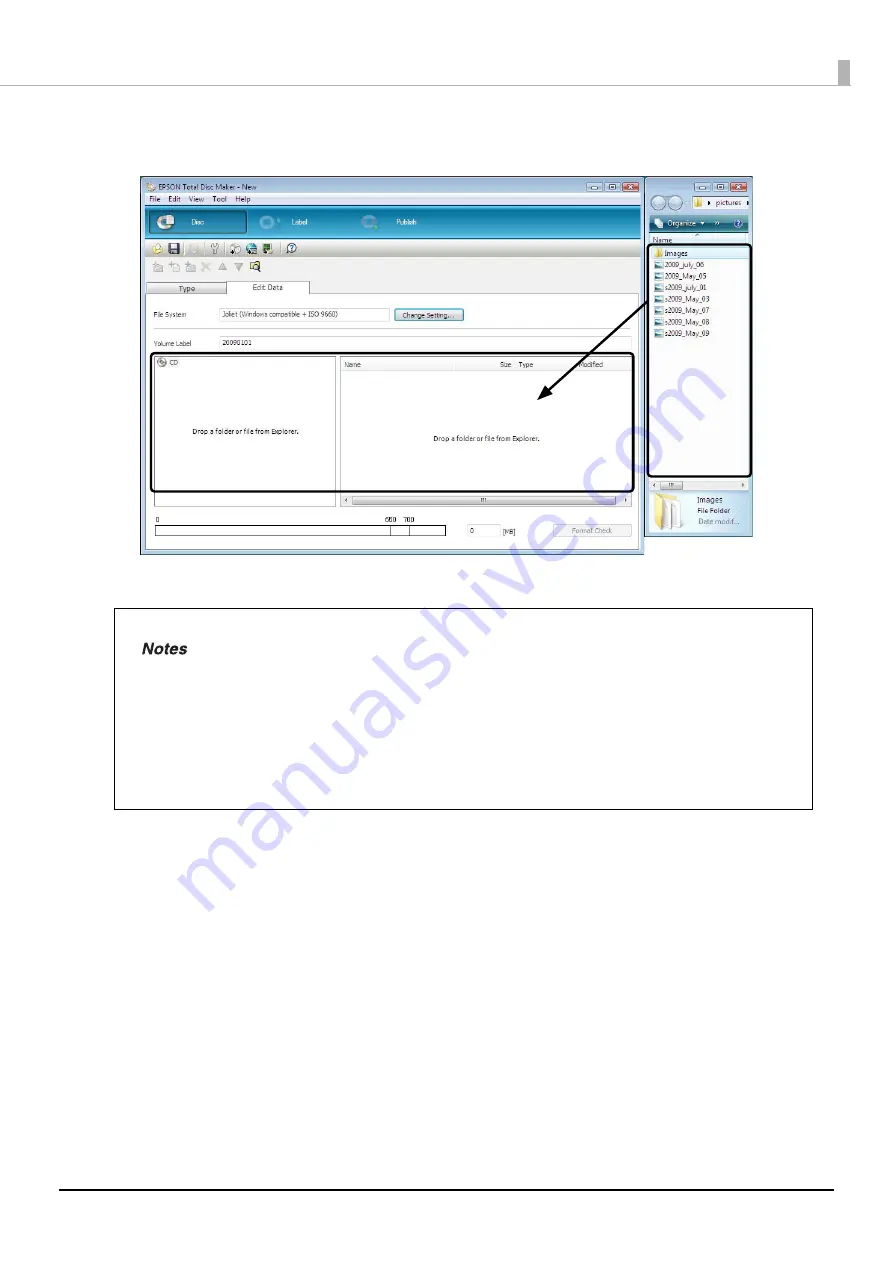
Drag and drop any image data to write to the CD from Explorer.
The data that you drag and drop appears in the data list.
The registration of write data is now finished.
Next, create a label.
•
If you changed data after it was registered, click [Format Check].
•
When the registered data does not comply with the restrictions of the selected file system,
the [File System Restrictions] dialog box appears. Furthermore, depending on the added
data, the [File System Restrictions] dialog box may appear before you click [Format Check].
See EPSON Total Disc Maker Help for details on file system restrictions.
•
If you click [Create Disc Image] of the [File] menu after registering the write data, the
registered data is saved as a disc image file. A disc image file is used when creating CD/
DVD/BD copies of the registered data. See “Creating copies from disc image files” on page
126 in this guide for the procedure to create CD/DVD/BD copies.
Drag and Drop
Содержание PP-100NII
Страница 1: ...User s Guide M00133200EN ...
Страница 6: ...6 Ink and Disc 194 Ink cartridges 194 Discs 194 ...
Страница 72: ...72 How to Use the Printer Driver 8 Click Print in the File menu 9 Click the Preferences button ...
Страница 130: ...130 Publishing Discs 4 Click Republish ...
Страница 148: ...148 Publishing Discs Next follow the normal procedure for publishing discs see page 108 in this guide ...


