Installing the Touch Unit
116
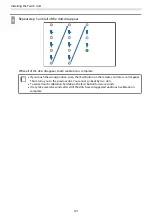
When auto adjustment fails
a
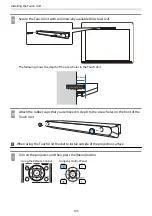
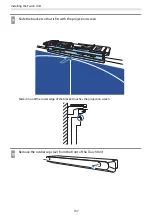
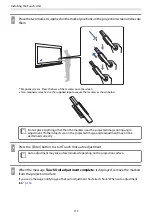
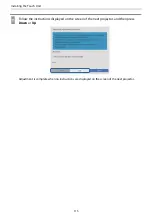
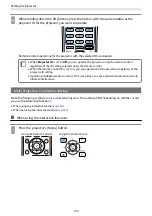
Check that the Touch Unit installation position is correct
Make sure that the Touch Unit and the projected image are parallel.
If you are using a Touch Unit Bracket, make sure that the bottom edge of the bracket is flush with the edge of
the projection surface without any gaps.
Содержание ELPHD02
Страница 1: ...Installation Guide ...
Страница 18: ...Introduction 17 Max 5m Max 5m ...
Страница 29: ...Installing the Wall mount 28 Horizontal slide 45 45 Forward backward slide 0 383 ...
Страница 68: ...Installing the Wall mount 67 b Select Geometry Correction from the Installation menu c Select Quick Corner ...
Страница 77: ...Installing the Control Pad 76 For Canadian Users ...
Страница 79: ...Installing the Control Pad 78 ...
Страница 96: ...Installing the Touch Unit 95 Wavelength 932 to 952 nm ...
Страница 99: ...Installing the Touch Unit 98 Adjustment range 79 5 140 5 15 76 ...
Страница 138: ...Setting the Projector 137 c Select EDID from the Signal I O menu d Select 3240x1080 60Hz ...


