Installing the Wall mount
30
Installation Procedure for the Wall Mount
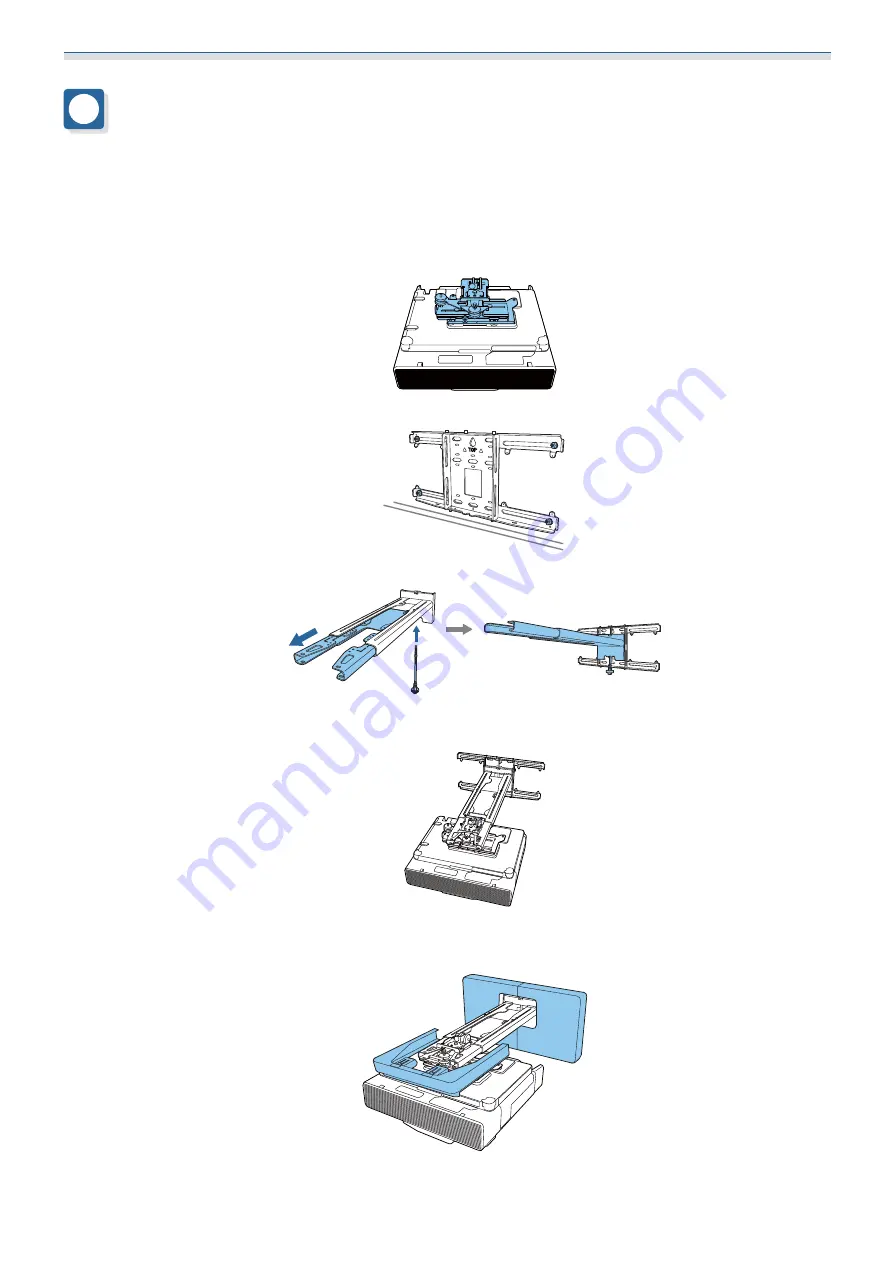
Follow the work flow below to install the wall mount.
Route the cables before installing the wall mount according to your installation environment.
a
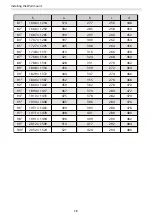
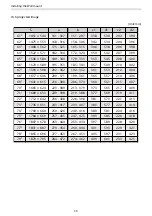
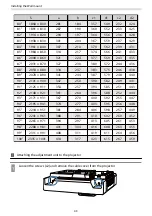
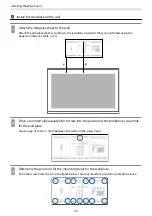
Check the projection distance tables to determine the installation position (
s
b
Attach the adjustment unit to the projector (
s
c
Install the wall plate on the wall (
)
d
Adjust the arm length of the setting plate, and then attach it to the wall plate (
s
e
Attach the adjustment unit to the setting plate, and then connect the cables and peripheral devices
(
s
f
Adjust the position of the image (
s
)
g
Attach the covers (
s
)
Содержание ELPHD02
Страница 1: ...Installation Guide ...
Страница 18: ...Introduction 17 Max 5m Max 5m ...
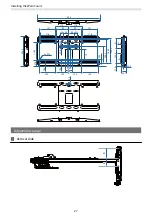
Страница 29: ...Installing the Wall mount 28 Horizontal slide 45 45 Forward backward slide 0 383 ...
Страница 68: ...Installing the Wall mount 67 b Select Geometry Correction from the Installation menu c Select Quick Corner ...
Страница 77: ...Installing the Control Pad 76 For Canadian Users ...
Страница 79: ...Installing the Control Pad 78 ...
Страница 96: ...Installing the Touch Unit 95 Wavelength 932 to 952 nm ...
Страница 99: ...Installing the Touch Unit 98 Adjustment range 79 5 140 5 15 76 ...
Страница 138: ...Setting the Projector 137 c Select EDID from the Signal I O menu d Select 3240x1080 60Hz ...

