


ROC364 Instruction Manual
B-22
Local Display Panel
Rev Jun/05
7.
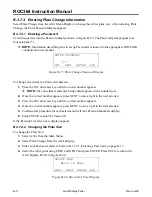
Press NEXT to continue editing the value.
8.
Press INC (increase) until the correct number appears and press NEXT to move right.
9.
Continue this procedure for each number.
10.
Press ENTER to change the value.
11.
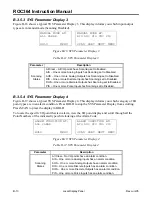
Select Yes or NO to save to EEPROM (permanent Internal Config Flash memory). If you press
YES, an entry is generated in the Event Log and LCD menu displays. If you press NO, you exit
the routine without a change being registered to EEPROM.
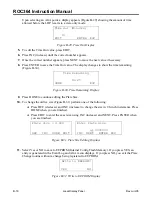
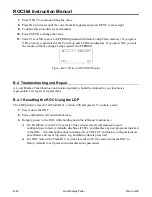
Write to EEPROM?
YES
NO
Figure B-40. Write to EEPROM Display
B.4 Troubleshooting and Repair
A Local Display Panel that does not function normally should be returned to your local sales
representative for repair or replacement.
B.4.1 Resetting the ROC Using the LDP
The LDP permits a reset for all FlashPACs, version 2.00 and greater. To initiate a reset:
1.
Power down the ROC.
2.
Press and hold the left-most function key.
3.
Reapply power to the ROC while holding down the left-most function key.
♦
For FlashPAC version 2.20 or greater, this action resets all communication port
configurations to factory defaults, disables all FSTs, and disables any user programs installed
in the ROC. All other applications including AGA, FID, FST, and history configurations are
not affected, and event log, alarm log, and history data is preserved.
♦
For ROC units with a FlashPAC, versions less than 2.20, this reset returns the ROC to
factory defaults for all point and communications parameters.


