Zero 88 FLX S Lighting Console
– User Manual
Page
30
of
47
Setup
To enter Setup, press the Setup key on the front panel.
Whilst within Setup, the LED in the Setup key will be lit.
Navigate through Setup using the column of options on the
left hand side of the screen. Each item in this list has a
section of the chapter below. To exit Setup, press the
Setup key again.
Fixture schedule
When you first enter Setup, you’ll be in the “Fixture
Schedule
” screen, which displays all the fixtures currently
patched on your console.
Each fixture on the desk has its own fixture name and
number. The number is how it will be referred to during
programming and on-screen, and the name is used as a
description to ease identification. These two fields can be
changed by simply touching the appropriate cell.
It is recommended that you take some time thinking about
numbering your fixtures. It is useful to renumber your
fixtures to something logical and unique, as this will be how
each fixture will then be referenced during programming
and playback.
To renumber multiple fixtures at the same time, select the
fixtures as detailed earlier, and then select the column
header button which is labelled “Ch #”. This will open an
onscreen numberpad. When you edit this value, the
fixtures selected will be renumbered sequentially in the
order they were selected and shown
– they won’t all be
given the same channel number. For example, display all
the LED units and enter 25. The LED units will be
renumbered 25, 26, 27 etc.
If a fixture number is not completely unique, ie another
fixture exists with the same fixture number, then a ‘*’ is
displayed after the fixture number.
The Fixture name defaults to the fixture type (eg “LED
Unit”) but they can be renamed by selecting the “Name”
cell in the normal way. For example, you may label them
“Stage Left LED Unit”, “Centre Stage LED unit” and “Stage
Right LED
Unit”.
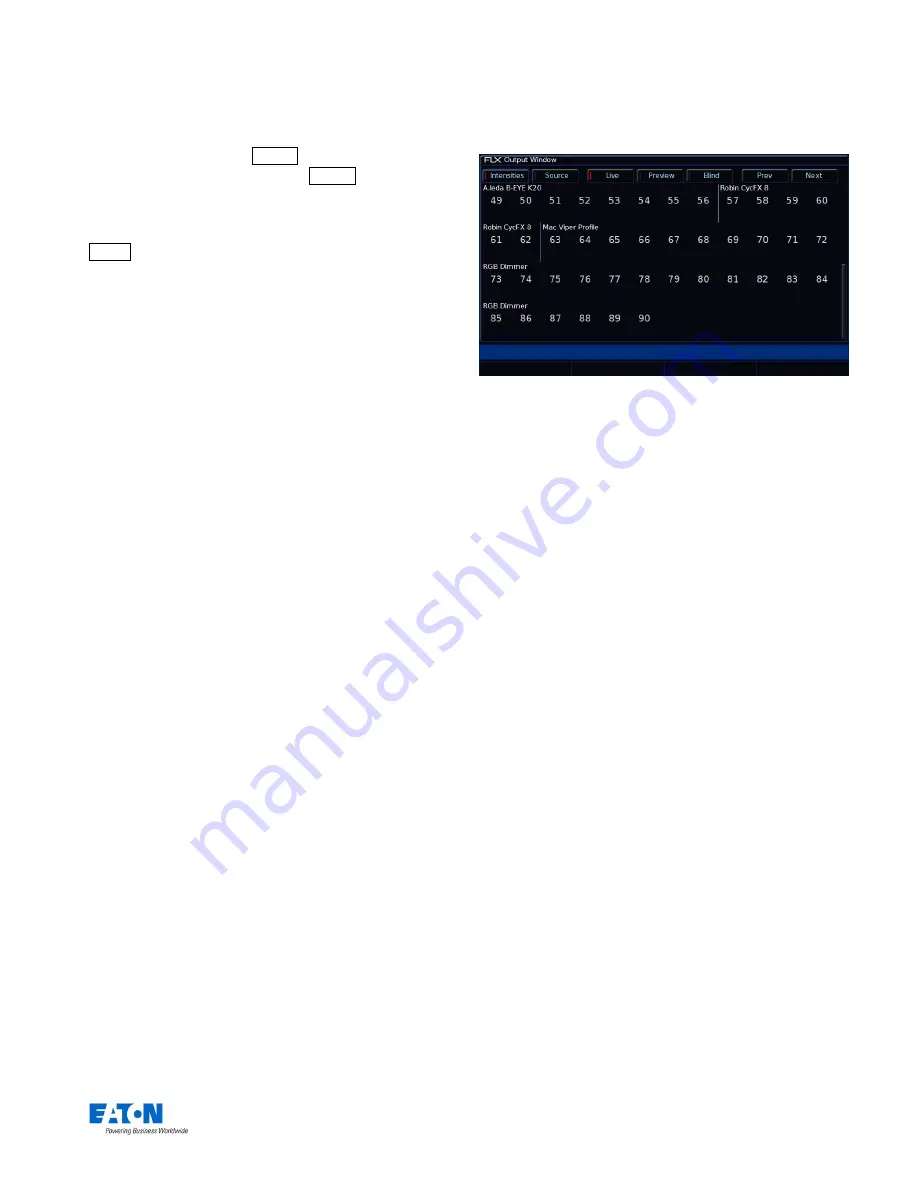
Fixture names are shown in the Output Window, as shown
below. When sequential names are identical, the name is
only displayed once per row. A vertical line splits up
fixtures with different names. Multiple names can be edited
at the same time by selecting the fixtures and selecting the
column header button which is labelled “Change all
Names”.
Fixture names and numbers being displayed in the Output
Window
Alignment (inverting and swapping pan & tilt)
If your fixtures have Pan and Tilt control, ZerOS is
capable
of making adjustments to your fixtures to take into account
their rigging position.
Inverting Tilt can be particularly useful if you’ve rigged
Front of House fixtures the opposite way around to those
onstage, or you have some fixtures sat on the floor.
Inverting Pan can be particularly useful if you wish your rig
to be symmetrical, so the beams move into and away from
Centre Stage rather than all in the same direction.
Swapping Pan and Tilt can be particularly useful if a fixture
is rigged on its side. In this function, any values defined for
Pan will be output on the Tilt channel(s), and any values
defined for Tilt will be output on the Pan channel(s).
These settings can be changed by touching the relevant
cell using the touch screen. The invert column has the
options “none”, “invert pan”, “invert tilt” and “invert both”.
Swap has the options “swapped” or “not swapped”.
Multiple fixtures can be changed at the same time by
selecting the
fixtures and selecting the appropriate column header
but
tons which are labelled “Invert” or “Swap”.
With a fixture’s home position of Pan and
Tilt at 50%,
inverting or swapping these parameters won’t make a
instant visible change. Therefore, it’s recommended
that before editing these values, you select all the
fixtures and move them all to a different position. Now,
as you change the values within “Alignment”, you’ll
see the beams updating live.


