39
Service Manual for
RCO Speed Oven
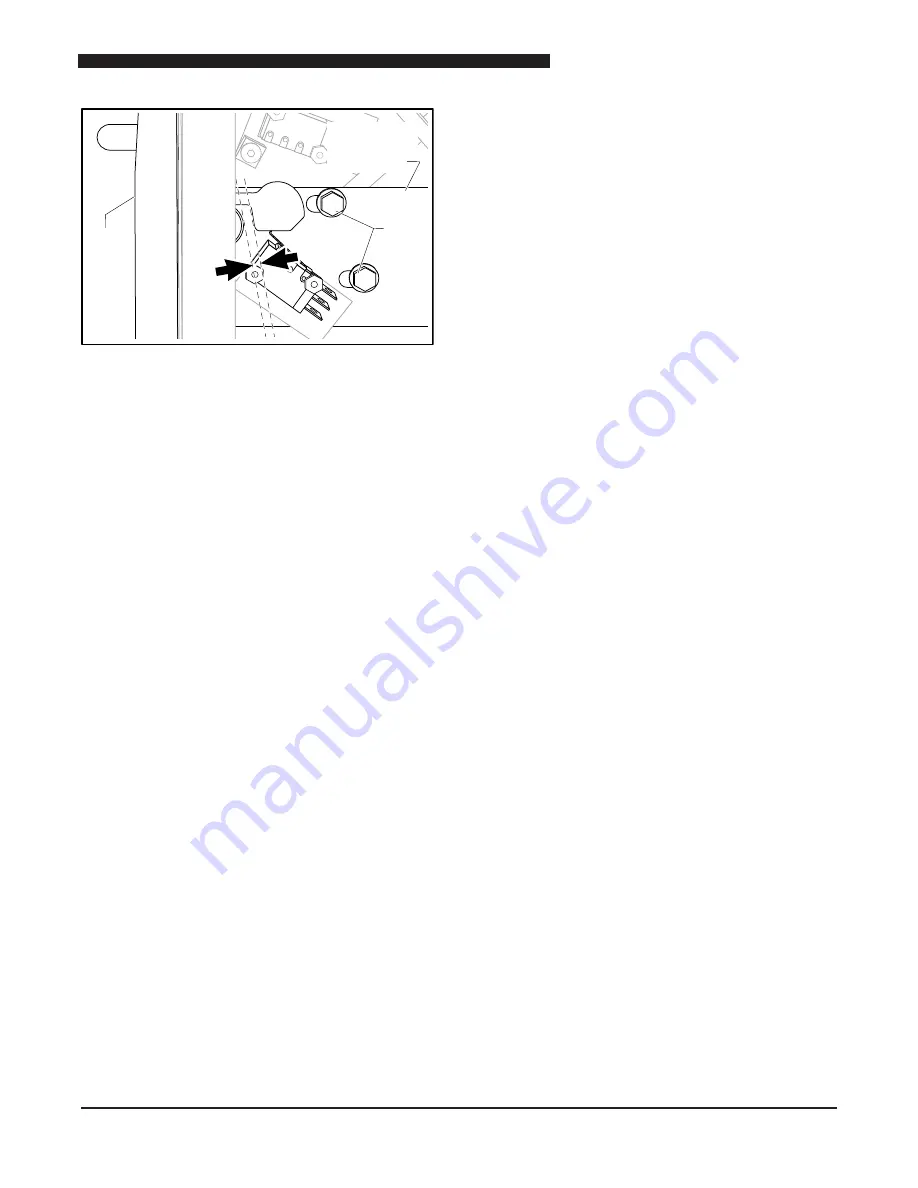
Oven
Door
Switch
Mounting
Bracket
Bolts
Gap
Interlock Switch Gap
8. Secure bolts tightly after adjustments.
9. Repeat steps 4 through 8 on the opposite side.
The right side of the oven has the Primary and
Monitor switches. The left side of the oven has the
Secondary switch.
10. Perform the Microwave Leakage Test Procedure
and make futher adjustments if necessary.
INVERTER PROGRAMMING
The following procedure is used to program the inverter
parameters accordingly.
Programming Procedure
The inverter must be installed and fully connected in
an oven.
CAUTION:
Do not touch any components except as
mentioned in procedure.
1. Disconnect oven from power source and allow
inverter capacitors to discharge completely.
2. Remove top panel to access the inverters.
3. Open the oven door and leave door open during
entire programming process.
4. Turn on the power to the drive.
5. Press the red STOP button on the inverter control
panel.
CAUTION:
The inverter and the majority of con-
trol components are at a 208VAC or
240VAC potential at this point.
6. Press the Up key until the Setup Mode (STUP)
screen is displayed.
7. Press the Enter key to view the parameter setting
display.
8. Scroll through parameters by pressing the up key
until the desired parameter is displayed.
9. Press Enter to view the current setting value.
10. Press the right arrow key until the desired number
is selected.
11. Press the Up key and enter the desired value.
12. Press Enter, the drive will confirm the change.
13. The display changes back to the screen shown in
step 7.
14. Press the ESC key until screen returns to initial
display.
15. Activate heating of oven. The Inverter should
drive the convection blowers when the oven door
is closed. Blowers operate at about 48 Hz when
the oven is heating and 33 Hz when the oven is
heated and idling. The Convection Motor does not
run when door is open (oven on standby).


