Nexus Manual 022012 | 55
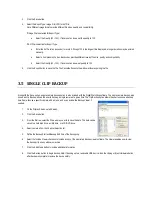
3.1.3 BACKUP SEARCH
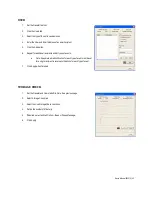
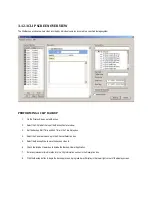
Previously saved video clips or backup files can be searched for content. Find the file by the date and time or by name.
1.
On the Display Screen, click Search.
2.
Select the Backup Search button.
3.
Choose a file from the list of saved clips and backup files or search by Start Hour.
4.
Click OK to open the saved file.
5.
Choose a Screen Division option, or select the corresponding number of a single camera on the bottom of the screen.
6.
On the Playback Controls, click Play. User can play video forward, backward, or frame-by-frame.
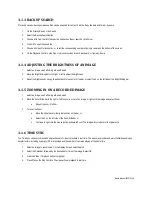
3.1.4 ADJUSTING THE BRIGHTNESS OF AN IMAGE
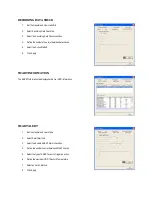
1.
Select an image: see Performing a Basic Search.
2.
Move the Bright Sliding bar to the right or left to adjust the brightness.
3.
Reset the brightness by moving the slider back to the center of the bar, or select the X on the left side of the Bright Sliding bar.
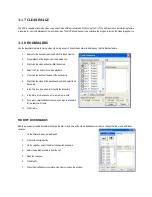
3.1.5 ZOOMING IN ON A RECORDED IMAGE
1.
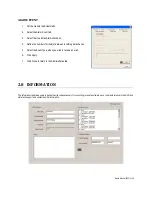
Select an image: see Performing a Basic Search.
2.
Move the Zoom Slide bar to the right or left to zoom in or out of an image; or right-click the image and select Zoom.
a.
Repeat to zoom in further.
3.
To reset the Zoom:
a.
Move the slider back to its original position on the bar,
or
b.
Select the X on the left side of the Zoom Slide bar,
or
c.
Continue to right-click the mouse button and select Zoom. The image will cycle back to its original size.
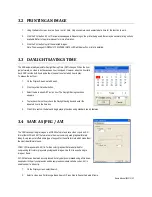
3.1.6 TIME SYNC
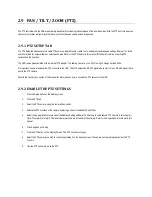
The Time Sync option synchronizes a single channel of video to playback in real time. The video may playback slower or faster depending on
several factors, including how many IPS are recorded and the number of cameras playing at the same time.
1.
Select an image to synchronize. On the Display Screen, select Search.
2.
Select the Calendar, followed by the desired date / time of the image. Select OK.
3.
Click the Video / Time Sync button to highlight.
4.
Press Play on the Play Controls. The video will now playback in real time.


