Getting Started
−
RAID Array 310 for Windows NT
−
Intel
4
−
6
EK
−
SMRAA
−
IG. A01
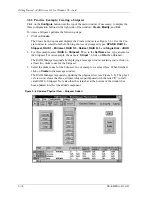
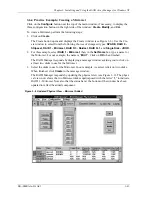
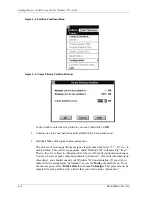
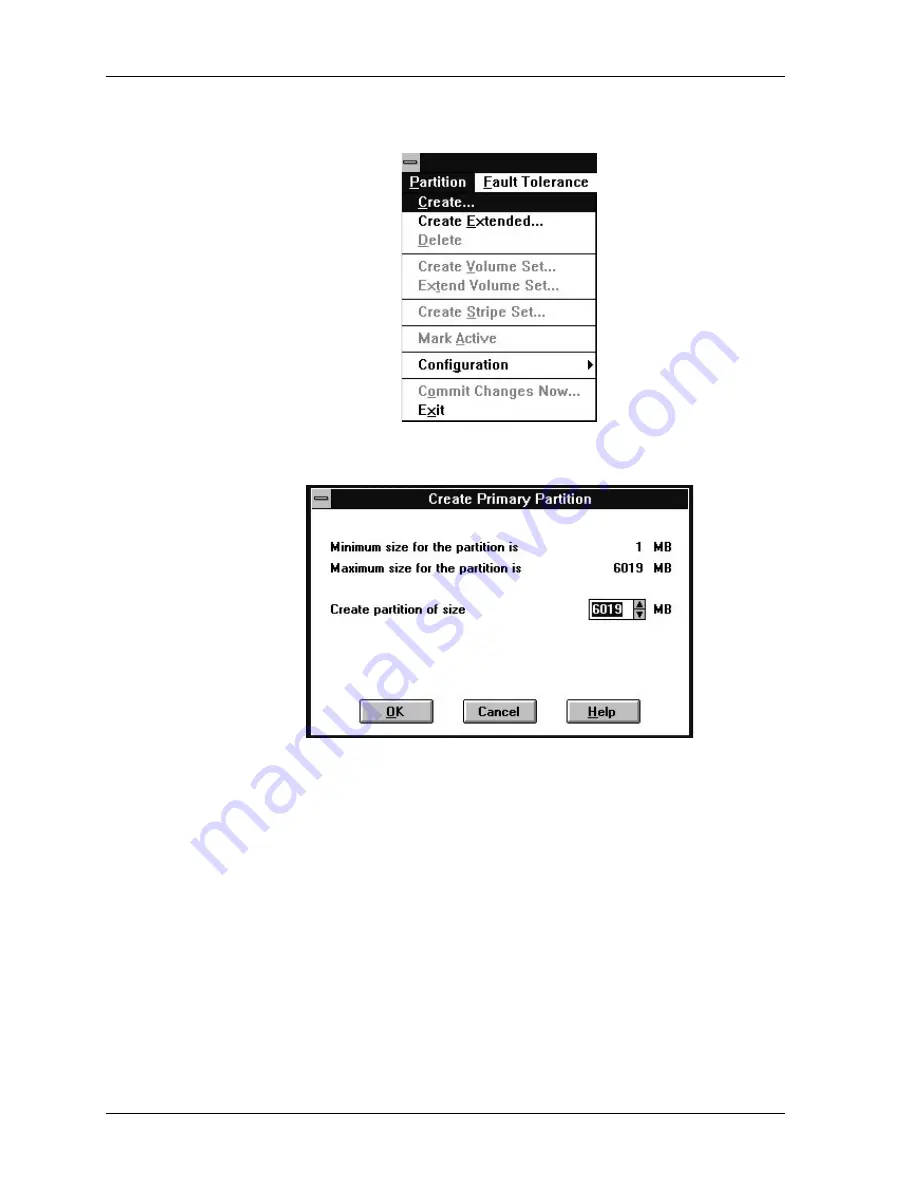
Figure 4–4 Partition Pull-Down Menu
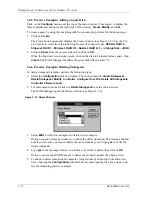
Figure 4–5 Create Primary Partition Window
In the window, enter the size partition you want, then click on
OK
.
2. Continue to create new partitions until all disks have been partitioned.
3. Optional: Make disk logical names permanent.
The process of creating partitions assigns a logical name (the letter “C,” “D,” etc.) to
each partition. These letter assignments, under Windows NT, will normally “float.”
That is, they are subject to changing (after reboot), if the disk configuration changes.
You may, however, make these assignments “permanent.” (For more information on
this subject, you should consult your Windows NT documentation.) If you wish to
make the letter assignments “permanent,” access the
Tools
pull-down menu. From
the choices given, select
Drive Letter
then choose
To Assign.
This process must be
repeated for each partition (drive letter) that you wish to make “permanent.”

