Getting Started
−
RAID Array 310 for Windows NT
−
Intel
4
−
2
EK
−
SMRAA
−
IG. A01
4.1.2
Verifying that hszdisk.sys Loaded
Prior to running Disk Administrator, verify that hszdisk recognizes the devices that you cre-
ated in the RAID Array 310 Subsystem.
To verify hszdisk, follow these steps:
1. Find
the
Event Viewer in the Administrative Tools group and open it.
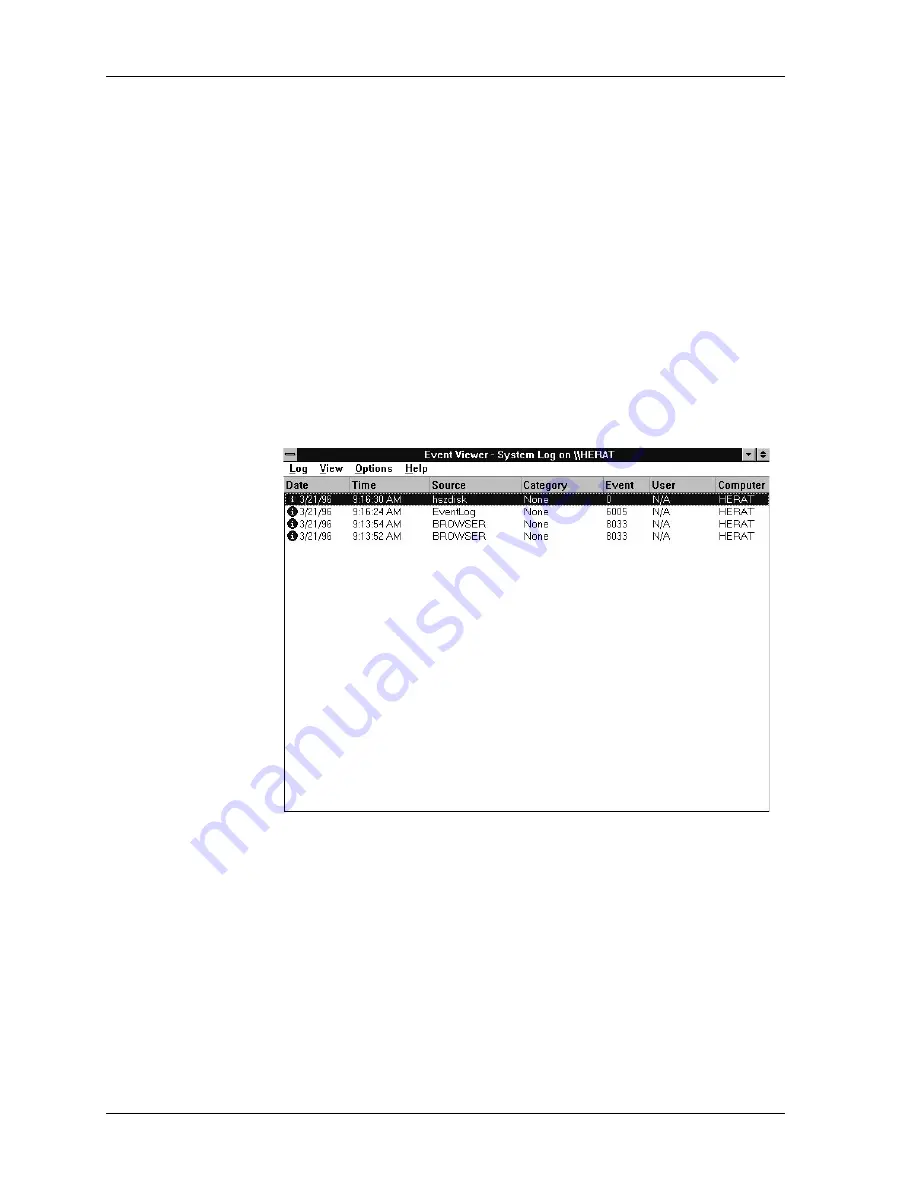
Look for an entry for hszdisk in the Event Viewer window.
If no entry for the hszdisk appears in the Event View window, go to Chapter 2 of this
guide and reinstall hszdisk.
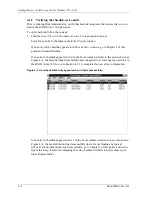
If an entry for hszdisk appears with 0 in the Event column, similar to the screen shown in
Figure 4
−
1, the hszdisk loaded successfully and connected to at least one logical drive in
the RAID Array 310. Go on to Section 4.1.3 to complete the new array configuration.
Figure 4
−−
1 How the hszdisk entry appears when it loads successfully.
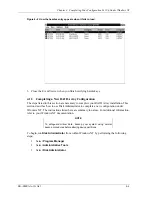
If an entry for hszdisk appears with a 1 in the Event column, similar to the screen shown
Figure 4
−
2, the hszdisk did not load successfully due to its not finding any logical
drives. If the hszdisk did not load successfully, go to Chapter 3 of this guide, and recon-
figure the array. If after reconfiguring the array, hszdisk still fails to load, contact your
Sales Representative.

