Chapter3: Installing and Using the RAID Array Manager for Windows NT
EK
−
SMRAA
−
IG. A01
3
−
13
Congratulations!
You are now prepared to create an actual configuration for your subsystem. Use the RAID
Manager for Alpha/Intel User’s Guide (AA-QU63A-TE) and the skills learned during the
practice examples to set up your specific configuration.
If you need information relative to accessing the Command Line Interpreter (to run mainte-
nance or diagnostic programs), refer to the StorageWorks RAID Array 310 Configuration and
Maintenance Guide (EK
−
SMCS2
−
UG. A01).
After you create your configuration, save it, as specified in section 3.7
3.7
Saving the RAID Configuration
You may save your configuration information in two ways.
1. Access the RAID Manager
File
pull-down menu. From the choices listed, choose
Save
. The RAID Manager saves the configuration information in a configuration
file. The file may be accessed later by selecting the
Configuration
pull-down menu,
then choosing the selection,
Configure from File
.
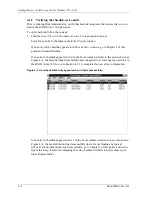
2. Record your configuration in the following table (additional worksheets appear in
Appendix A of this guide) to maintain a hard copy of your configuration informa-
tion. You can find target and LUN information in the status bar below the physical
view of the configuration (see Figure 3–8).
This completes the steps required to create an initial configuration for your controller using
the RAID Manager. Now, you must complete the installation.
3.8
Completing the Installation
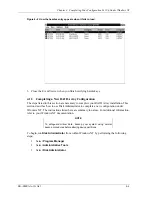
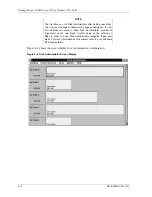
After saving (or recording) your configuration, you must reboot your system, then use Win-
dows NT
Disk Administrator to complete the configuration under Windows NT. Doing so
ensures that Windows NT recognizes the partition/format configuration information.
You must also use Windows NT Disk Administrator to complete the configuration under
Windows NT when changes are made to the configuration. Go to Chapter 4, Completing
your Configuration Setup under Windows NT to complete the installation.

