


Configuring the Software
62
NOTE:
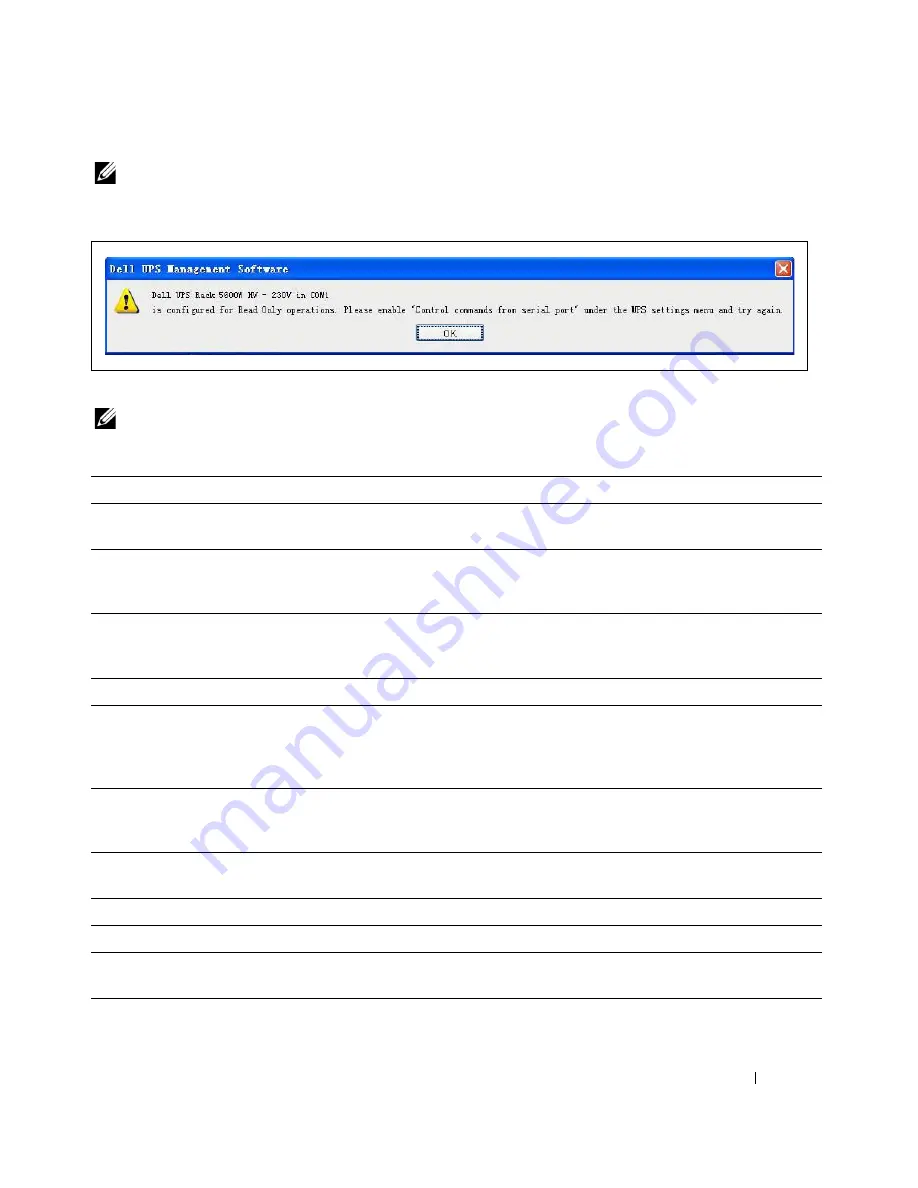
If the UPS Control Commands from Serial Port setting is disabled, configuration and load control commands
are restricted to the LCD only. A read-only access message displays when you click OK (see Figure 63). You must
enable this setting from the LCD before you can apply changes to the Shutdown Settings window.
Figure 63. UPS is Set to Read-Only Message
NOTE:
If the Agent is connected to more than one UPS, each UPS has its own shutdown conditions.
The shutdown parameters are:
Parameter
Description
Allow battery to discharge for
The time that the UPS battery is able to supply power when utility
power fails.
Shut down when remaining battery time is
below
When the remaining battery time falls below the specified time, the
output of the UPS turns off. The battery time range is 0 to
4320 minutes, 59 seconds. The default value is 2 minutes, 0 seconds.
Begin shutdown immediately if Battery Low When a Battery Low event occurs, the Agent shuts down the UPS
immediately; otherwise, the shutdown time is controlled by the
battery backup time.
System Shutdown
The system shuts down while the selected UPS is being turned off.
System Suspend
The system is suspended to disk during the shutdown sequence.
This function is available only on certain Microsoft Windows
platforms, and Hibernate Support must be enabled from the
Control Panel (Control Panel > Power Options > Hibernate).
Redundant UPS Input Setting
If there is a redundant UPS supplying power to the local Agent, you
can safely shut down the local Agent before all UPSs shutdown. See
“Redundant UPS Shutdown” on page 67 for more information.
Time needed for system shutdown
The time required to shut down the system, from the initiation of
shutdown until it is complete.
Powered by
The Load Segment that powers the computer.
Remote Shutdown by Agent
Allows another Agent to shut down the selected UPS.
XX min shut down system
After receiving the specified Agent's shutdown signal, shutdown is
delayed by XX minutes.
Содержание PowerEdge UPS 500T
Страница 19: ...Installation 19 The Installing window displays see Figure 16 Figure 16 Installing Window ...
Страница 26: ...Installation 26 The uninstalling process begins see Figure 26 Figure 26 Uninstall Progress ...
Страница 90: ...Configuring the Software 90 Figure 97 Search Device Window IPv6 ...
Страница 129: ...Installation on a VMware ESXi Server 129 Figure 125 Searching for Devices ...


