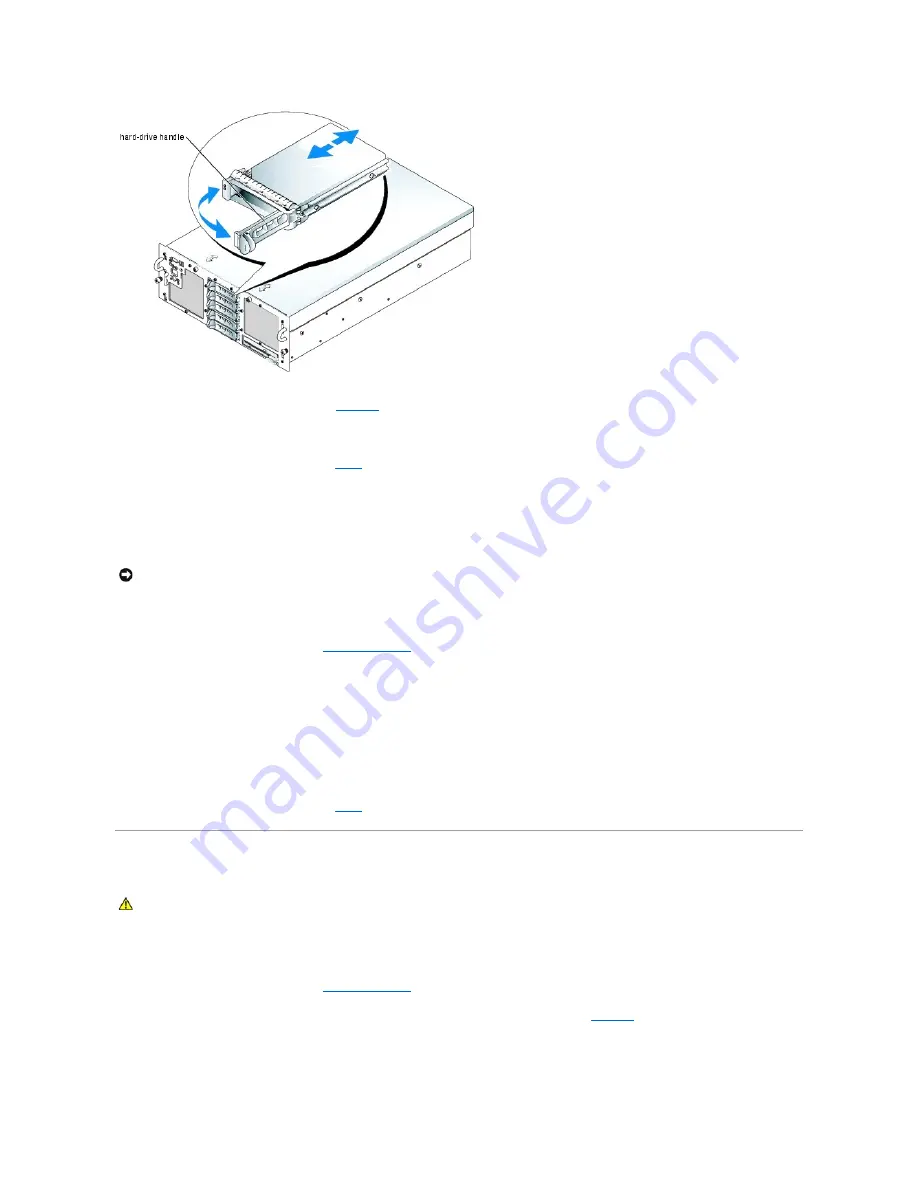
4.
Insert the hard drive into the drive bay. See
Figure 7
-2
.
5.
Close the hard-drive handle to lock the drive in place.
6.
Replace the front bezel, if it was removed in
step 2
.
7.
If the hard drive is a new drive, run the
SCSI Controllers
test in the system diagnostics.
Removing a SCSI Hard Drive
1.
If the system does not have an optional RAID controller card or optional ROMB, shut down the system.
2.
Remove the front bezel, if attached. See "
Opening the System
" in "Troubleshooting Your System."
3.
For systems with a RAID controller card or ROMB, power down the hard-drive bay and wait until the SCSI hard-drive indicators on the drive carrier signal
that the drive can be removed safely.
If the drive has been online, the green power-on/fault indicator flashes as the drive is preparing for removal. When the indicator is off, the drive is ready
for removal.
4.
Open the hard-drive handle to release the drive.
5.
Slide the hard drive out until it is free of the drive bay.
6.
Replace the front bezel, if it was removed in
step 2
.
Installing a Diskette Drive
1.
Turn off the system, including any attached peripherals, and disconnect the system from the electrical outlet.
2.
Remove the front bezel, if attached. See "
Opening the System
" in "Troubleshooting Your System."
3.
To remove the drive carrier, pull the release latch forward, then slide the carrier out of the chassis. See
Figure 7
-3
.
Figure 7-3. Installing and Removing the Diskette/Optical Drive Carrier
NOTICE:
Hot-plug drive removal is not supported for systems without an optional RAID controller card or optional ROMB. Hot-plug capabilities must also
be enabled when using an optional RAID controller card or optional ROMB.
CAUTION:
Many repairs may only be done by a certified service technician. You should only perform troubleshooting and simple repairs as
authorized in your product documentation, or as directed by the online or telephone service and support team. Damage due to servicing that is not
authorized by Dell is not covered by your warranty. Read and follow the safety instructions that came with the product.
Содержание PowerEdge 6850
Страница 37: ...Back to Contents Page ...


