Installing a Power Supply
1.
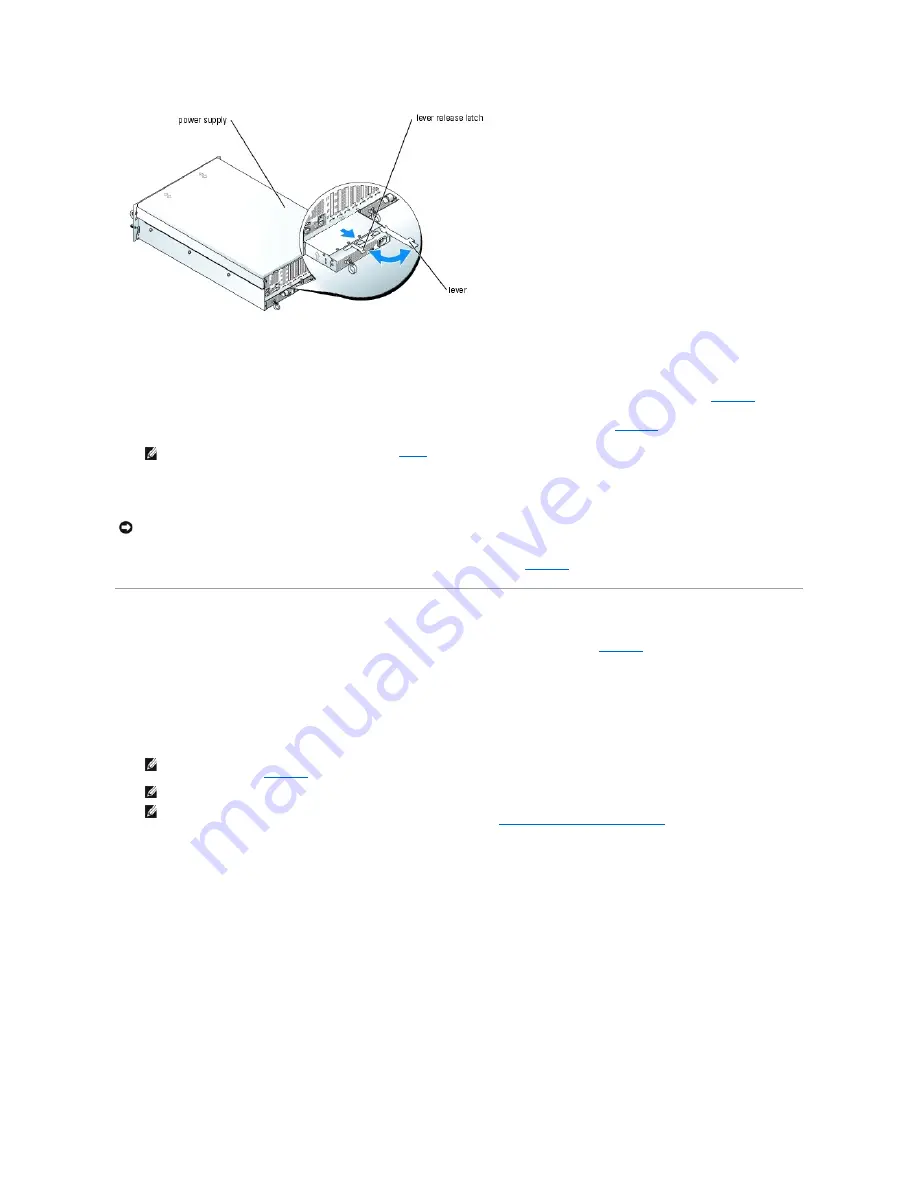
Holding the lever in the open position, slide the new power supply into the chassis until the lever contacts the system chassis. See
Figure 6
-5
.
2.
Close the lever until the power supply is fully seated and the lever snaps behind the lever release latch. See
Figure 6
-5
.
3.
Connect the power cable to the power supply and plug the cable into a power outlet.
After installing a new power supply, allow several seconds for the system to recognize the power supply and determine whether it is working properly. The
power-on indicator will turn green to signify that the power supply is functioning properly (see
Figure 2
-4
).
Expansion Cards
Your system supports up to seven full-length expansion cards installed in connectors on the system board. See
Figure 6
-6
for the locations of the connectors.
The expansion slots are configured as follows:
¡
Slot 1 is a hot-plug, x8 lane-width PCI-Express expansion slot.
¡
Slot 2 is a hot-plug, 3.3-V, 64-bit, 133-MHz PCI-X expansion slot.
¡
Slots 3 through 5 are hot-plug, x4 lane-width PCI-Express expansion slots.
¡
Slots 6 and 7 are non
–
hot-plug, 3.3-V, 64-bit, 100-MHz PCI-X expansion slots.
Figure 6-6. Expansion Slots
NOTE:
If you unlatched the cable management arm in
step 3
of the previous procedure, relatch it. For information about the cable management
arm, see the system's
Rack Installation Guide
.
NOTICE:
When connecting the power cable, insert the cable through the strain-relief loop.
NOTE:
If you are installing a Remote Access Control (RAC) card, it must be installed in card slot 7 to enable it to be cabled to the RAC connector on
the system board. See
Figure A
-3
for the location of the RAC connector.
NOTE:
Slot 7 supports full-height, half-length cards only.
NOTE:
The system board also provides a proprietary connector for an optional non
–
hot-plug Fibre Channel module card. Do not use that
connector for any other card other than the Fibre Channel module card. See "
Integrated Fibre Channel Module Card
" for more information about
the connector.
Содержание PowerEdge 6850
Страница 37: ...Back to Contents Page ...


