


41
3.
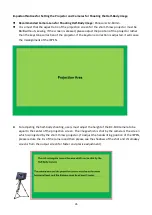
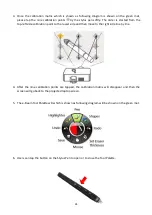
Once the calibration matrix which is shown as following diagram is shown on the green mat,
please tap the nine calibration points
by the stylus pen softly. The order is started from the
top-left side calibration point to the lower side and then move to the right side line by line.
4.
After the nine calibration points are tapped, the calibration matrix will disappear and then the
screen will go back to the projected laptop screen.
5.
The e-Beam Tool Palette will which is shown as following diagram will be shown on the green mat.
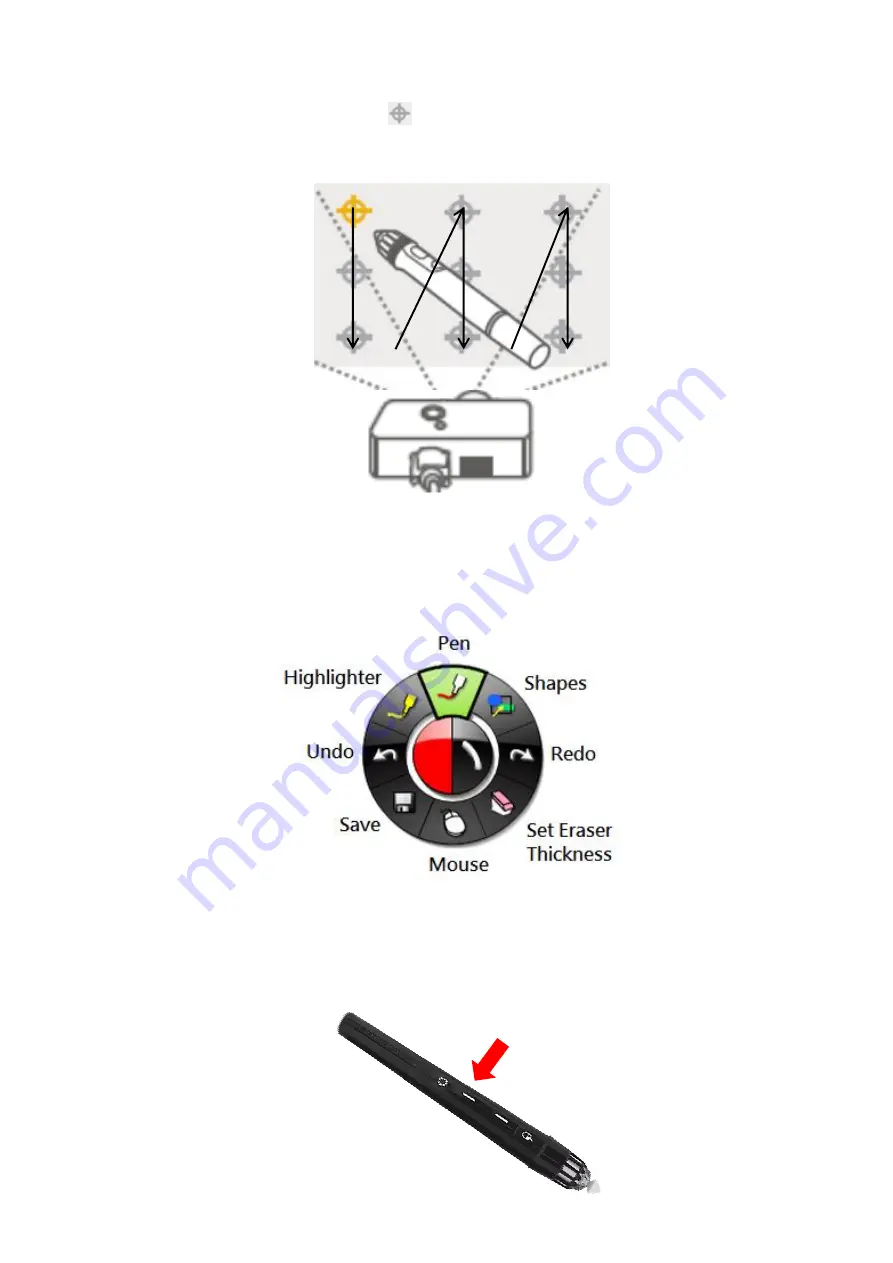
6.
Users can tap the button on the Stylus Pen to open or to close the Tool Palette.
Содержание VGB-2000
Страница 1: ...VGB 2000 Instruction Manual...
Страница 7: ...7 1 2 System Diagram 2 Channel Pro Presentation System VGB 2000...
Страница 26: ...26 LBK 1 Look Back Kit Exploded View...
Страница 27: ...27 LBK1 1 1 Main Support Exploded View...
Страница 28: ...28 LBK1 1 2 22 Monitor and LCD Display Mount...
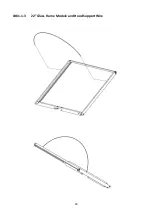
Страница 29: ...29 LBK1 1 3 22 Glass Frame Module and Hood Support Wire...
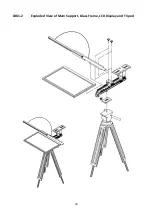
Страница 30: ...30 LBK1 2 Exploded View of Main Support Glass Frame LCD Display and Tripod...
Страница 31: ...31 LBK1 3 Look Back Kit Assembly...
Страница 71: ...71 Close Up with Chromakey Slides Close Up Interactive Pen Mark...
Страница 72: ...72 Wide Shot Interactive Pen Mark Logo Interactive Pen Mark Logo...
Страница 73: ...73 Dual Camera Effects Interactive Pen Mark Close Up Interactive Pen Mark...
Страница 74: ...74 Wide Angle with Chromakey Interactive Pen Mark Wide Shot Interactive Pen Mark Logo...
Страница 75: ...75 Interactive Pen Mark Logo Close Up with Chromakey...
Страница 76: ...76 Wide Angle with Chromakey...
Страница 79: ...79 14 Dimensions...
Страница 80: ...80 Unit mm...
Страница 83: ...83 Note...


