Running a Job on PSV5000 ■ List of Steps to Start a Job
- 42 -
Data I/O ■ 096-0466-001E
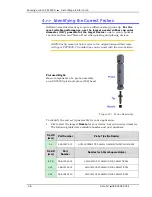
Flat on the stem
6.
If a Retaining Clip was used, remove it and pull down on the probe tip to
pull it off the probe holder.
7.
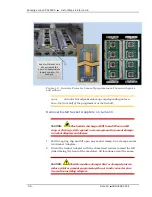
Referring to the PNP Head Probe Tips table on page 38, select the correct
probe tip, or tip + nozzle. Assemble as required by pushing the nozzle
onto the square at the end of the tip.
8.
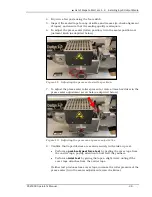
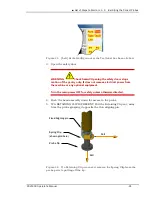
Insert new probe, aligning the oval flange with the slot in the probe base.
Figure 43:
The tip must seat in the slot in the holder. The Spring Clip has
not been installed yet.
9.
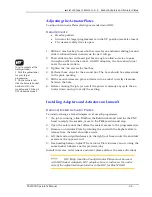
(Optional but suggested) Insert the Retaining Clip, pushing it on making
sure the aligning pin doesn’t interfere.
10.
Make sure the tip is clean.
11.
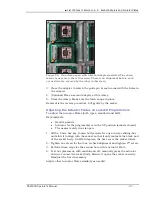
Still at the Gantry window, click Park.
Removing the Probe Holder
If you ever need to remove and replace the probe tip
holder
:
Tools Required: 1.5 mm hex key.
1.
Perform steps 1
–
4 above for removing a probe.
2.
Rotate a probe so the set screw is accessible and remove the set screw
with a 1.5 mm hex key.
3.
Pull the Probe Holder off the stem. Note that the stem has an O
-
ring and
it should stay in place.
4.
Insert the appropriate holder for your application with the set screw hole
lined up with the flat on the stem. Push the holder all the way up.
5.
Install and tighten the set screw.


