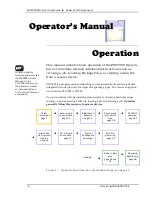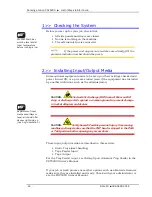
Running a Job on PSV5000 ■ List of Steps to Start a Job
- 20 -
Data I/O ■ 096-0466-001E
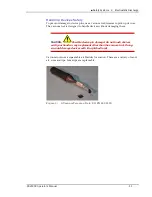
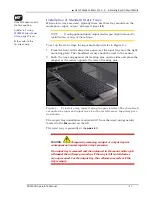
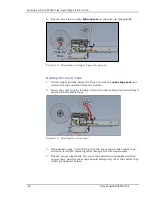
To remove the Tape
Feeder communication
cable, grasp the collar
and pull out.
For more information
about threading carrier
tape, see the manual
that came with your
tape feeder.
Remember to remove
cover tape from the
cover tape reel when
full. For more
information, see your
Tape Feeder
documentation.
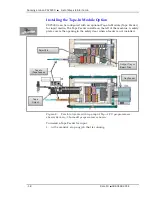
Figure 9:
A. Push the mounting block of the Feeder down into the clamp.
B.
Feeder has snapped into place.
5.
Insert the communication cable part way into the socket on the handler
and, while pushing lightly, rotate until the connector is oriented correctly
(it stops and makes a slight click sound when it goes all the way on).
The feeder Status lamp
should
light if the PSV5000 is on.
6.
Install the device reel if it is not already.
For more information about loading a reel of devices onto
the feeder, see the documentation that came with your tape feeder.
5.
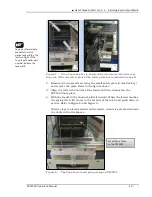
Pull the carrier tape forward to start it into the sprocket wheel on the tape
feeder. Now you can advance the carrier tape, via the tape feeder, into the
exit chute. Refer to previous figures for the tape chute.
The empty device
carrier
tape will come out of the slot below the
mounting latch. Place a box on the floor to contain empty carrier tape.
6.
Thread the
cover
tape through the tape window and onto the feeder’s
cover tape roller.
7.
Adjust pitch. Count the number of sprocket holes in the carrier tape
between the center of one pocket and the center of the next pocket. Use
this pitch number and follow the instructions for your particular Tape
Feeder to set the pitch index.
Later, after the PSV5000 has been powered up, remember to
align the pick point
—
A.
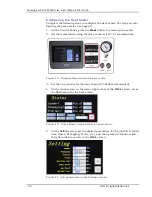
On the Gantry window, press Park.
B.
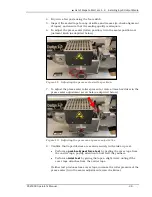
Advance the carrier tape until the pick point mark on the feeder aligns
with the center of a pocket. It may be necessary to advance the tape
forward one pocket.

