■ List of Steps to Start a Job
≡
Installing Input/Output Media
PSV5000 Operator’s Manual
- 17 -
If the PNP head is not in
the Park position,
A) Refer to
Turning
PSV5000 System Power
ON on page 51
, and
B) then refer to the
on-screen Help.
Installation of Standard Static Trays
When static trays are used, typically there are three tray mounts on the
workspace
—
input, output, and reject (near left).
If using optional input/output media, you might not need to
install some, or any, of these trays.
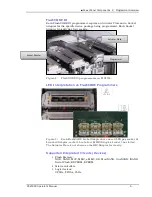
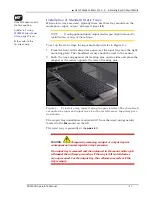
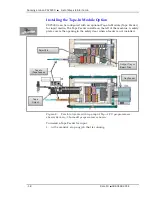
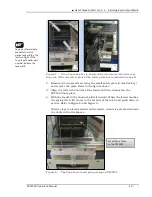
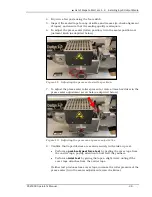
To set up the static trays for input and output (refer to Figure 4: ):
1.
From the front, with safety doors open, set the
input
tray onto the right
mounting plate. The chamfered corner should be next to the sensor.
2.
Push the tray snug against the locating pins on two sides and place the
magnet at the corner opposite the rows of locating pins.
Figure 5:
To install a tray, index it along the pins (circles). The chamfered
corner for the
input
and
output
trays is at the far left corner. Input tray posi-
tion shown.
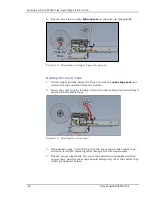
The output tray installation is oriented 90° from the input and generally
located to the
far
mount on the left.
The reject tray is generally at the
near
left.
CAUTION:
Temporarily removing an input or output tray has
consequences. Sensors register a tray’s presence.
If an input tray is removed and then returned to the mount while a job
is
Paused
,
the software proceeds as if the tray is full and all devices
are unprocessed. For the output tray, the software proceeds as if the
tray is empty.

